
Learn to make a dollar bill money origami fish in just a few minutes with this simple 6-step guide.
This awesome dollar fish is easy and quick to fold and is perfect for a quick and fun creative tip or gift.
Dollar Bill Origami Fish: Video Instructions
See all of our dollar bill folding tutorials in our complete Money Origami Collection guide.
You may also like these other money origami guides:
- Dollar Bill Origami Heart: Easy 6 Steps
- How to Fold a Dollar Bill Origami Butterfly
- Dollar Bill Origami Flower: 8 Step Fold
How to Make Fold a Dollar Bill Origami Fish: Step-By-Step

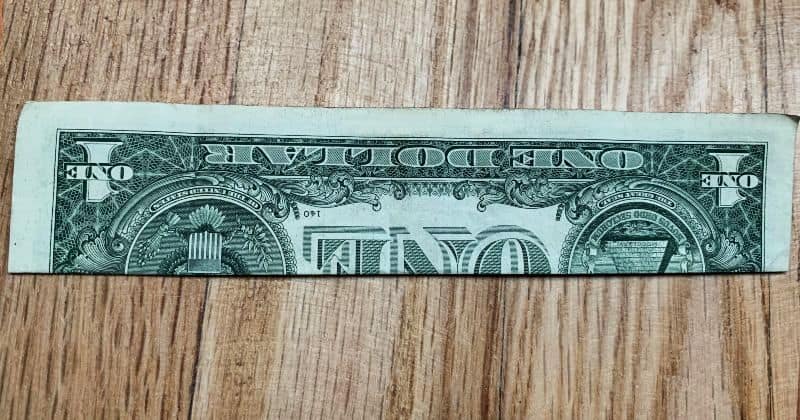
You just need a one-dollar bill, and we will start with the front side.
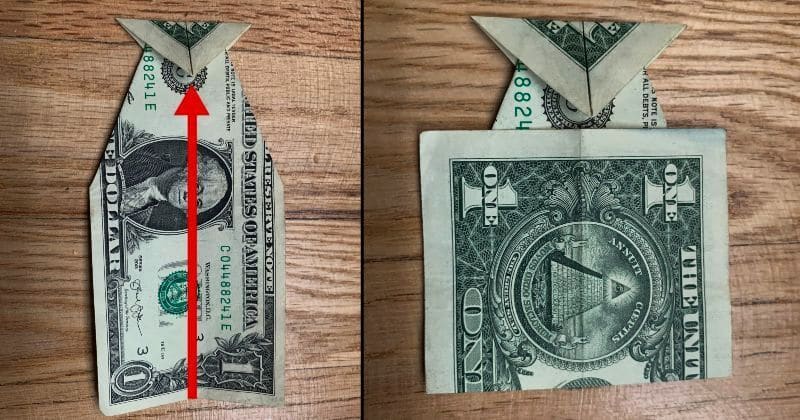
STEP 1: Fold the bill in half lengthwise from the bottom to top
Fold the bill in half bringing the bottom edge to match the top.
After you crease it, then open it back up.
STEP 2: Next, fold the left two corners to the crease to make a point
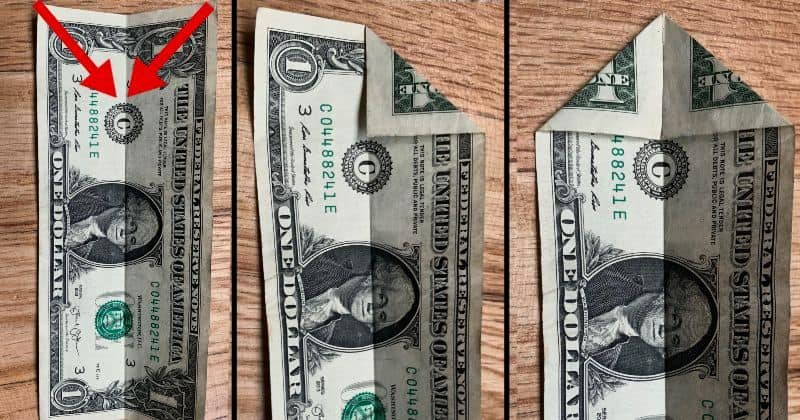
On the left side of the bill, bring both corners to meet evenly where the first crease was made.
Once you complete this step, flip the bill over.
STEP 3: Fold both of the top edges in to meet at the middle crease
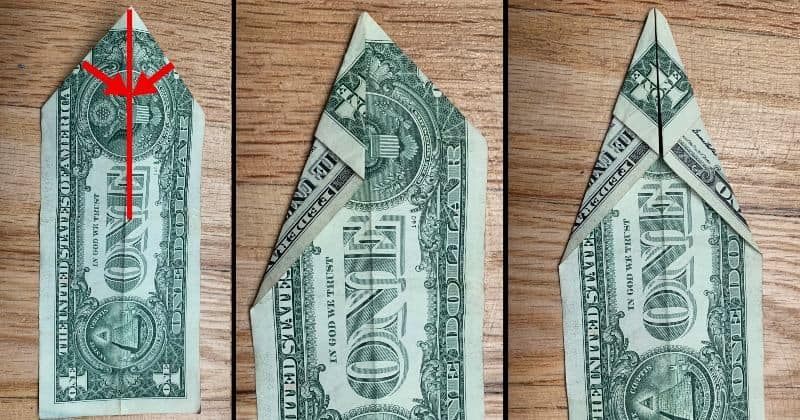
On the back side of the bill, take both angled edges to meet at the middle crease.
Once you complete this step, flip it over again.
STEP 4: Fold the top point down in half, making a triangle on top
Pull the top tip down to fold it into a half triangle on both sides.
Look at both sides of the bill to make sure it looks evenly folded on both sides.
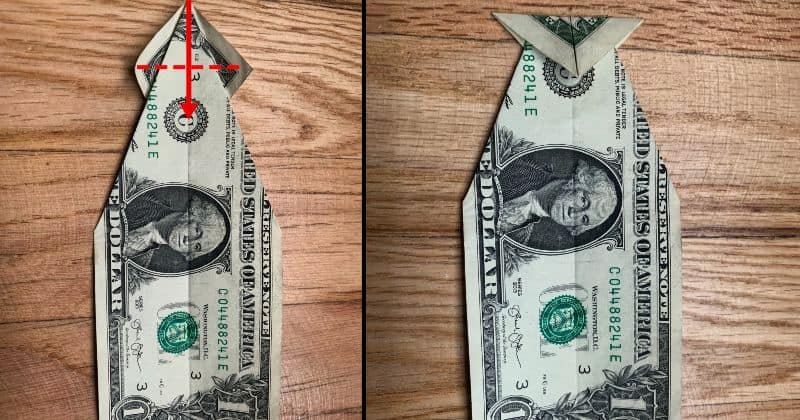
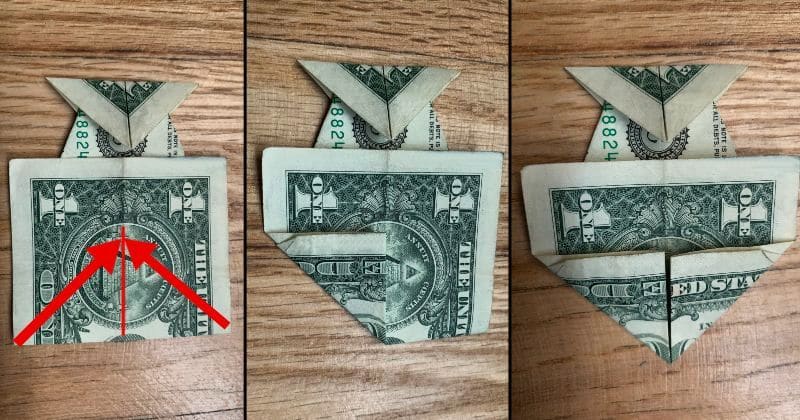
STEP 5: Fold the bottom of the bill up to meet the triangle tip
On the front side, take the right edge of the bill over to the edge of the middle point.
Make sure to crease the edge of the bill.
STEP 6: Lastly, fold the right two corners up to meet at the crease
Simply bring the folded edge corners to meet at the middle crease evenly.
Flip it over, and you are done.
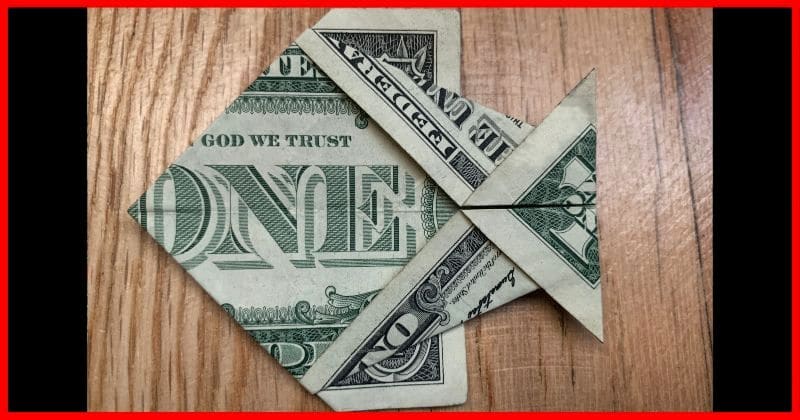
There you are, a nice and simple, yet still awesome, dollar bill origami fish!
Be sure to check out these other awesome dollar animal guides: