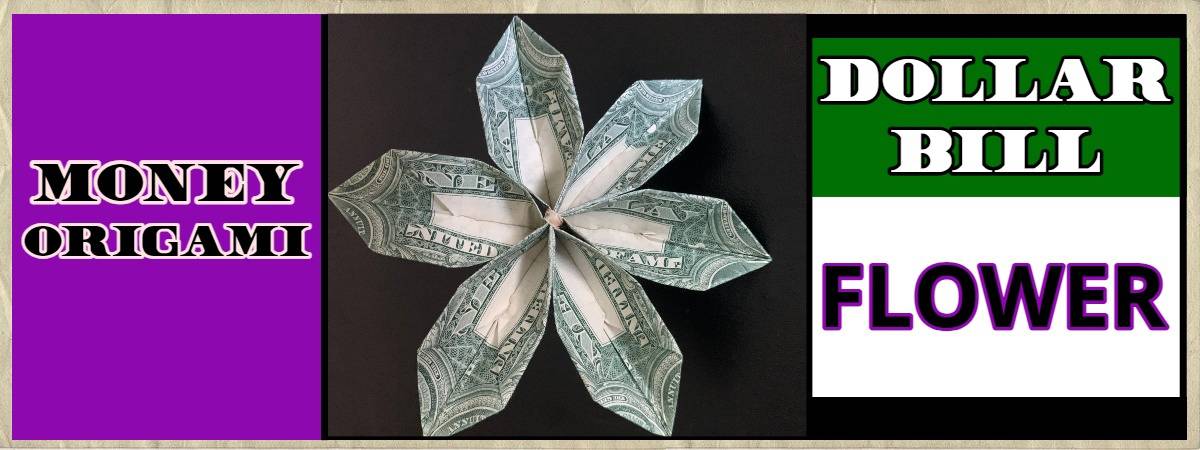
Learn how to fold a dollar bill money origami flower with this easy-to-follow 8-step guide.
This is a beginner folding tutorial and can be accomplished within 10-15 minutes or less!
This three dollar flower will make for a great gift or a unique tip to brighten someone’s day.
To go together with this money flower, we also have a guide for making a money origami butterfly!
How to Make a Dollar Bill-Money Origami Flower
For this origami money flower, we will be using 3 one-dollar bills that will all be folded the same way.
After all three are folded, you will simply tie them together.
A twist tie will work great to tie the bills together, but a string or rubber band will also work.
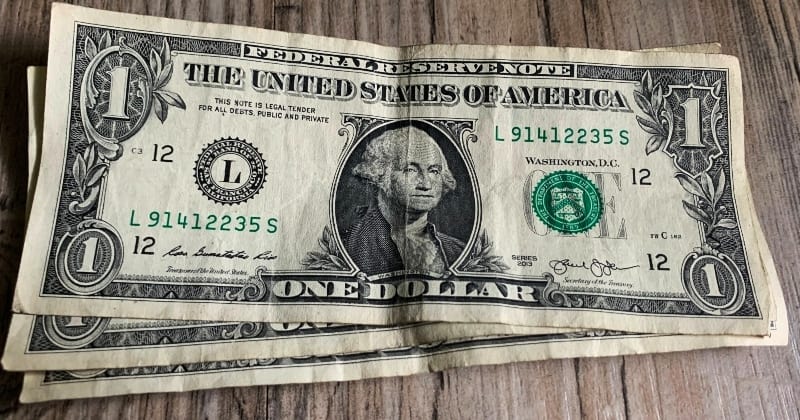
Let’s start folding the first dollar bill!
All bills will be folded the same way.
You may also like these other money origami guides:
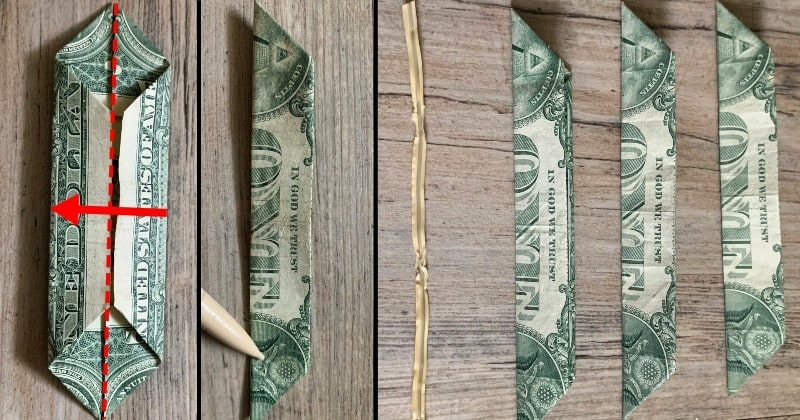
STEP 1: Fold the bill in half lengthwise
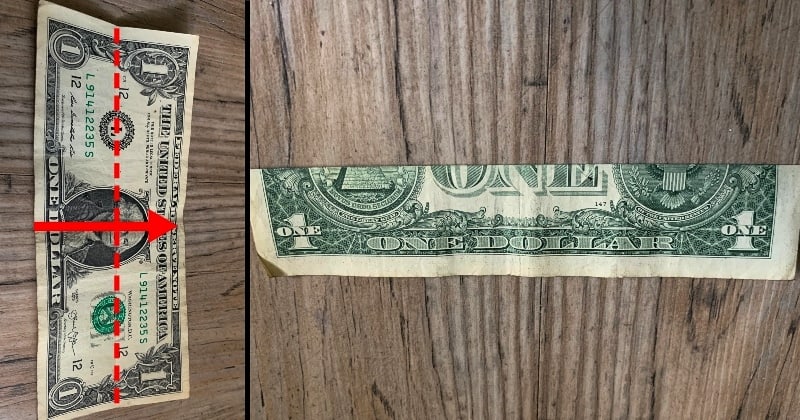
Fold the dollar bill in half lengthwise as shown, make a crease and then unfold it.
STEP 2: Fold the left and right edges to the middle
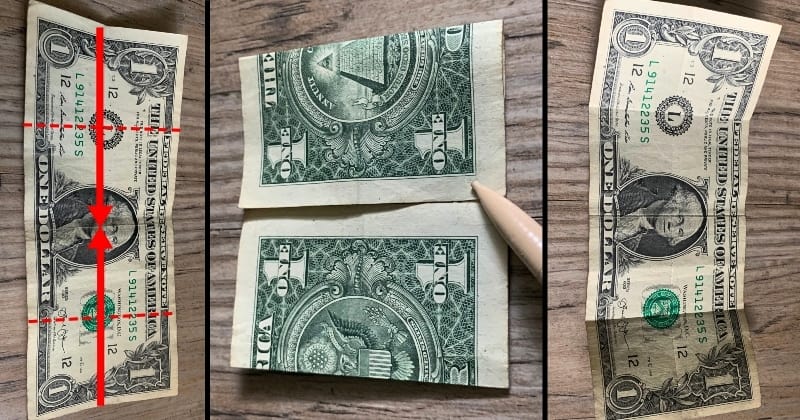
Once you have folded to the center vertical line, you can crease the folds and unfold them again.
You should now have three main crease lines that separate the bill into four sections.
STEP 3: Fold the edges in towards the nearest creases
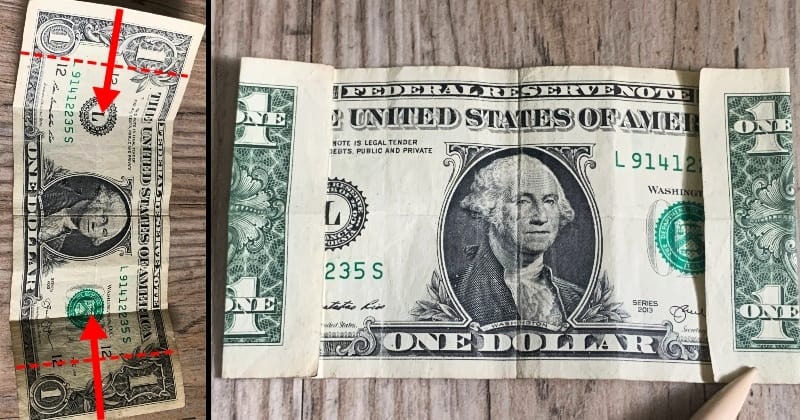
Fold both the left and right edges to the closest crease lines.
Crease the folds well but do not unfold this time.
STEP 4: Fold the corner edges to meet the centerline
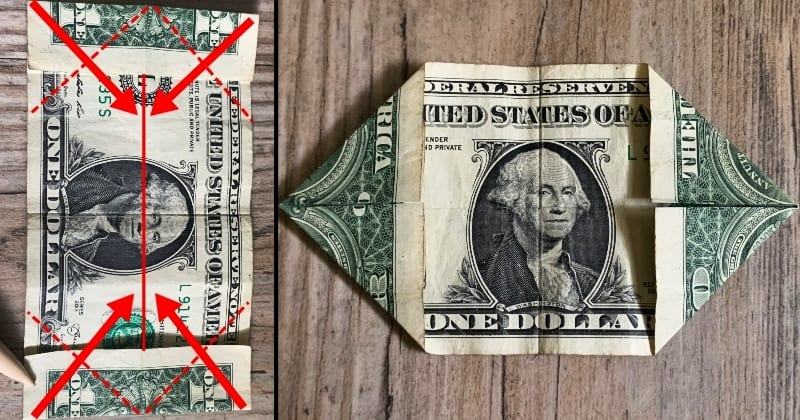
Fold all the corner edges into the horizontal centerline of the bill.
These points will be the petals, so crease them well and make them as straight as you can.
STEP 5: Fold the top and bottom to the center
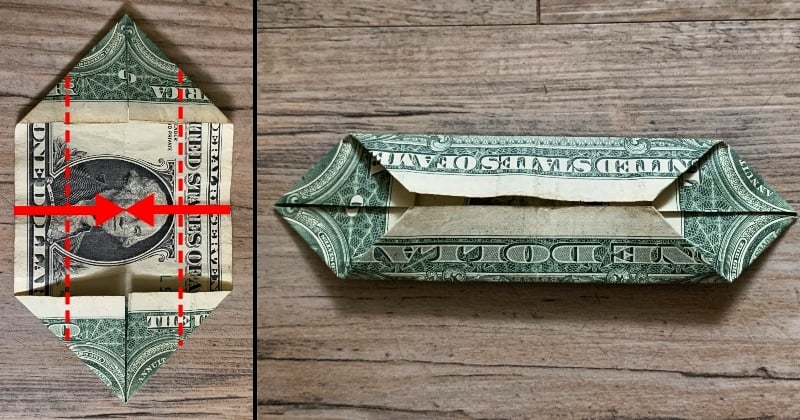
Fold both the top and bottom edges to meet at the center crease.
After folding, make sure to crease the edges well.
STEP 6: Fold the bill in half lengthwise again
Make sure to crease the edges well again, and the first petal is finished.
Repeat steps 1-6 to fold the other two bills the exact same way.
STEP 7: Tie the twist tie on the middle of the bills
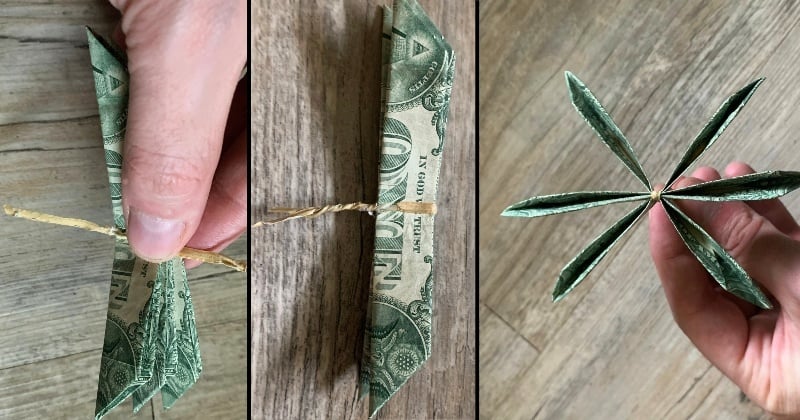
Use the twist tie to bind the three bills together in the center like shown.
You can start evening out the petals.
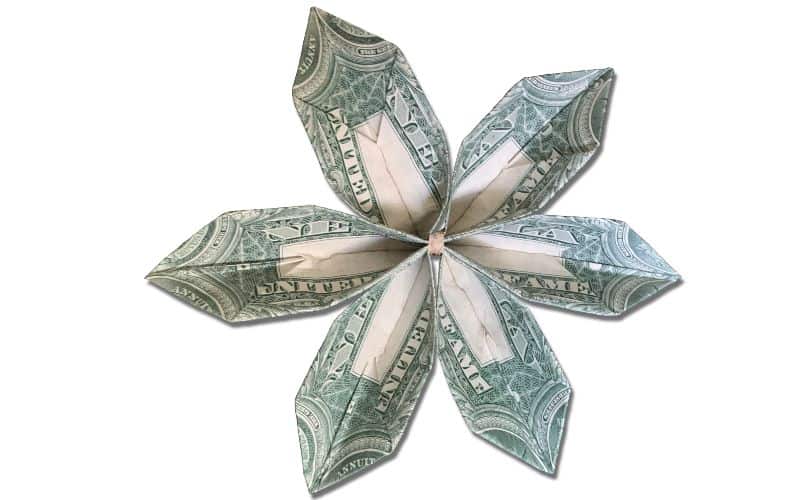
STEP 8: Fan out and even the petals to your liking
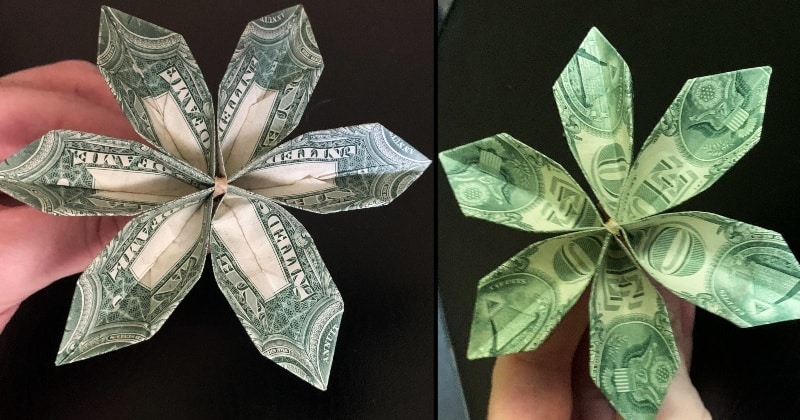
You can squeeze and bend the petals until you like how it looks.
The picture on the right is what it would look like if you flipped the petals inside out.
Now you have an awesome dollar bill flower!
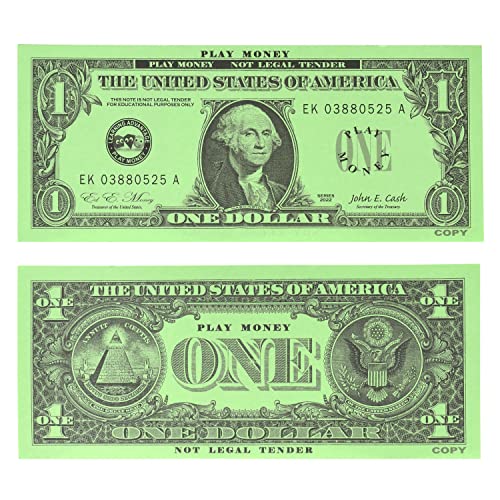
- Practice folding, or designing your own money origami with the help of fake bills
- Double-sided and Actual Size - Choose from $1, $5, $20, $50, or $100 design
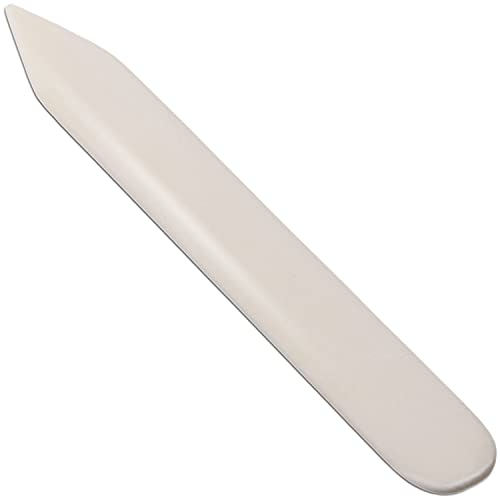
- Use this handy little origami tool to score, crease, smooth, or burnish paper, tissue, and cardboard.
- This 6-inch bone folder is made from durable genuine ox bone, not inferior plastic or wood.

- High-Quality Origami Paper 200 Sheets 20 Vivid and Vibrant Colors
- Same Color on Both Sides, Holds a Crease, Won't Curl at the Edges
- Most Popular Size 6 Inch by 6 Inch
You may also like these other money origami guides: