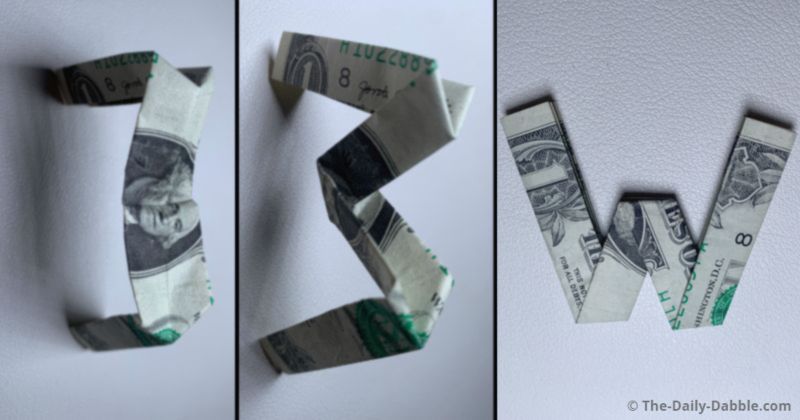
Follow these guided steps to make a dollar bill origami letter W with instructions and pictures.
These dollar-folding alphabet letter tutorials can help you make a cool gift or tip with cash.
This tutorial has 8 steps and shouldn’t take much longer than 5 minutes to figure out.
Let’s get started!
STEP 1: Fold the dollar in half lengthwise
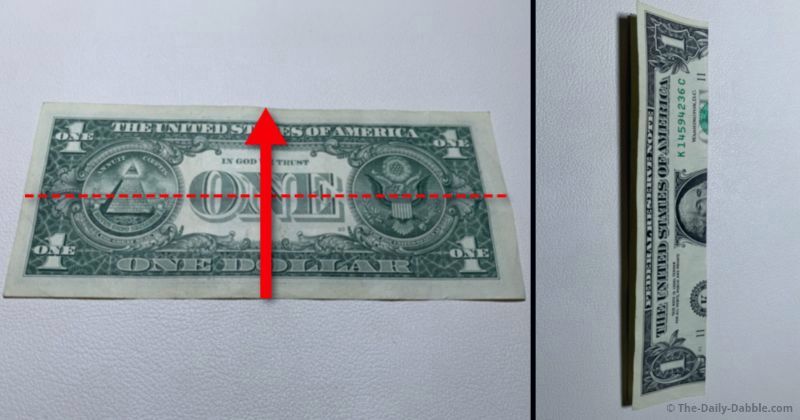
Starting on the backside, match the bottom edge to the top to fold it in half.
After a nice crease is made, unfold the bill for the next step.
STEP 2: Fold the lower half in thirds
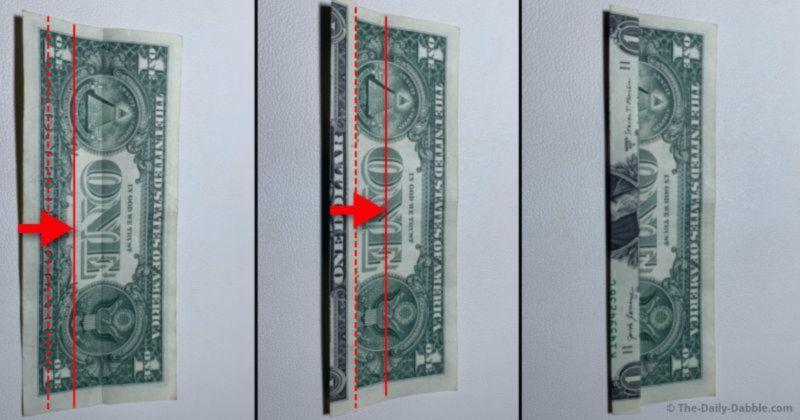
Make two even folds to the middle crease to divide it into a third.
The solid line is about where you need to fold to keep it even.
For the second fold, you just bring it over to middle.
STEP 3: Match the folds with the top half
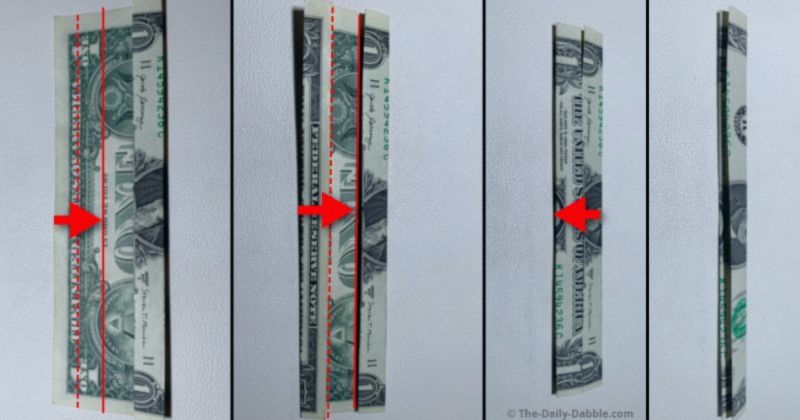
Using the same process as before, make two folds to get evenly to the center.
Fold the two skinny halves over and press down before opening it and flipping it over for the next step.
STEP 4: Make inward pointed creases on the left side
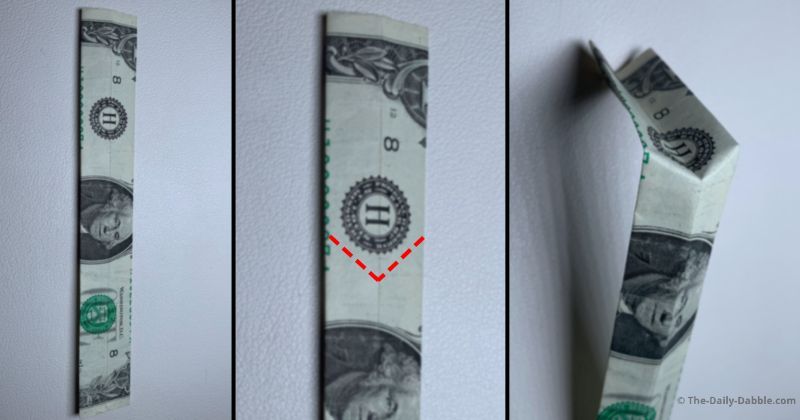
To make these pointed creases, hold the middle portion and pinch the left side down in.
Get them as close as you can to where the dashed line shows.
STEP 5: Make an opposite-facing point on the other side
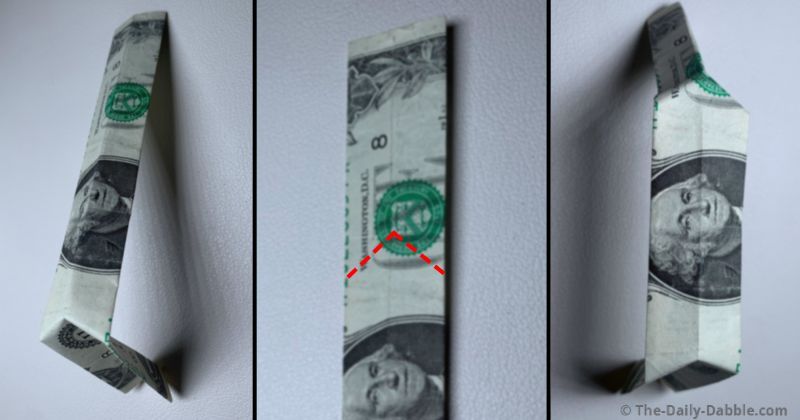
On the right side, make these pointed creases facing to the right.
It’s easiest done by holding the area in the middle and pinching the end together a bit.
After both previous creases are pinched and very visible, flatten the bill.
STEP 6: Fold the dollar in half
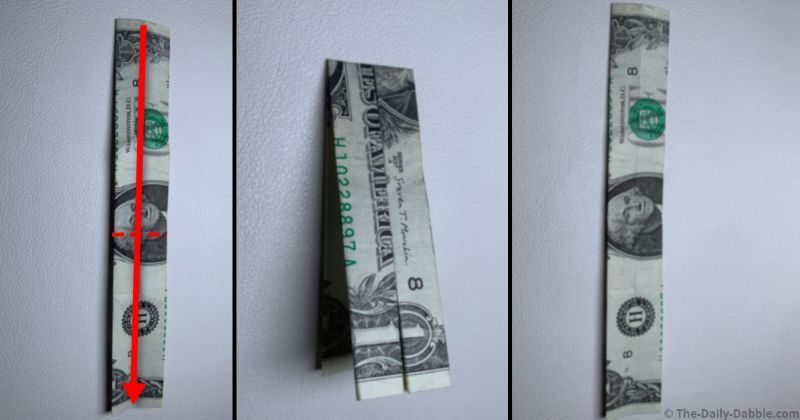
Fold the dollar directly in half from right to left or vice versa.
Make a nice crease and then flatten it back out again.
There won’t be a direct fold on this half crease but it helps a bit when closing up the letter.
STEP 7: Make a right-pointed crease at the center
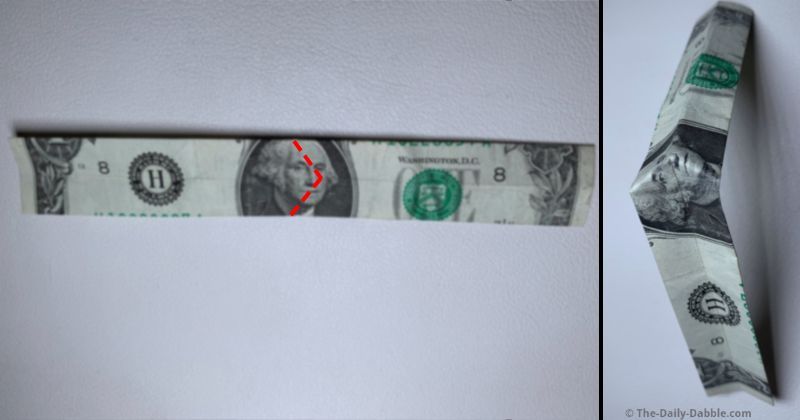
Make one last crease in the center of the face.
This will be the crease for the middle of the letter.
STEP 8: Use the creases to shape the letter
Start closing the letter by reforming the outer creases first.
The center is the tougher part and will have to be finagled a bit to form correctly.
As you can probably see this can also be used to make the letter M!
Bringing the left side far over will help with getting it to fold inside the right.
Flatten it down and you now know how to make a simple money origami letter W!
PREVIOUS: Dollar Bill Origami Letter V
NEXT: Dollar Bill Origami Letter X
MORE: Dollar Folding Guides
Happy Folding!