Learn how to fold a dollar bill money origami sailboat with this quick and easy guide.
This is an easy-difficulty tutorial and can be made in less than 5 minutes!
An origami sailboat made from a dollar bill makes a thoughtful gift for a variety of recipients.
Be sure to see our 30+ Money Origami Designs article when you are finished to see all of our folding guides.
Let’s get started!
How to Fold a Dollar Bill Into a Money Origami Sailboat
See our money origami sailboat video below, if you prefer video instructions.
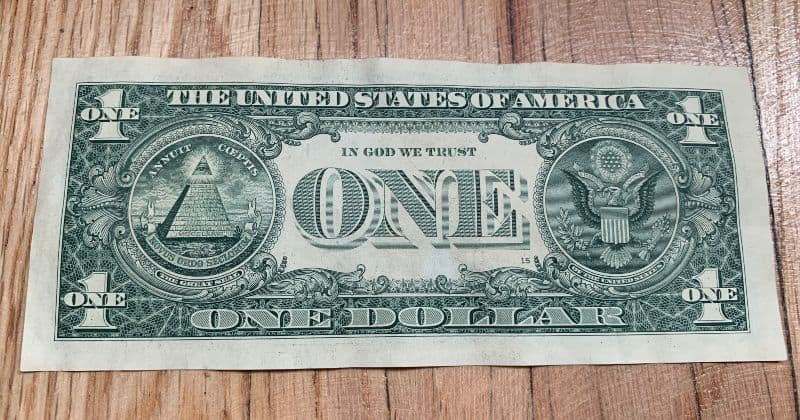
For this sailboat, we will start on the backside of a one-dollar bill.
STEP 1: Fold the bill in half from left to right
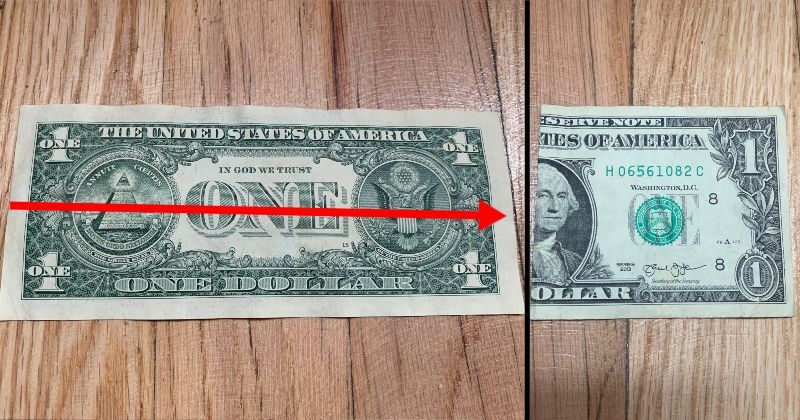
After the fold is made, crease the bill in the middle and then unfold it.
STEP 2: Fold the top corners down to meet the bottom edge
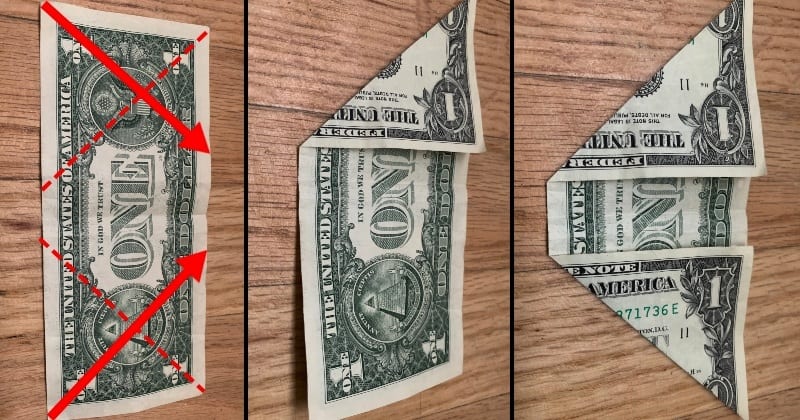
You are folding the left and right sides to match the bottom edge of the bill.
STEP 3: Fold the right bottom tip to meet the inside corner
Once you crease it well, you can unfold it and flip the bill over.
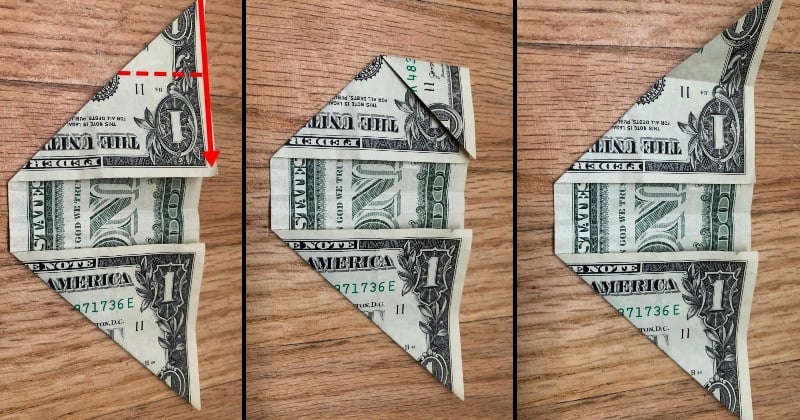
STEP 4: Fold both bottom edges up to meet the middle crease

Make sure to crease all the folds well.
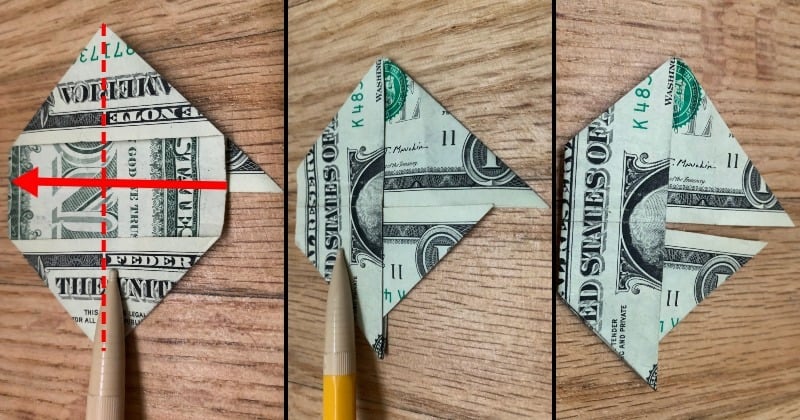
STEP 5: Unfold the left flap and fold it twice
First, you basically fold the triangle in half from left to right.
Then fold it back down over itself on the crease that is shown.
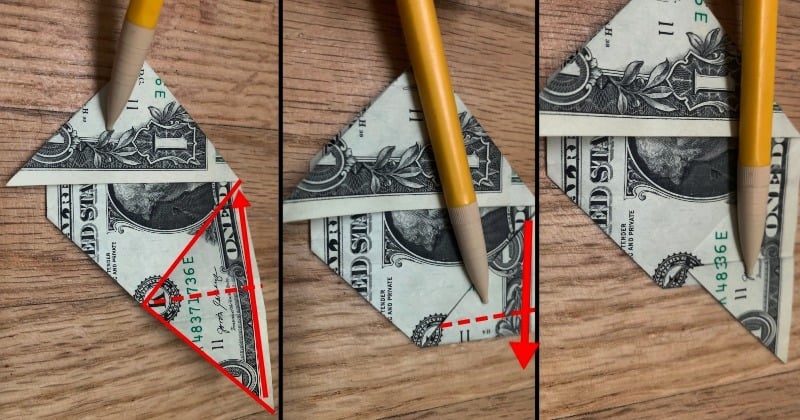
STEP 6: Fold the whole flap up, then fold the right tip
You will fold the left flap up to meet the middle crease.
Then fold the right little tip over as shown.
When you are done, flip the dollar bill over.
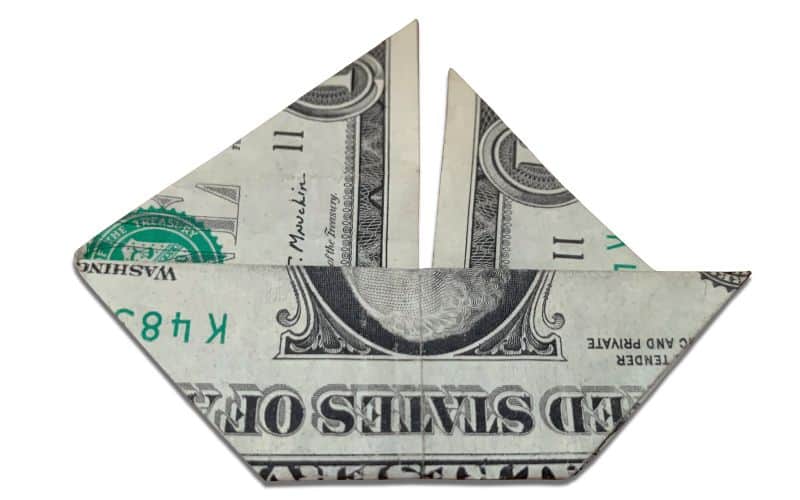
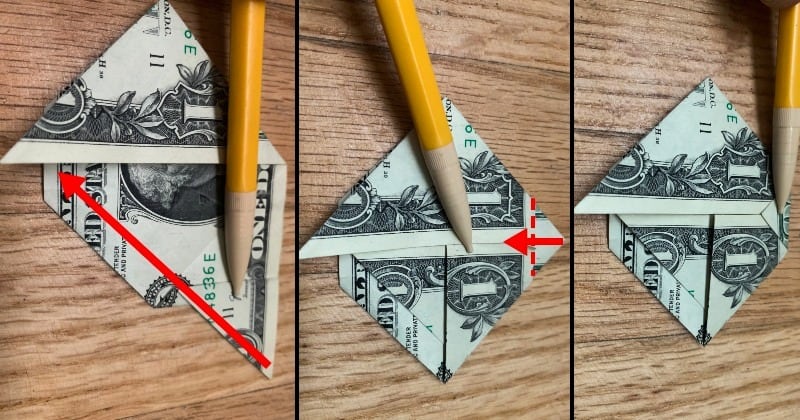
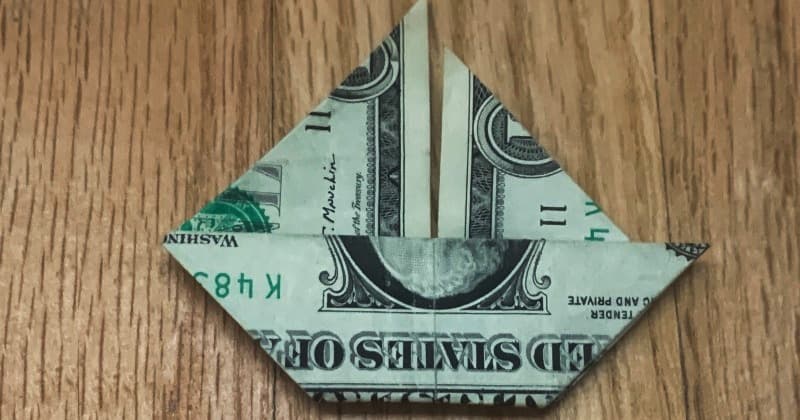
STEP 7: Fold the bill in half and finish shaping
Once you have folded it in half from right to left, as shown, you have a boat.
From here on, the final shaping is, of course, your choice.
I chose to fold the boat’s base behind somewhat and pull the sails apart a bit.
You can also fold the left sail over itself just a little bit for even more detail.
Final Thoughts
We hope you enjoyed making this dollar bill origami sailboat! Here are video instructions to see it folding in real-time.
You may also like these other money folding guides like Dollar Bill Origami Heart: Easy 6 Steps, or How to Fold a Dollar Bill Origami Butterfly.