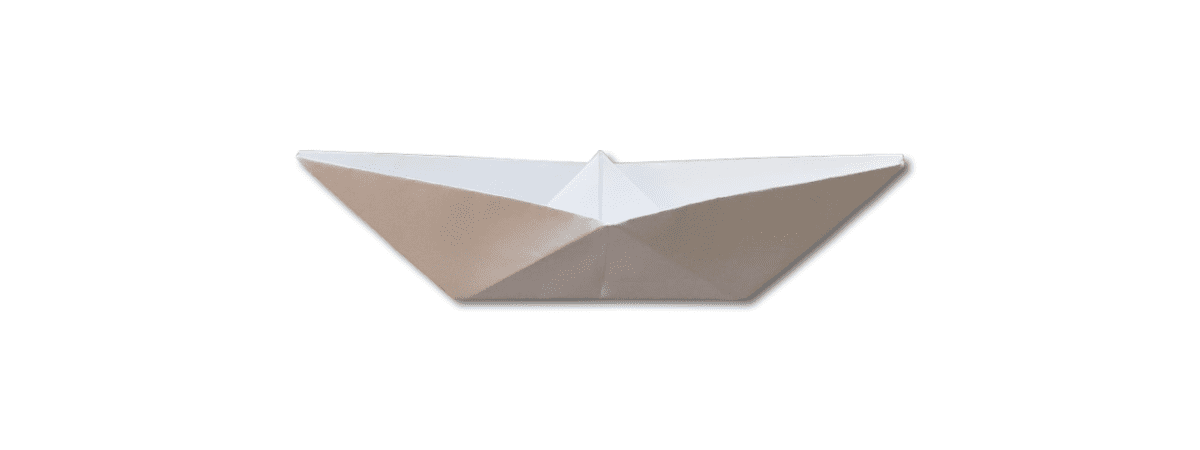
Learn how to fold this easy origami boat in minutes with these step-by-step instructions.
This paper boat takes has 10 simple steps and will take 4-5 minutes to complete.
Once finished, the boat will float, but as it is made of paper, it will be for a limited time.
Let’s get folding!
For this fold, I used a regular 8.5 x 11 sheet of paper but any rectangular origami paper will work fine.
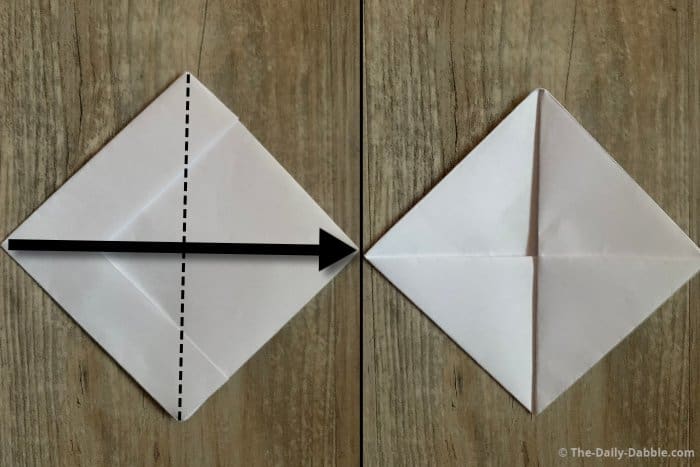
1. Fold the paper in half lengthwise
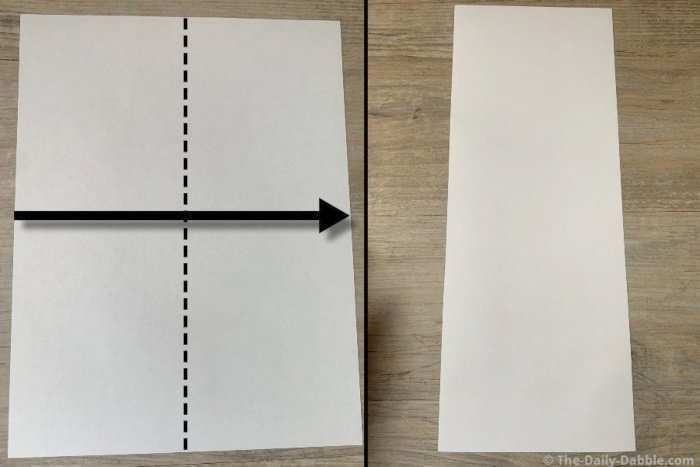
Fold the paper directly in half from left to right.
Make a crease and then open the paper back up.
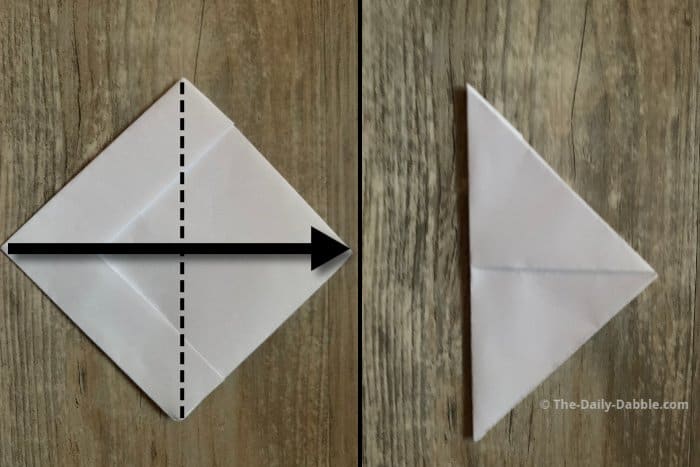
2. Fold the paper in half from bottom to top
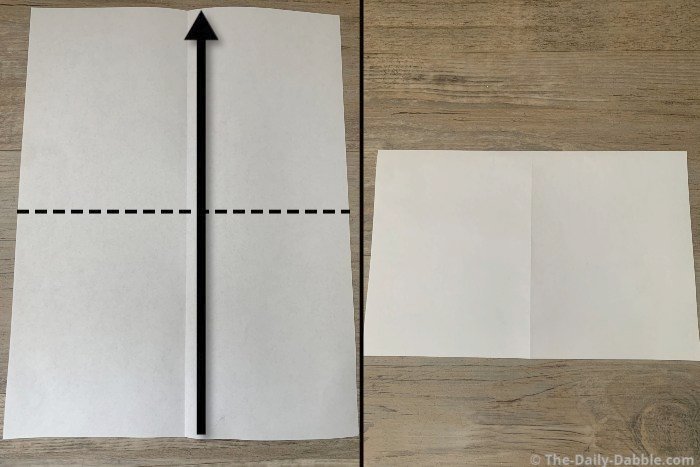
Fold the paper in half widthwise to now have the paper divided in fourths by the creases.
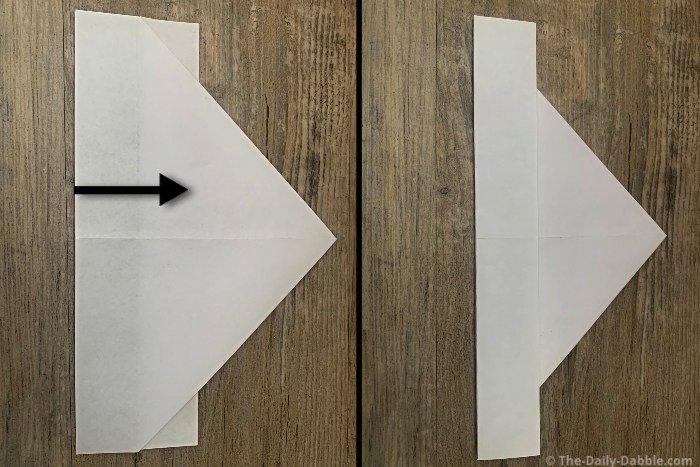
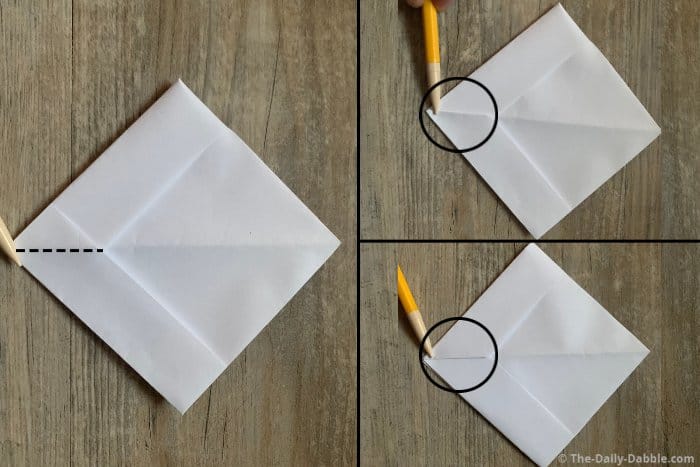
3. Fold the closed side corners to the middle crease
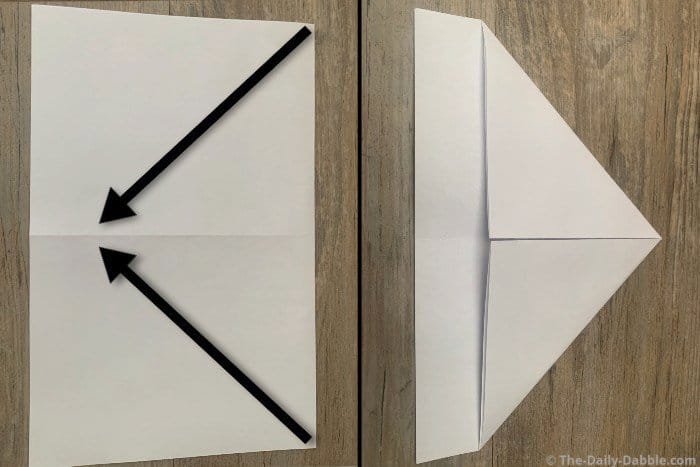
On the closed end of the paper, take the corners and fold them to the center crease.
4. Fold one flap towards the point

Fold the first flap toward the point and crease it.
Once you have finished this fold, flip the hat over for the next step.
5. Bring the last flap towards the point
Fold the second flap up towards the top point.
At this stage, you have made an origami hat but we will keep going to make a boat.
6. Fold the bottom flap tips around the edges
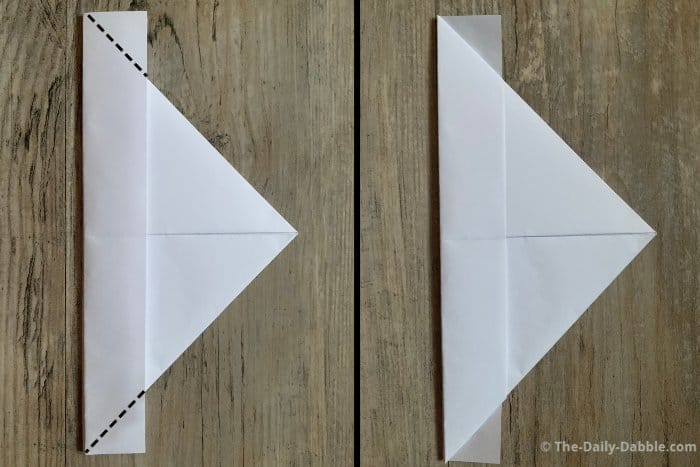
Fold the open side corners of the bottom flap around the edge but underneath the other flap.
Flip the whole thing over for the next step.
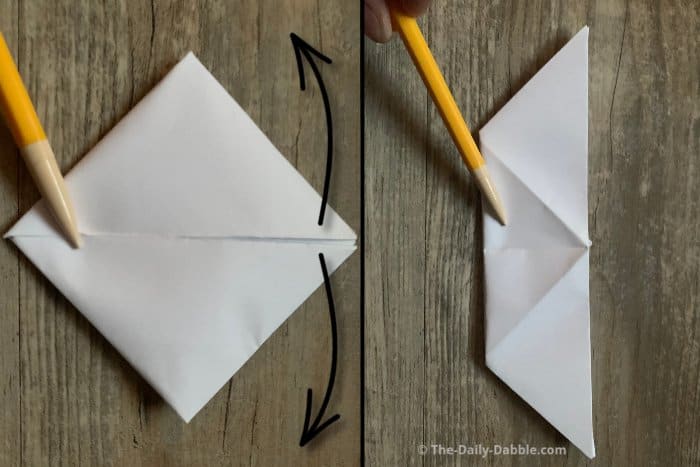
7. Fold the edges over the center triangle again
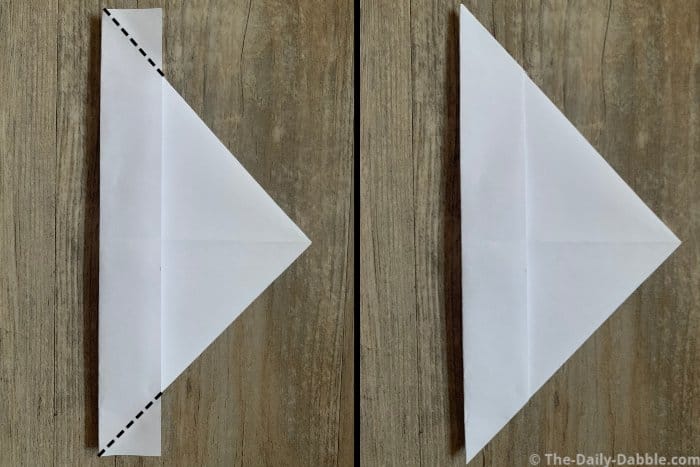
These can be just folded over the flaps on the other side.
8. Push the bottom edges into each and fold it flat
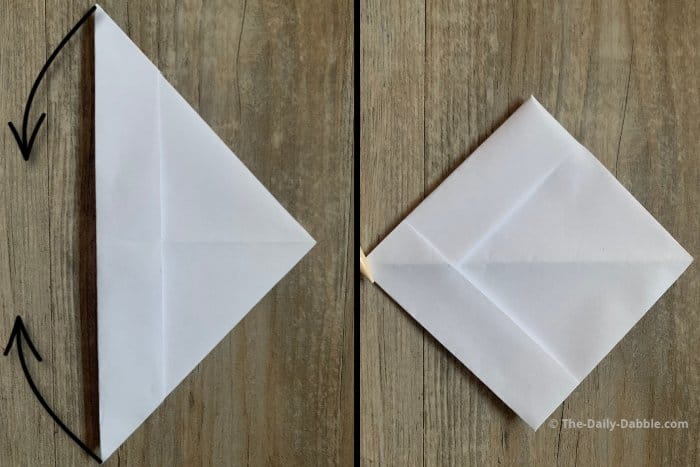
We are basically flipping folding it flat but the opposite way it currently is.
As you push the bottom points towards each other it will open up and you fold it flat on its side.
9. On both sides, fold the overhanging flap in
On both sides, fold the open flap edges down underneath and along the center crease.
10. Fold the whole left flap in half to the opposite side
Once you have creased this fold, flip the whole thing over for step 11.
11. Repeat the same process on the other side
Once you have folded the second flap in half you should be left with this triangle as shown.
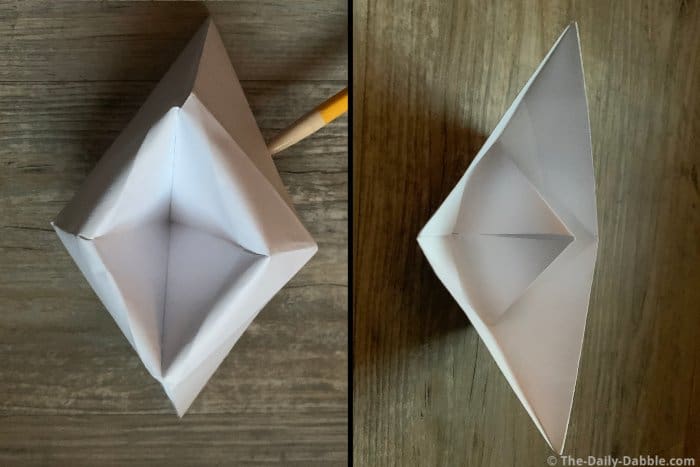
12. Open it up and fold it flat the opposite way
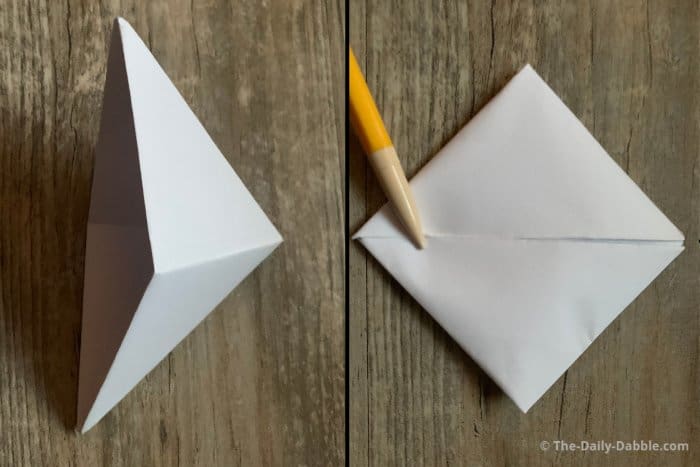
Similarly to step 8, you can open it up a bit and push the bottom corners towards each other.
This will let you push it flat, the opposite of the way it was.
13. Pull the outer layers the opposite way to form the boat
Pull the outer edges of the top layers outward evenly to form the boat.
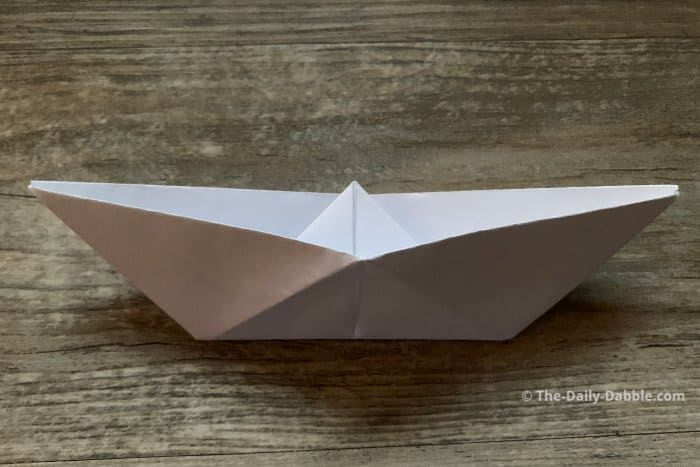
14. Shape the boat how you want it
You can open up the bottom a bit (as shown in the left picture) but I didn’t open this one much.
Now you have your own little origami boat!
If you plan on floating this boat you might want to seal it with some tape so it will last longer on the stormy seas!
We have more easy origami ideas, if you want some more quick and simple designs to try!
Happy Folding!