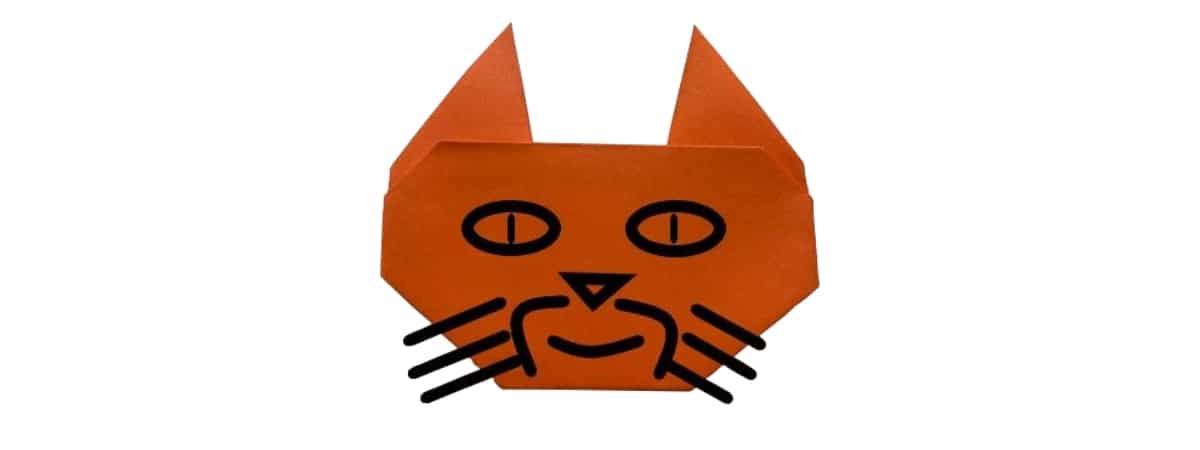
Learn to fold an easy origami cat with this simple 8-step folding guide.
This beginner-level fold can be a quick and fun activity for kids or adults that only takes a few minutes.
You can turn this into a tiger or dog with a little bit of shaping and whatever you choose to draw on it.
Let’s get folding!
In this tutorial, I used paper with the same color on both sides, but any square origami paper will work just fine.
Don’t let not having any square paper stop you, and cut a regular paper into a square if you need.
1. Fold the paper in half diagonally
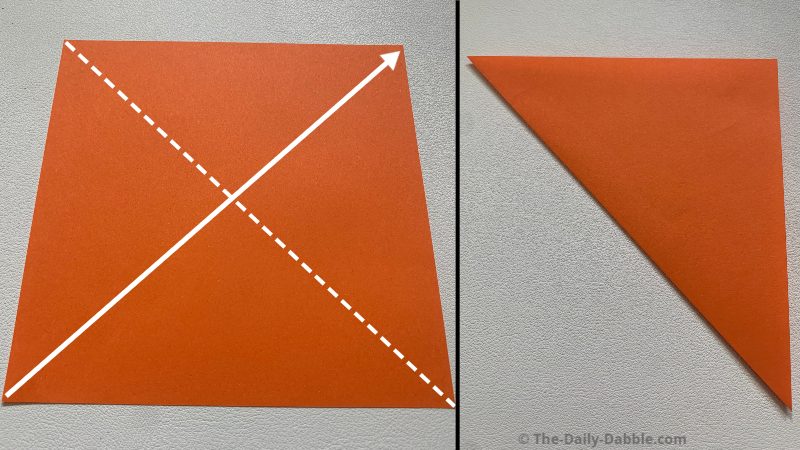
Once you have creased the fold, you can move on to the next step.
2. Fold diagonally again to make a small crease
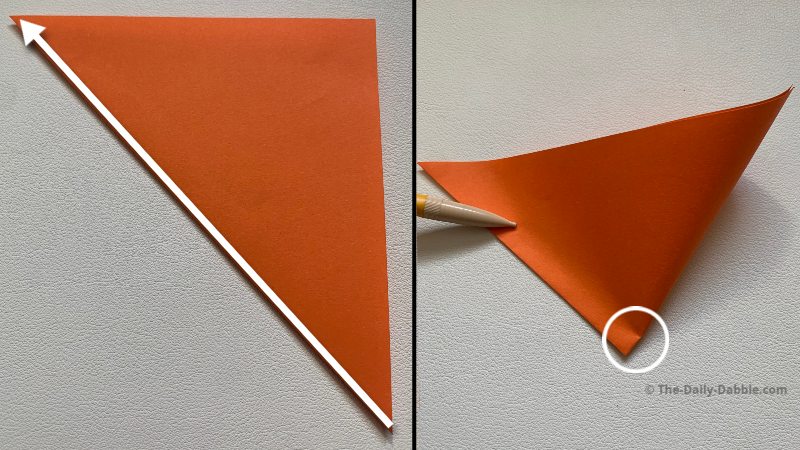
We are not creasing the whole fold, just a tiny portion to mark the middle.
After making the tiny crease you can unfold it and move to step 3.
3. Fold both bottom tips up as evenly as possible
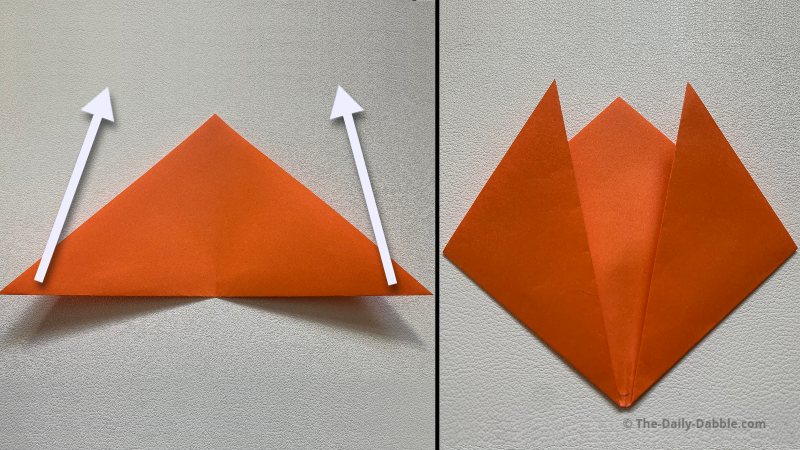
Pull the tips up and make them as even as you can to form the cat ears.
You can copy the picture or move the ears to wherever you prefer.
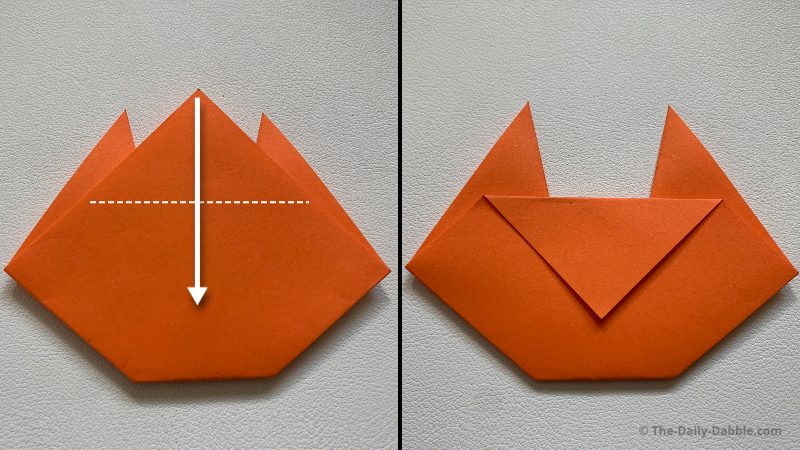
4. Take the bottom tip and fold it upward slightly

This fold distance is your preference as you are just making a flat chin for the cat.
Once you are done, flip it over, and step 5 will begin on the other side.
5. Fold the top point more than halfway down
Crease the fold well as we are going to fold this flap again.
6. Bring the flap back and tuck it behind the ears
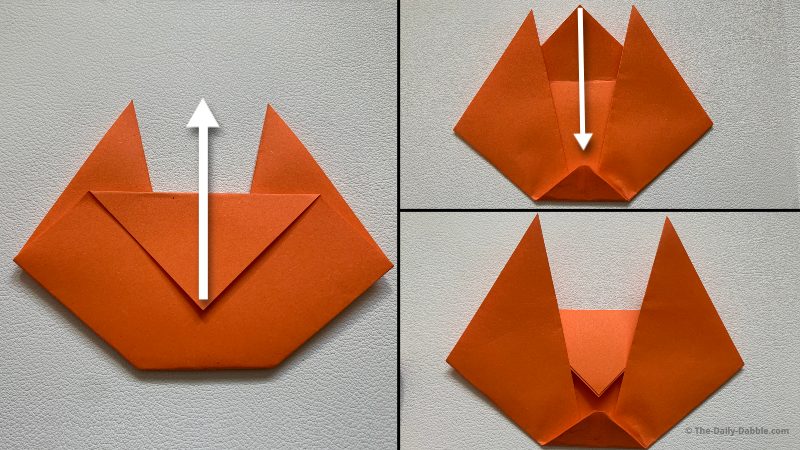
Put the point between the face and the ears to hide it.
The last folds will be on the backside.
7. Fold the outer tips in slightly
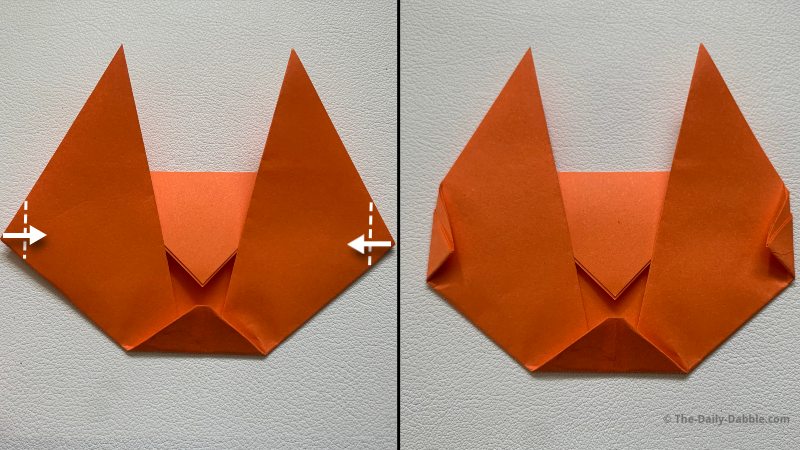
These folds are for shaping the face and don’t have to be perfect.
8. Now you can draw a face on your cat!

Want to fold some more? Check out our money origami cat folding guide to learn how to fold another cat with a one-dollar bill!
Happy Folding!