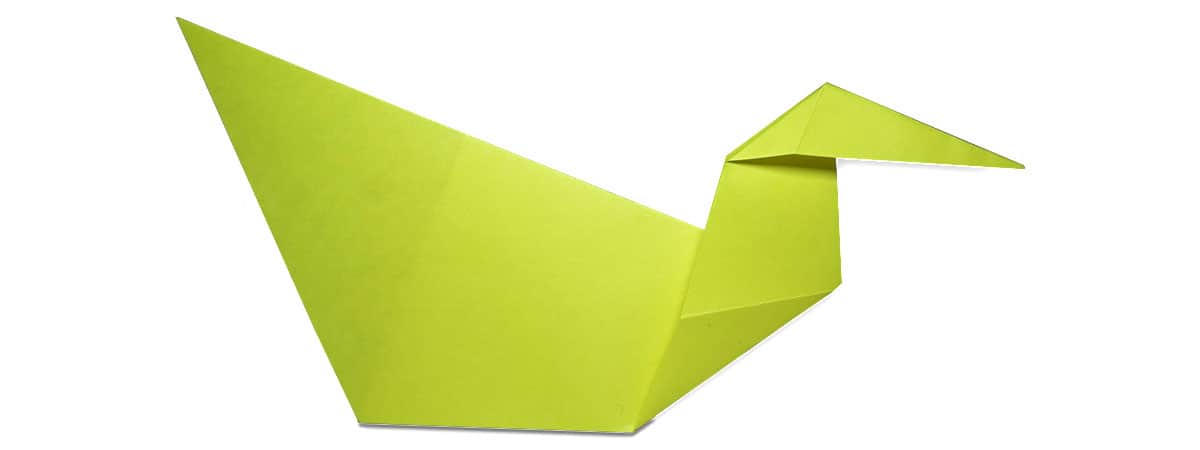
This traditional origami guide will teach you how to fold an easy origami duck in nine simple steps.
The easy duck is a beginner-friendly fold that requires a single piece of paper and about 3 – 5 minutes of your time.
This is a fundamental design and if you want another cool origami duck with a little more detail, consider checking out our more intricate origami duck guide here.
But if you want to keep it as simple as possible, this not so ugly duckling is for you!
Let’s get folding!
To make a paper duck, you will need a single square piece of paper. You can use regular printer paper cut into a square; however, I recommend origami paper for the best-looking duck.
In this tutorial, I’ll be using a >multi-color 6 x 6 sheet of origami paper, but you can use single-colored paper as well.
1. Flip the paper color side down
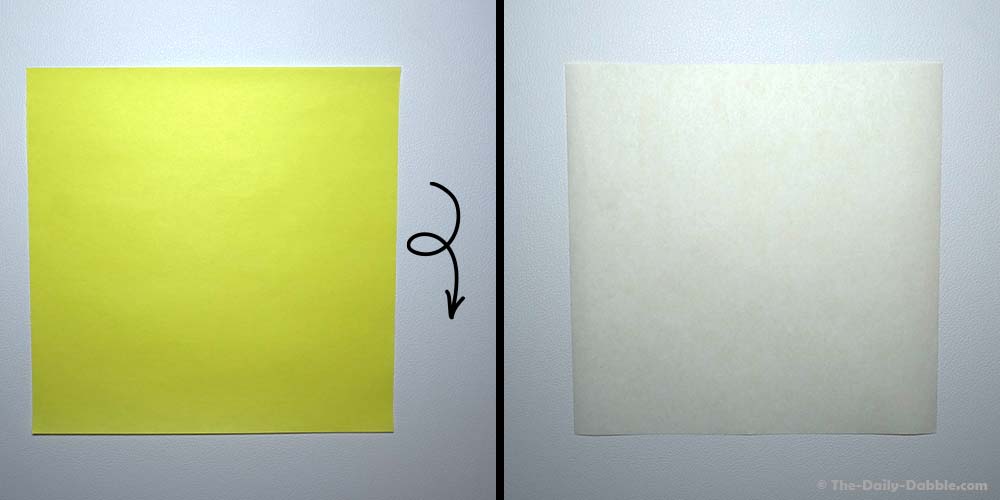
To begin our origami duck, flip the paper so that the colored side is facing down. If you are using paper with two colors on each side, whichever color is facing down will dictate the color of your duck!
2. Fold the paper in half diagonally, then unfold
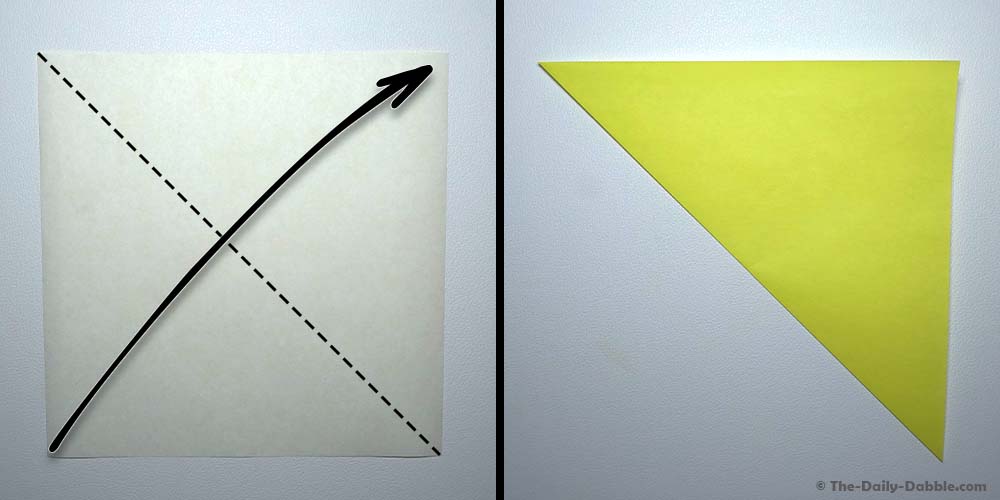
Fold the paper in half diagonally, bringing the bottom-left corner to the top-right corner. Crease and unfold.
3. Fold the left and right edges to the center crease
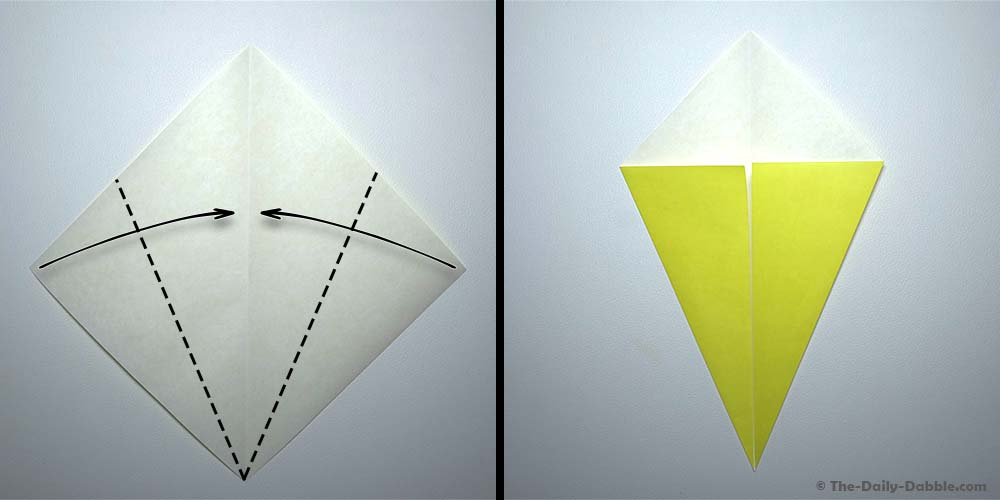
Rotate the paper so that two corners are pointing left and right (making a diamond). Next, fold the bottom-left and bottom-right edges to the center crease—creating a kite-like shape.
Origami 101: At this point, you have folded what is called the kite-base. Origami bases are starting points that can be used to fold a variety of other origami creations. The kite base can be continued in the duck (this guide), origami swan, or even a tree! To learn more about origami bases, consider checking out our Beginner’s Guide to Origami Bases here.
4. Flip the paper
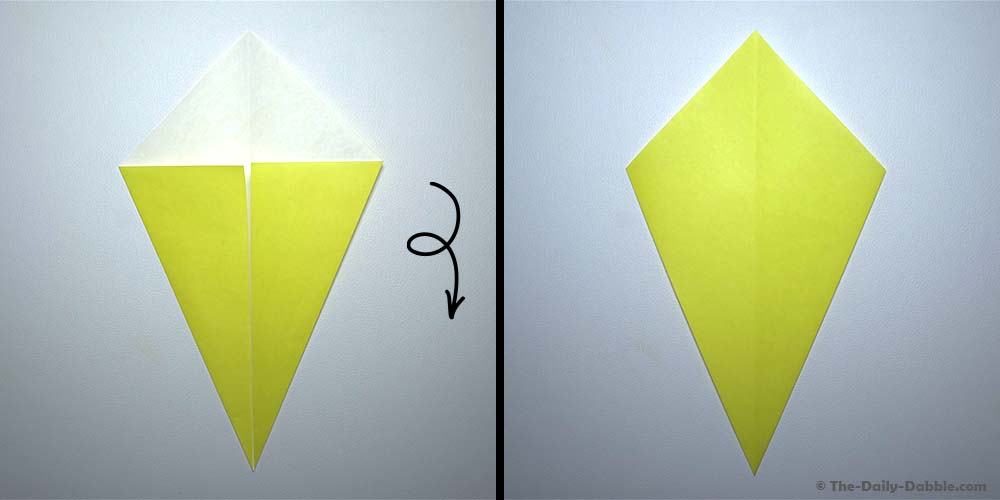
Flip the paper over so that the previous folds are facing down.
5. Fold the bottom corner up
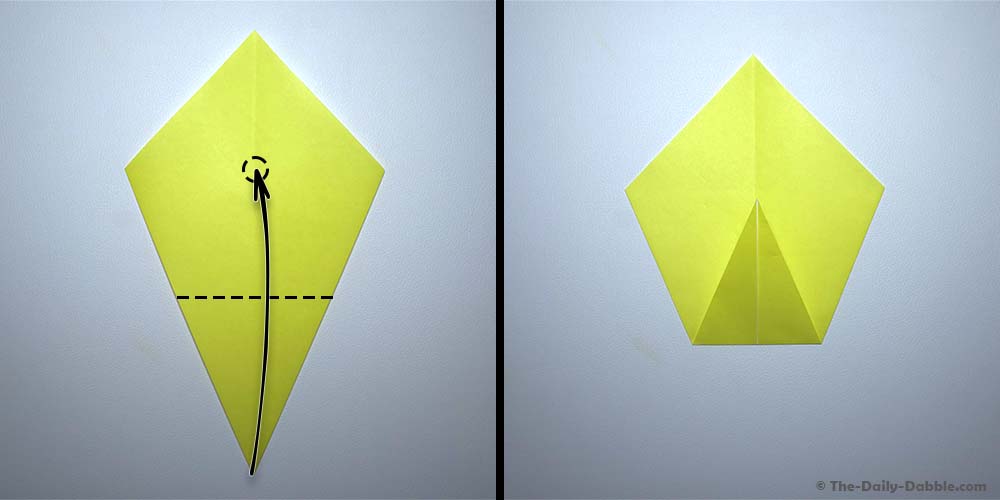
Next, fold the bottom corner directly upward to about the same height as the side corners (which is a little more than halfway).
6. Fold the bottom flap in half downwards
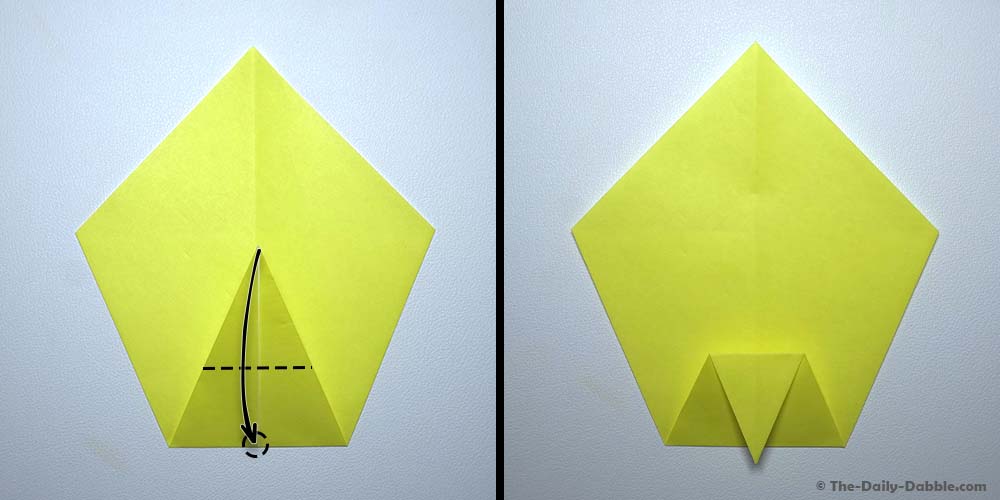
Take the flap that you just folded and fold it in half down so that the point touches the bottom of the paper.
7. Flip the paper over and fold in half lengthwise
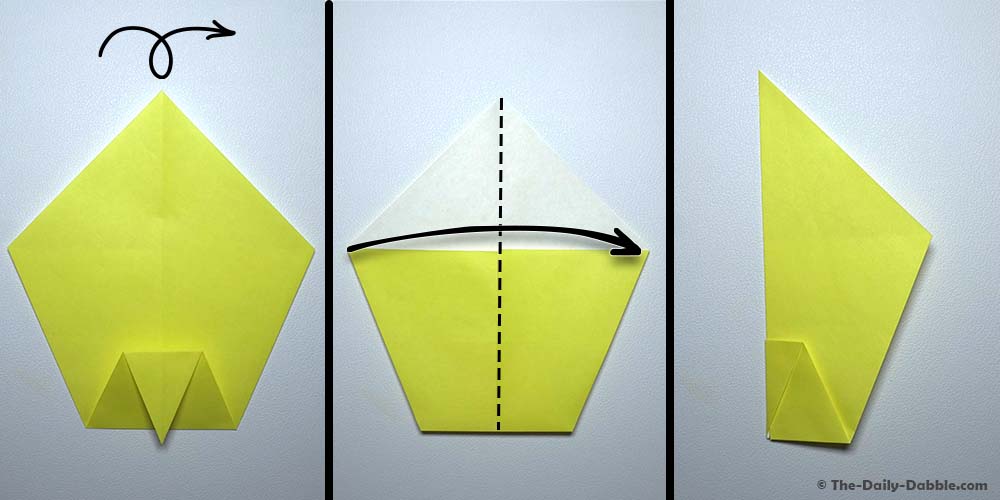
Flip the paper over so that your last two folds are facing down, then fold the paper in half lengthwise.
8. Pull the neck up and flatten it well
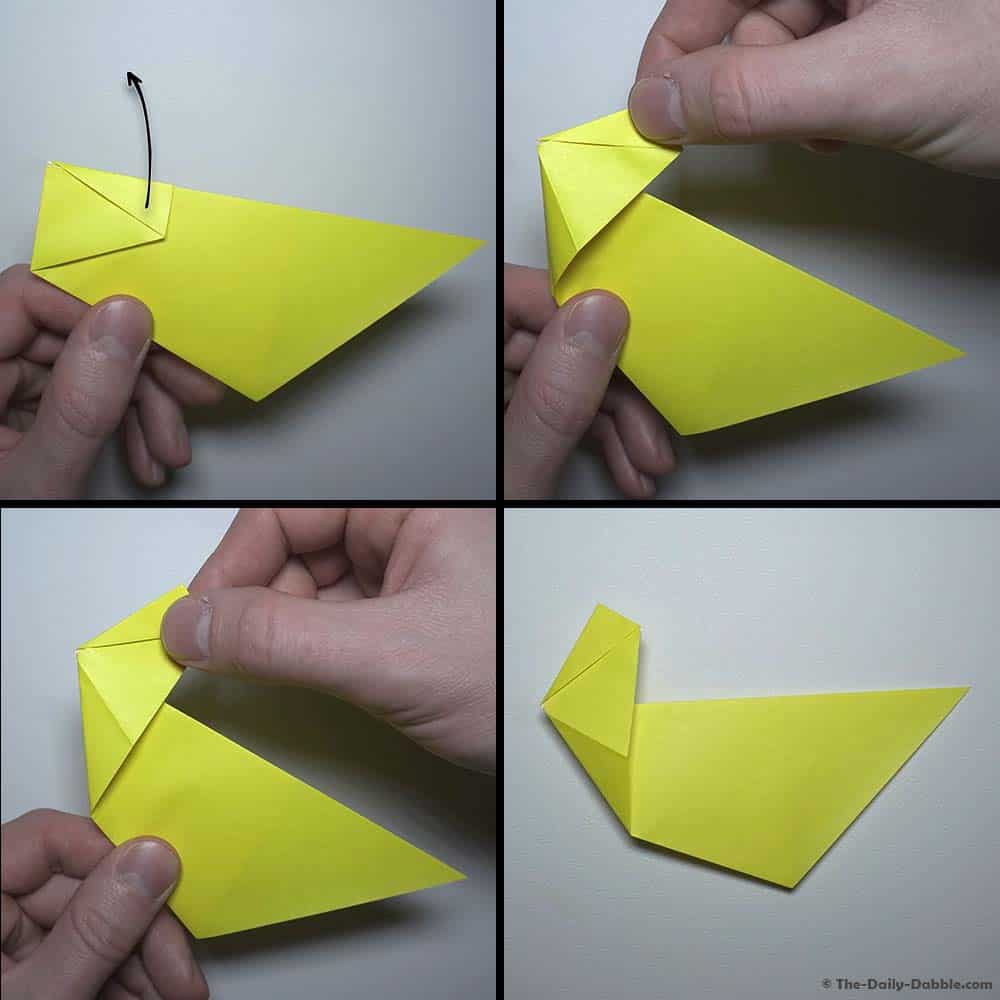
Time to make the duck’s neck. Grab the head and pull it up and flatten it down. You can adjust this fold to give your duck a different look.
9. Pull out the head and flatten it well
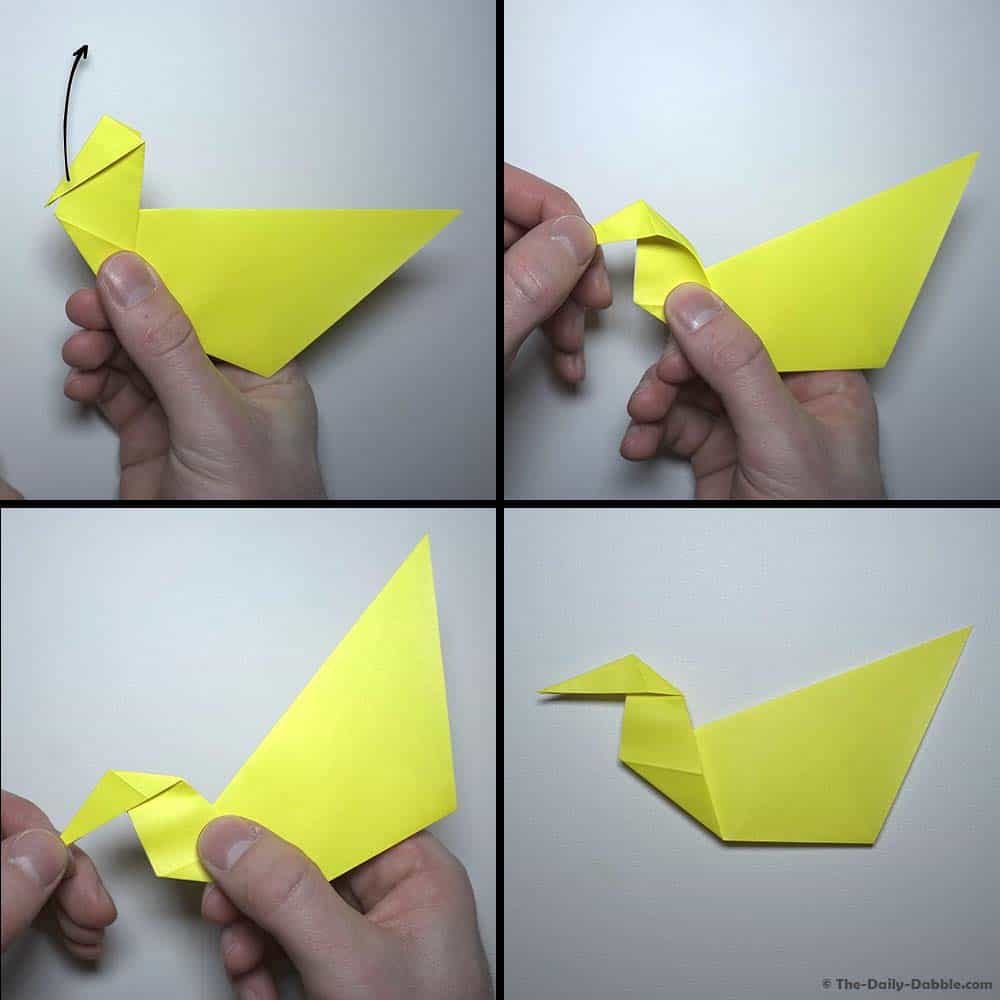
Let’s finish off our duck by creating its head. Doing the exact same thing that we did in the last step, grab the head and rotate it upward. When you get it where you want it, flatten everything down.
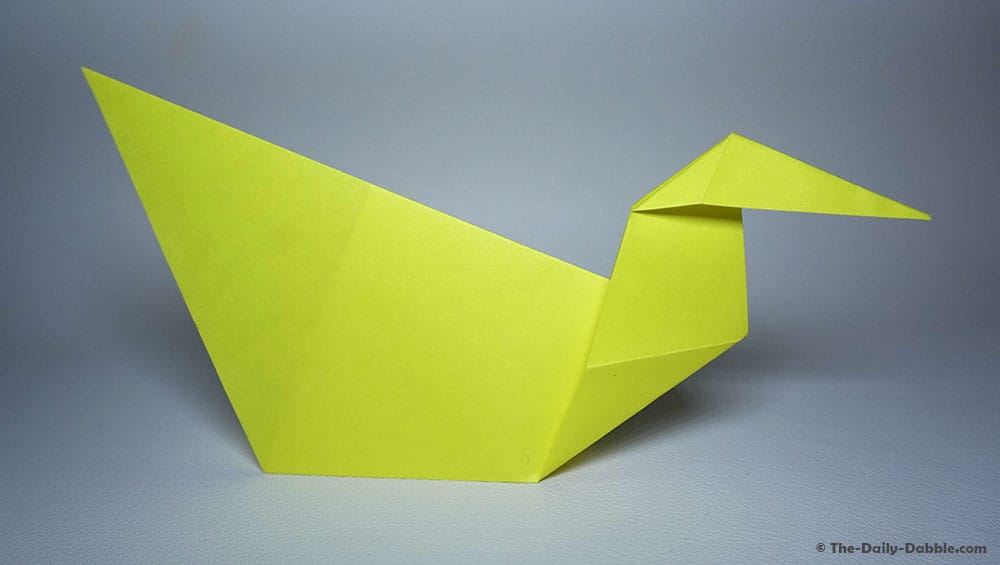
There you have it, a traditional origami duck! You can now stand this little guy up on a desk or table and decorate it to your liking!
If you liked folding this little duckling, you might enjoy folding the paper crane or origami dove.
However, if you would like to fold some other extraordinary flying creatures, consider checking out our collection of origami bird guides.
Also, be sure to drop by our main origami page for a growing collection of origami guides!
Thanks for following along, and happy folding!