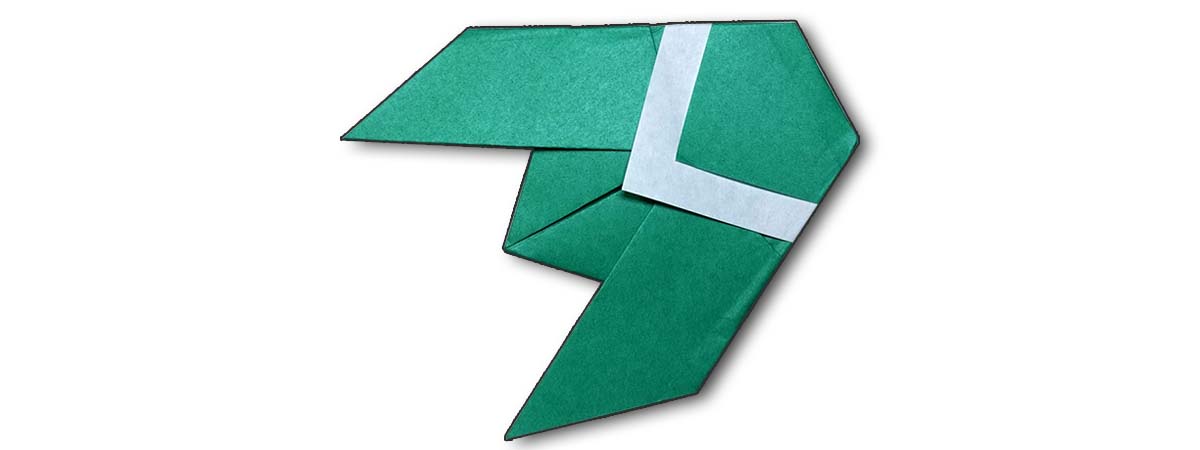
In this guide, we are going to learn how to fold the traditional origami Cicada using a single piece of origami paper.
The Cicada is a large winged insect best recognized by its loud buzzing mating calls. Cicadas are well known in Japanese culture, which has made them the object of many origami artists.
This is one of our easy origami tutorials, that can be done within 3 to 4 minutes, and only utilizes a series of valley folds.
Let’s get folding!
In this guide, I’ll be using a multicolor piece of origami paper, with color on one side and white on the other.
1. Flip the piece of origami paper over showing white side up
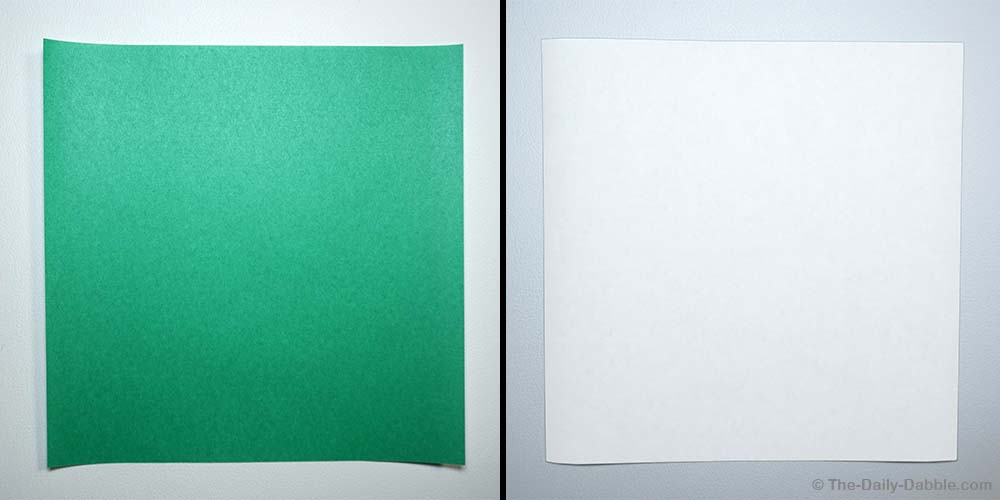
Begin by flipping your multicolor origami paper over to expose the white side up.
If you are using multicolor paper without white, whichever color is pointed up at the start will become the color of your bug’s stripe. For example, using the paper colors above, if I started with green pointed up, my Cicada would be white with a green stripe.
2. Fold the paper in half diagonally
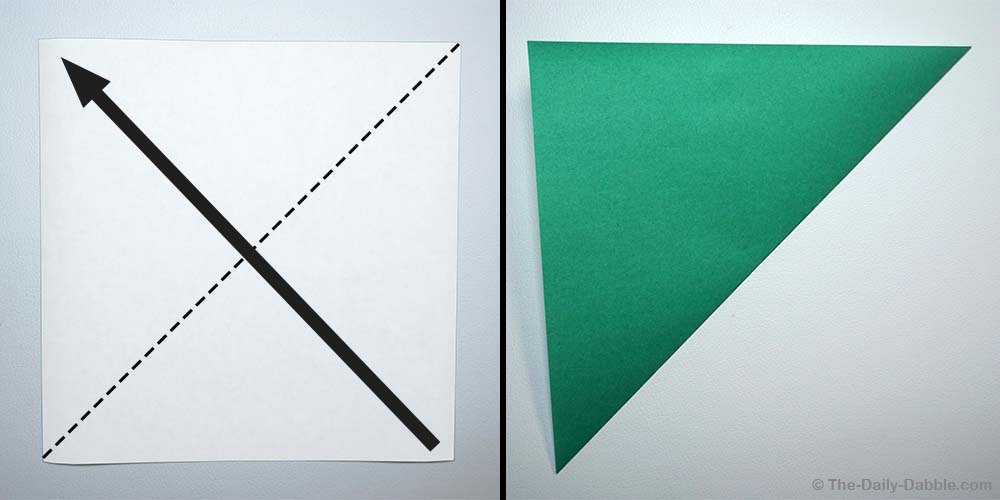
Next, fold the paper in half diagonally from corner to corner.
3. Fold the bottom corners to the top
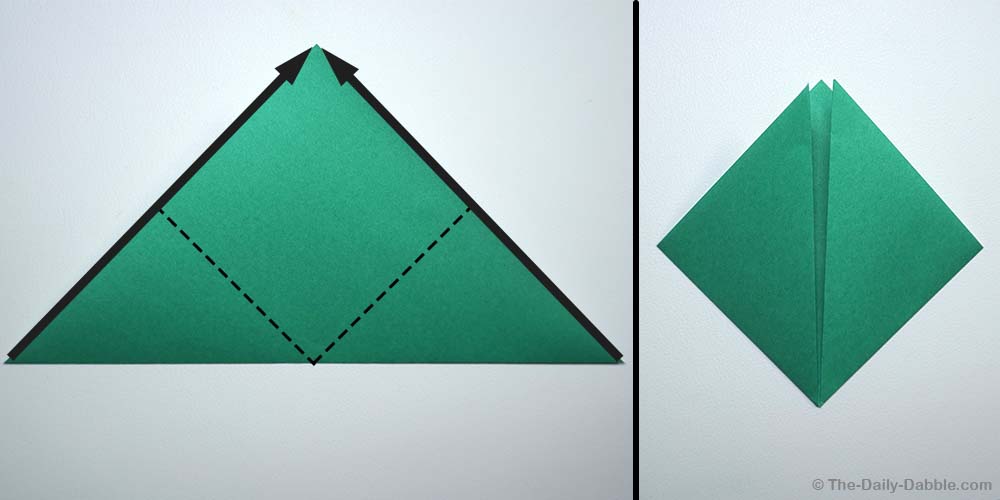
Next, rotate your triangle so that the long end is down, and then fold the two bottom corners to the top point.
Origami 101: At this point, you have folded the origami helmet base. This is one of the main origami base folds that can be continued into many different designs,
4. Fold the top flaps down
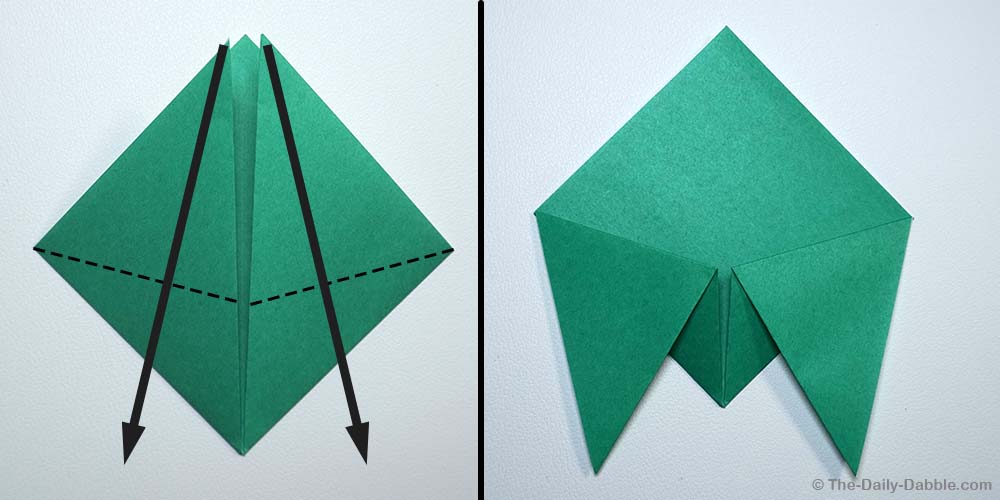
Take the two top flaps and fold them down and past the bottom edges.
At this point, you can decide how you want your wings to look. If you want them to look smaller and sleek, make your folds smaller. However, if you want them to look larger (like the bug is flying) make your folds larger.
5. Fold the first top flap down
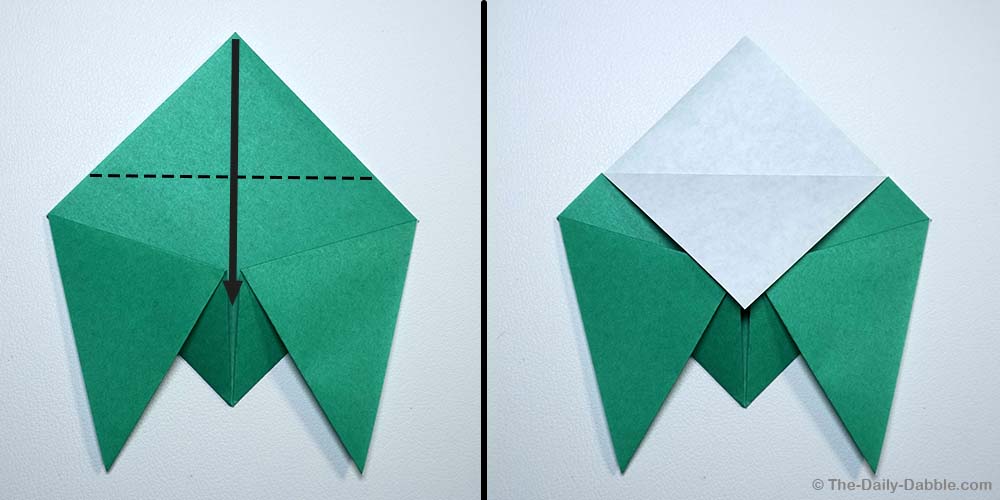
Now it’s time to make the stripe. On the top there will be two flaps. Grab the first flap and fold it down over the wings.
Just like the wings, you can adjust this fold to make a bigger or smaller stripe and adjust its location on the bug.
6. Fold the second top flap down
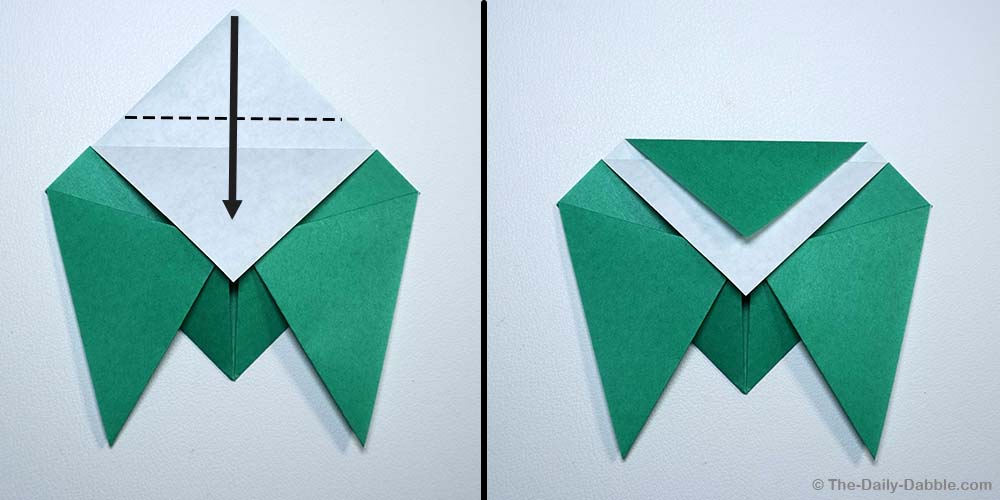
To finish the stripe, grab the second top flap and pull it down about half an inch from the previous flap.
You can make your stripe bigger or smaller by adjusting how far you pull down this second flap.
7. Fold the top edge down to the middle crease
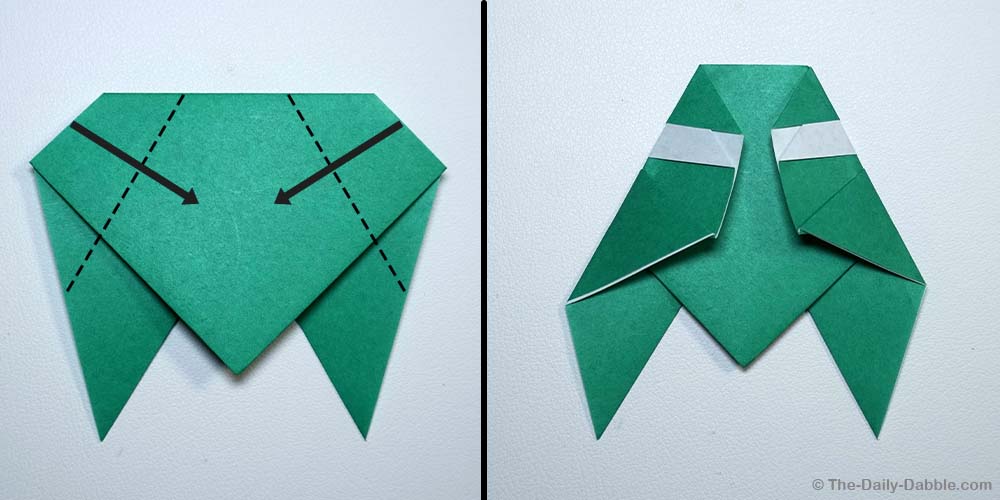
Now, we’re going to finish it off! Rotate your paper and fold the top edges on the left and right into the center of the fold.
Note: You can make your bug thinner or wider by adjusting how much you fold. By folding over more, your bug will be thinner. Alternatively, by folding over less, your bug will be wider.
Flip it over and there you have it, a traditional origami Cicada!

I hope you liked this little origami bug, it’s my personal favorite fold!
Also if you liked the style of this bug, consider checking out our full collection of origami insect guides!
Thanks for reading and happy folding!