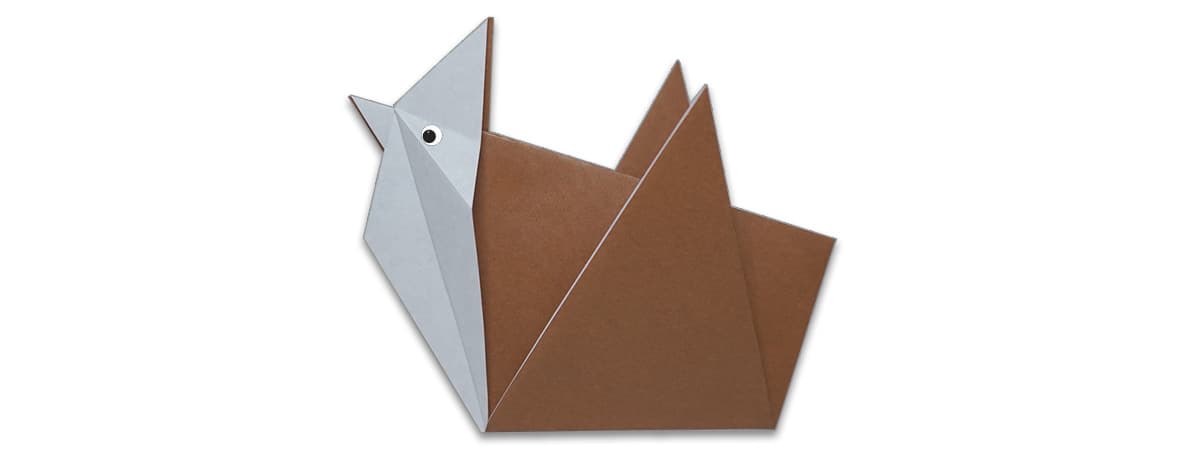
In this short and simple guide, I will show you how to fold a traditional origami hen step-by-step.
The paper hen makes a perfect little companion for the origami chicken!
This fold requires a single piece of square paper and can be folded in about 2 to 3 minutes.
Let’s get folding!
For this paper hen, you’ll ideally want a multi-color 6 x 6 sheet of origami paper. However, you can also use a single color sheet and color your bird how you like.
If you don’t have a square piece of paper you can also cut printer paper into a square.
1. Start color side down
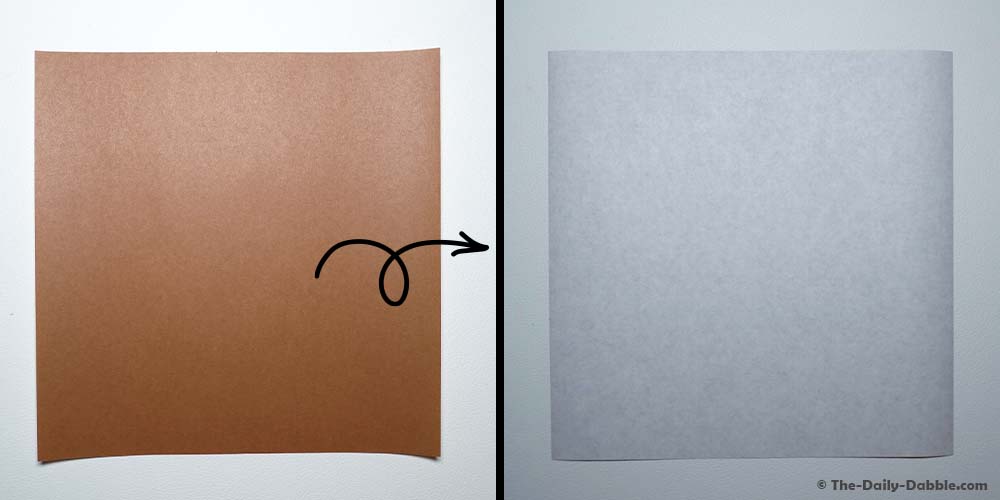
Whichever color you begin with facing down will dictate the primary color of your hen.
My paper is brown and white. I want my hen to be brown, so I’ll start with the brown side down. This will make the body of my hen brown and the head white.
2. Fold the paper in half diagonally
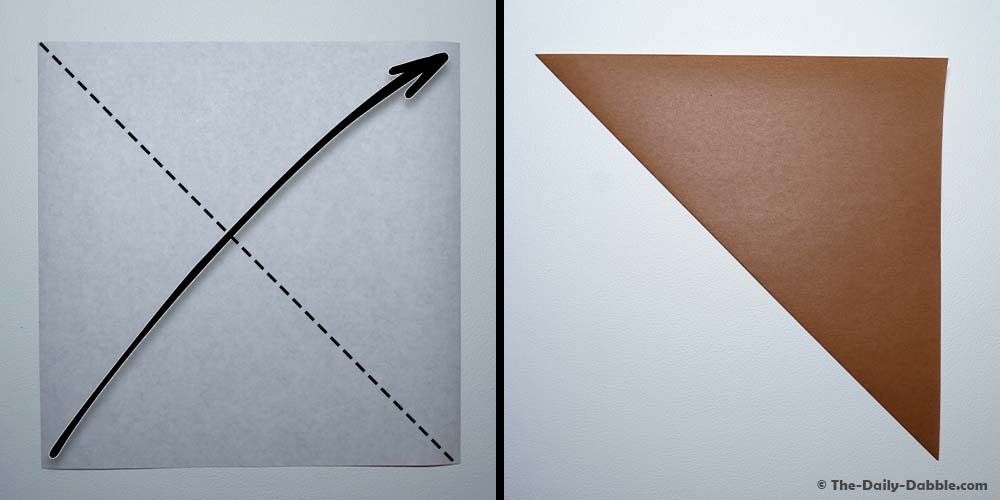
Begin by folding your paper in half diagonally—bring the bottom-left corner up to the top-right corner, then crease well. The end result will be a triangle.
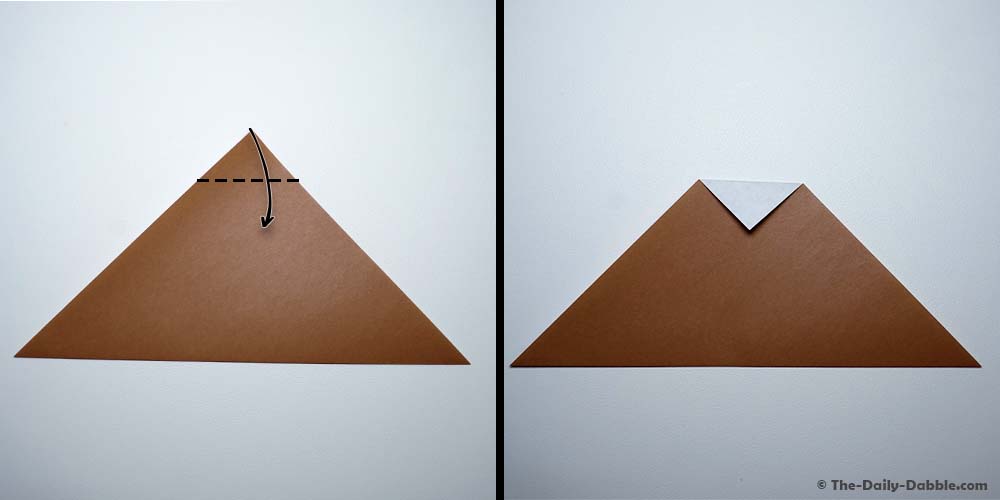
3. Fold the top layer down
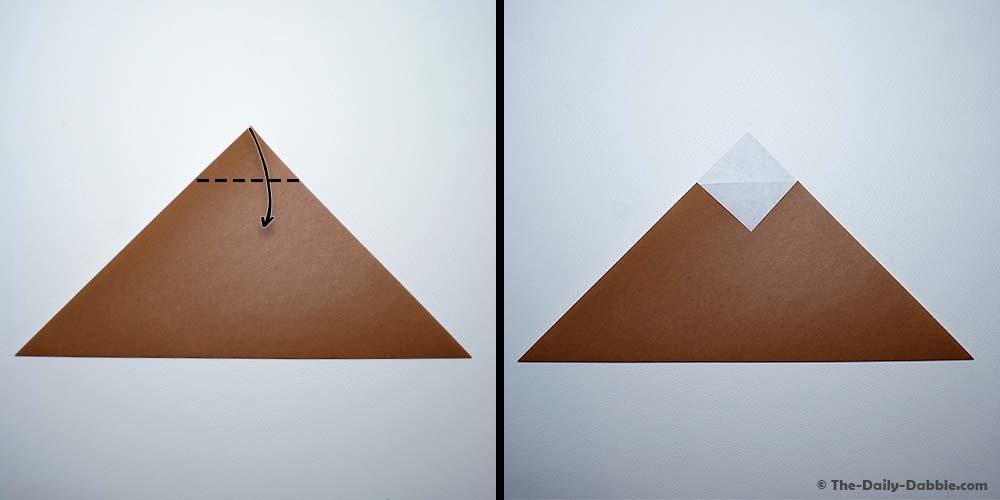
Rotate your triangle so that the long end is facing down. Next, grab the upper layer of the top corner and fold it down about 1/4th of the way to the bottom. Try to make your fold as level as possible.
4. Flip the paper over and repeat
Flip the paper over and repeat the last step—folding the top corner down to the same place as the other side.
5. Fold the top flap up
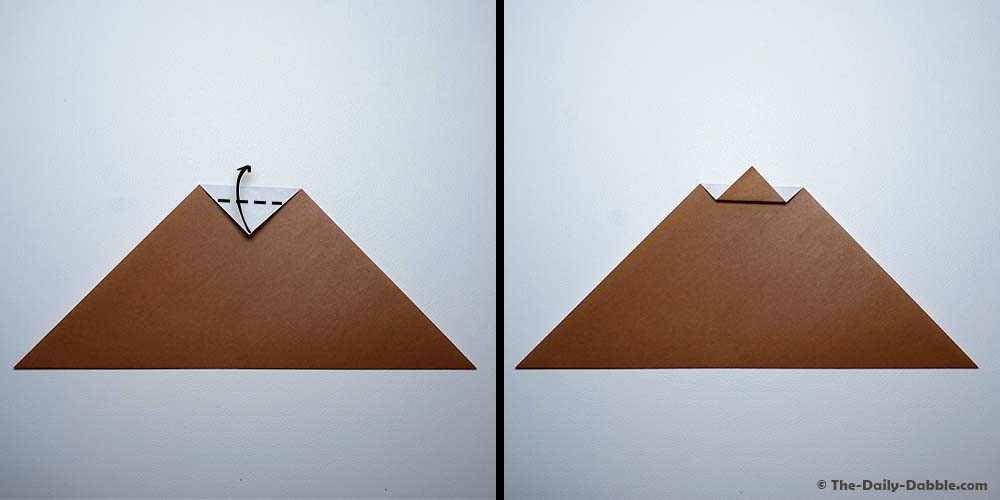
Take the triangle flap from the previous step and fold it in half upwards.
6. Fold it in half vertically

Next, fold the paper in half vertically—bring the left side over the right— then crease well.
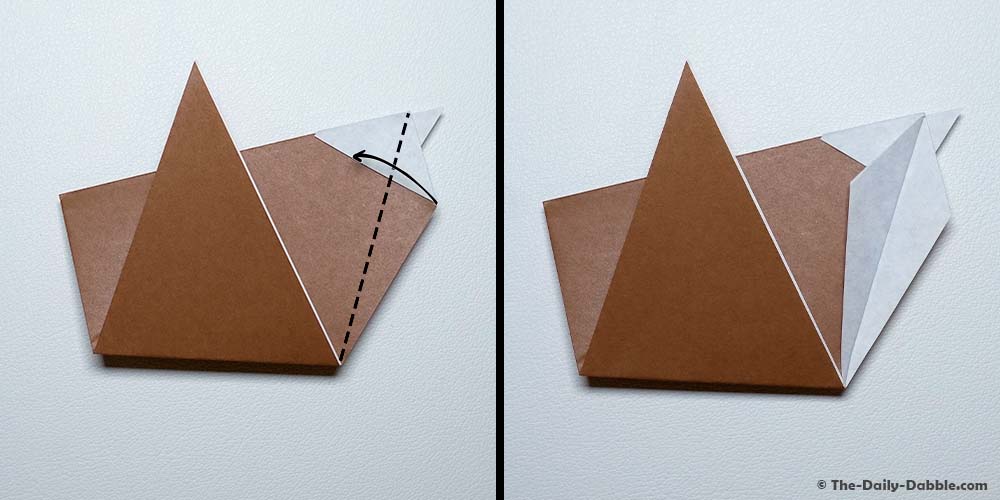
7. Fold the right flap over to the left at an upward angle
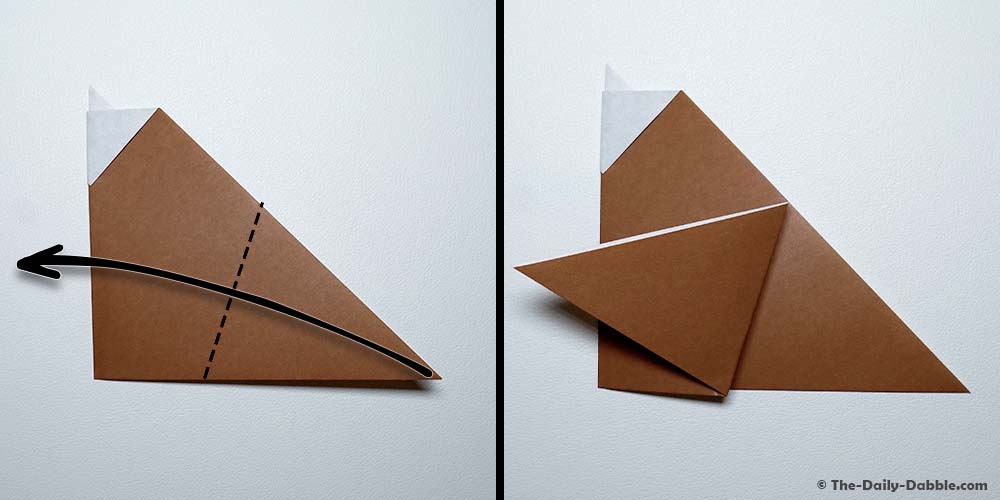
With the sharp side of the triangle pointing right, fold the upper flap over to the left at an upward angle. This will create the first wing.
You can adjust the length and angle of the fold to your liking and customize the shape of the hen’s wings.
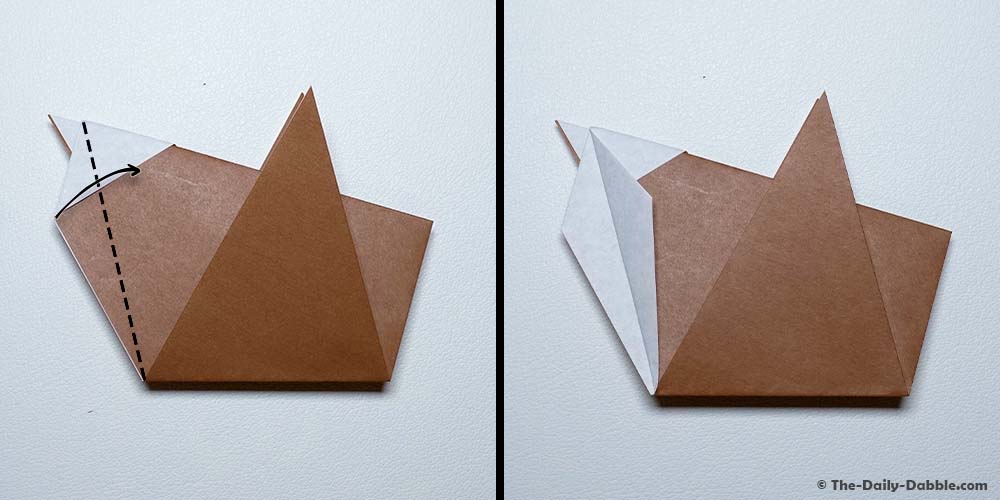
8. Flip the paper over and repeat
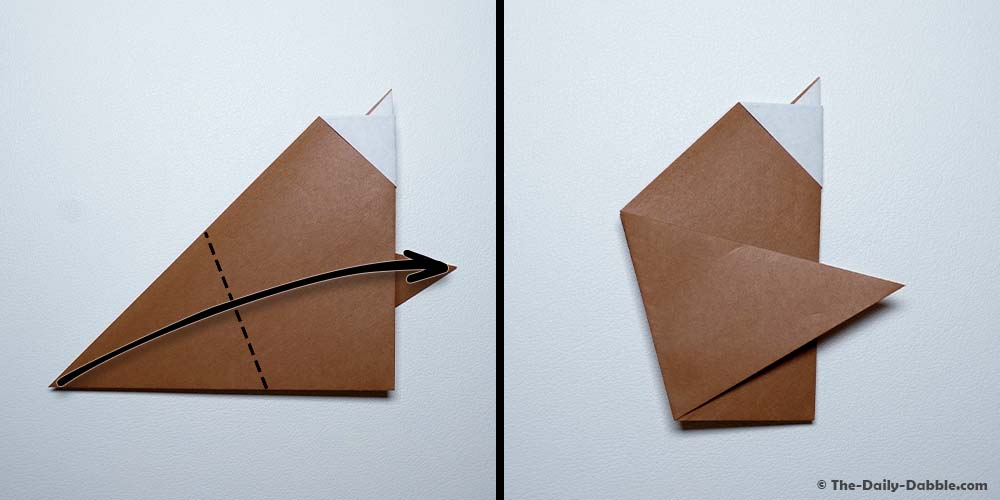
Flip the paper over and repeat the previous step to create the other wing by folding the flap over to the left and upward.
9. Flip the paper and fold the right flap
Flip your paper over and rotate your hen so it points to the right. Then fold the upper flap on the right section of the paper over to the left.
10. Flip the paper over and repeat
Now we’re going to do the same thing on the other side. Flip your paper over and fold the upper flap on the left section of the paper over to the right.
11. Pull the top piece upward and flatten everything
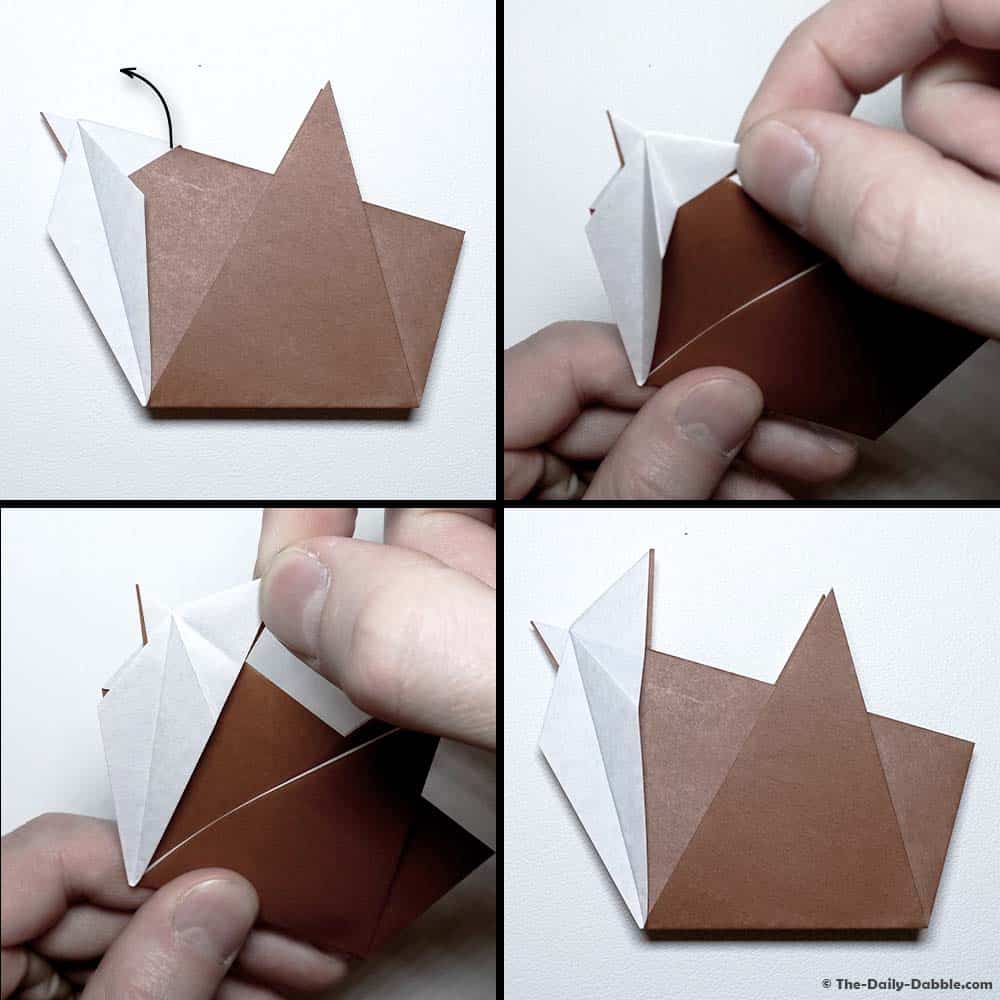
Here comes the tricky part. On top of the hen’s head, there is a flap pointing backward. Grab that flap and slowly rotate it upward to create the hen’s comb. Your previous two folds will flatten out as you pull the flap up.
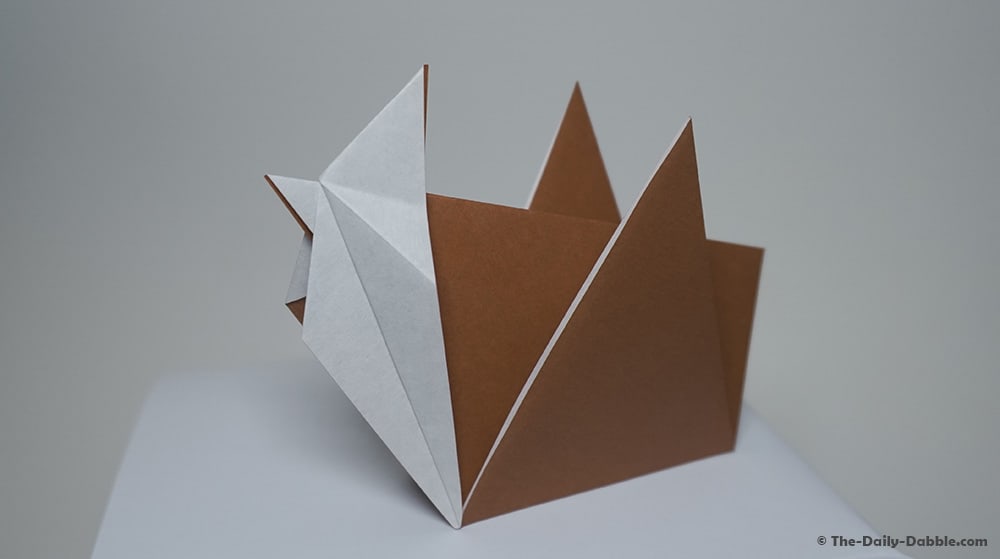
You can now sit your hen on a table or desk. There you have it, a traditional origami hen!
I hope you liked this little origami bird and if you enjoyed this style of guide, consider checking out our collection of origami bird guides! We have much more to fold—including the infamous paper crane!
Thanks for reading, and happy folding!