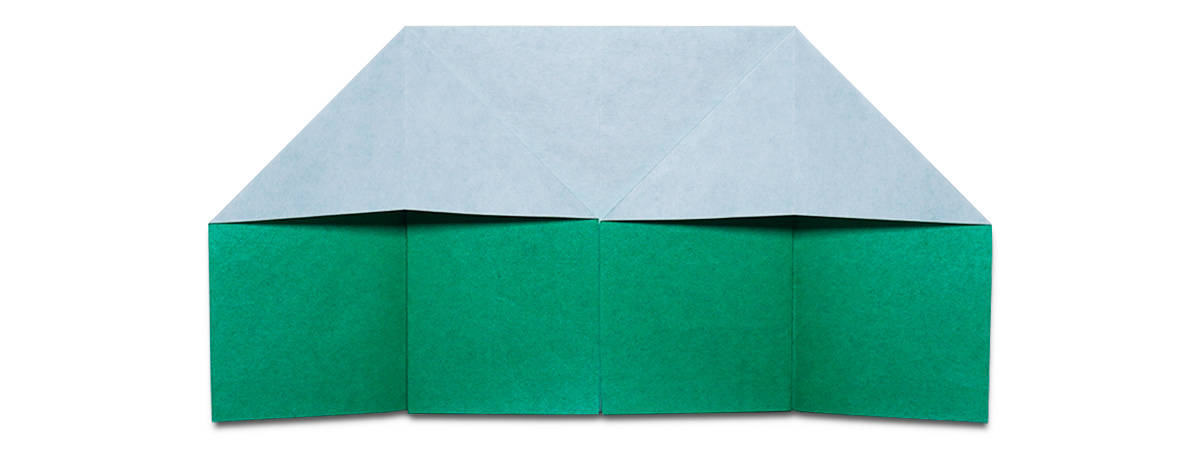
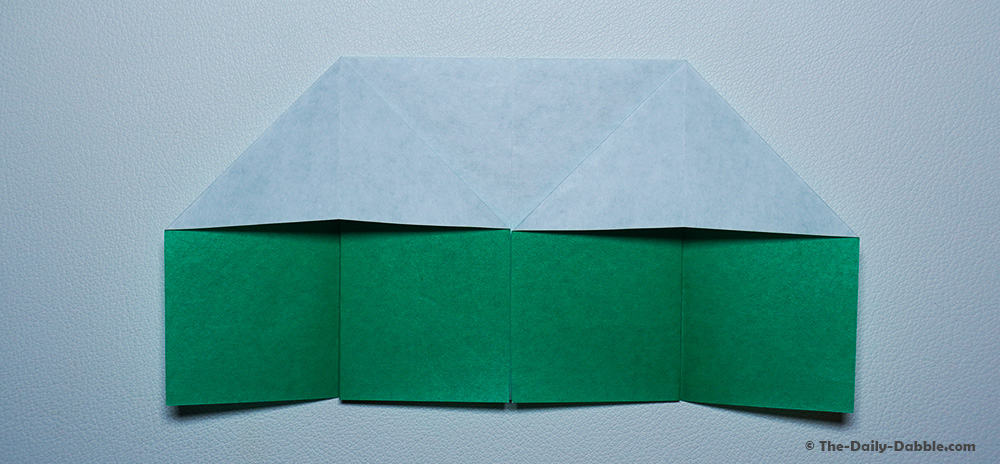
The organ base is one of the 12 traditional origami bases and is named for its use in creating the traditional origami piano.
Origami bases are designs upon which many other origami models are built. For example, the organ base is used for quite a number of origami compositions including the infamous fox puppet! For a full list of designs that can be made using this base, scroll down to the bottom of this guide (or click here)!
This easy base consists of only eight folds and takes about 3 minutes to complete.
To fold this base, you will need a single square sheet of paper—origami paper works the best and will provide you with cleaner creases. However, if you don’t have origami paper, you can also check out our guide on how to make a square sheet out of printer paper.
In this tutorial, I’ll use a multi-color 6 x 6 sheet of origami paper.
Step 1: Determine your primary color
If you’re using multi-color paper with a different color on each side, you’ll need to decide which color you want for each part of your base.
This will be dependent upon which model you are folding, but in terms of how it affects the base itself—whichever color is facing up will specify the bottom section of the base. Conversely, whichever color is facing down will determine the upper section.
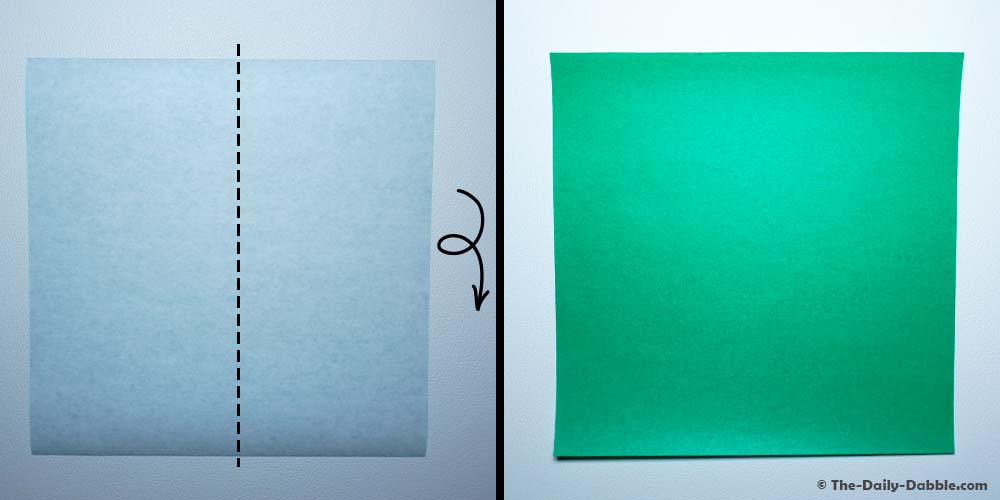
Step 2: Fold in half vertically, then unfold
Begin by folding your paper in half vertically, bringing the right edge to the left. Crease well and unfold.
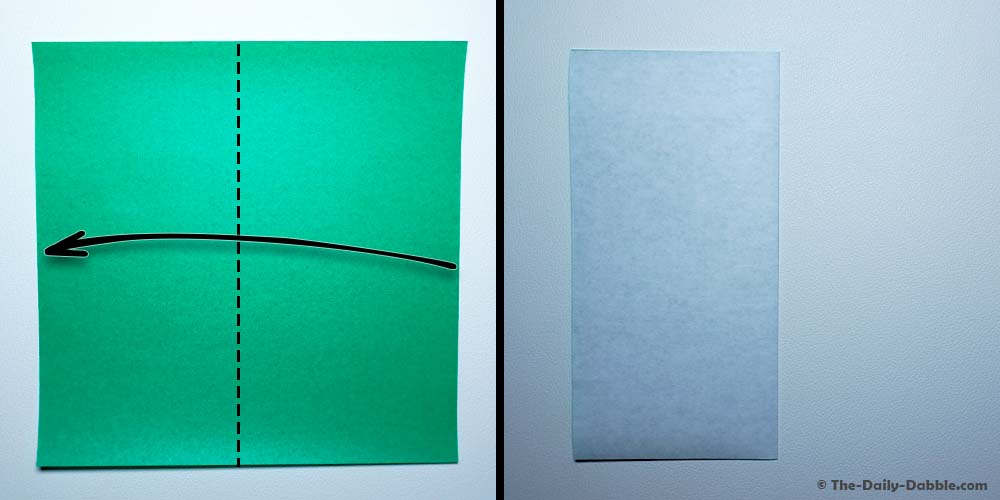
Step 3: Fold the paper in half horizontally, then unfold
Next, fold the paper in half horizontally. It is important in this step to bring the top edge down to the bottom edge. Crease well and unfold.
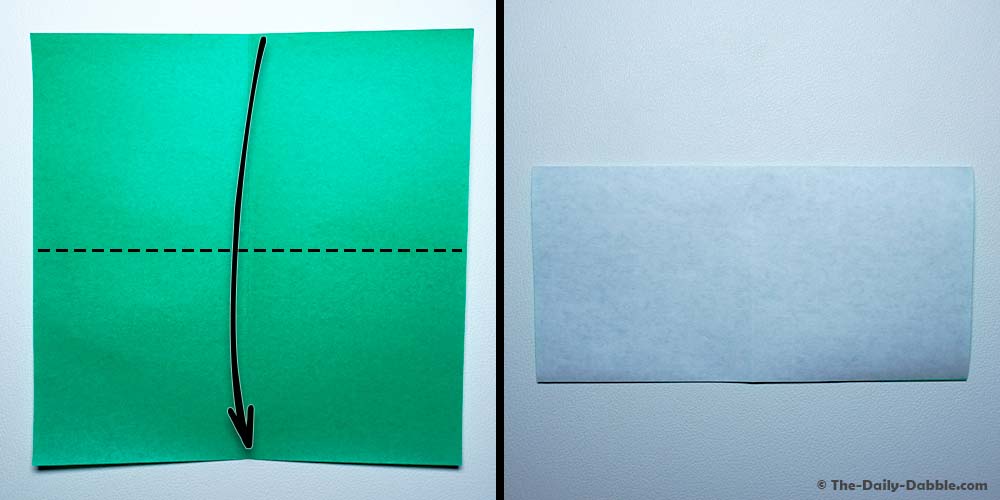
Step 4: Fold the left and right edge to the center crease
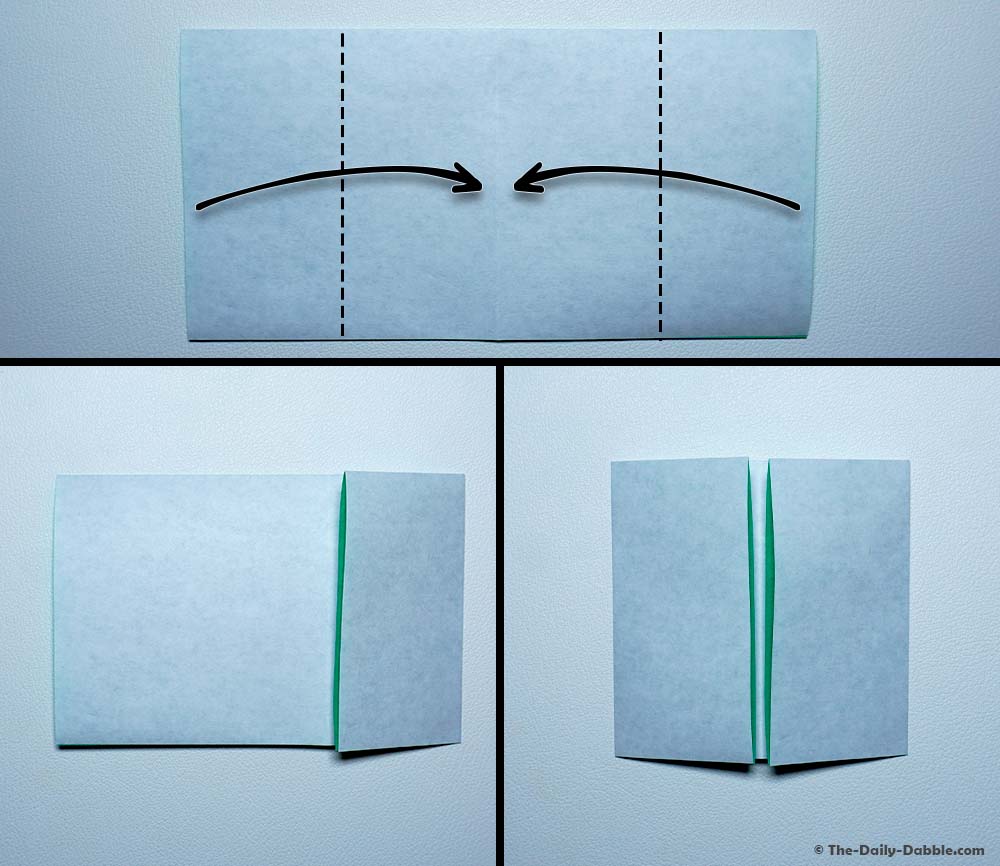
Next, fold the left and right edge to the center and flatten down well.
Step 5: Fold the corners of each flap diagonally, then unfold
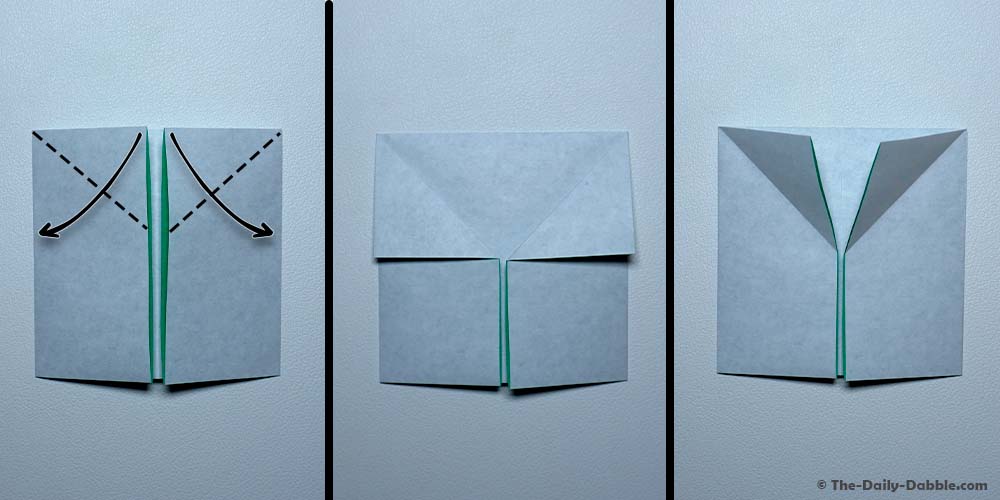
Grab the top-left corner of the right section and fold it diagonally so that it aligns with the right edge of the paper. Then repeat this step for the left flap, folding it diagonally to the left edge.
Crease both folds and then unfold.
Step 6: Open up and squash fold the right section
Grab the top layer of the right flap while holding down the second flap. Pull the flap over to the right while using the creases as a guide, squash fold the top section into a triangle.
Step 7: Open up and squash fold the left section
Repeat the previous step on the left side. Grab the top layer of the left flap while holding down the second flap. Pull the flap over to the left while using the creases as a guide, squash fold the top section into a triangle.
Flatten everything down, and there you have it, the traditional origami organ base!
The Organ Base: Continued Folding
Alright, so you’ve just folded the organ base and you want to turn it into something unique and awe-inspiring. But what?
Below is our collection of origami designs that use the organ base as a starting point!
You can click the images below to visit each step-by-step guide!
Fox Puppet
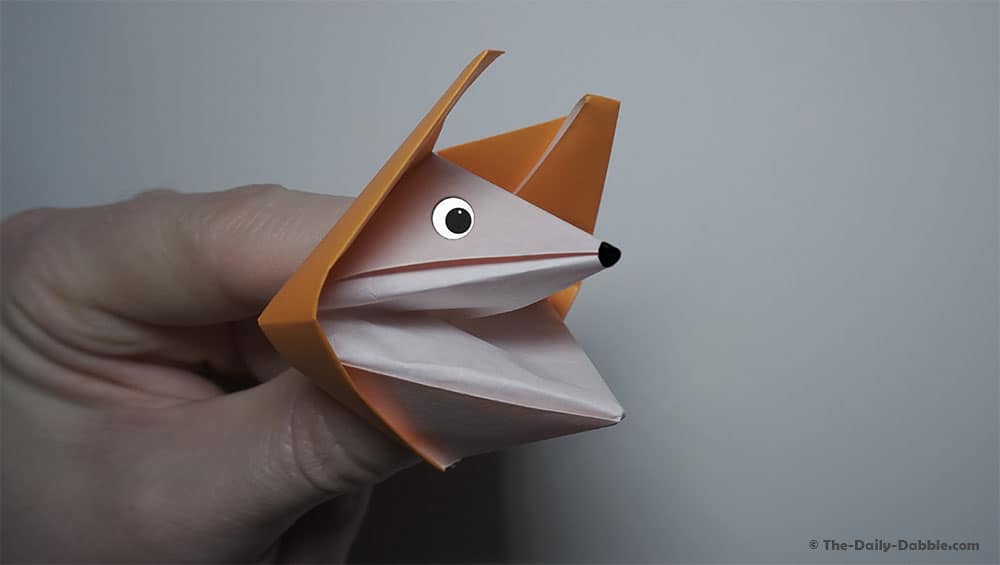
Want to have a puppet show? Why not make the star of the show a creature of the paper arts! This cool and easy fox puppet is guaranteed to steal the show. You can also build this design with other paper colors and decorations to make a variety of puppet animals. Check out our origami fox puppet guide here!
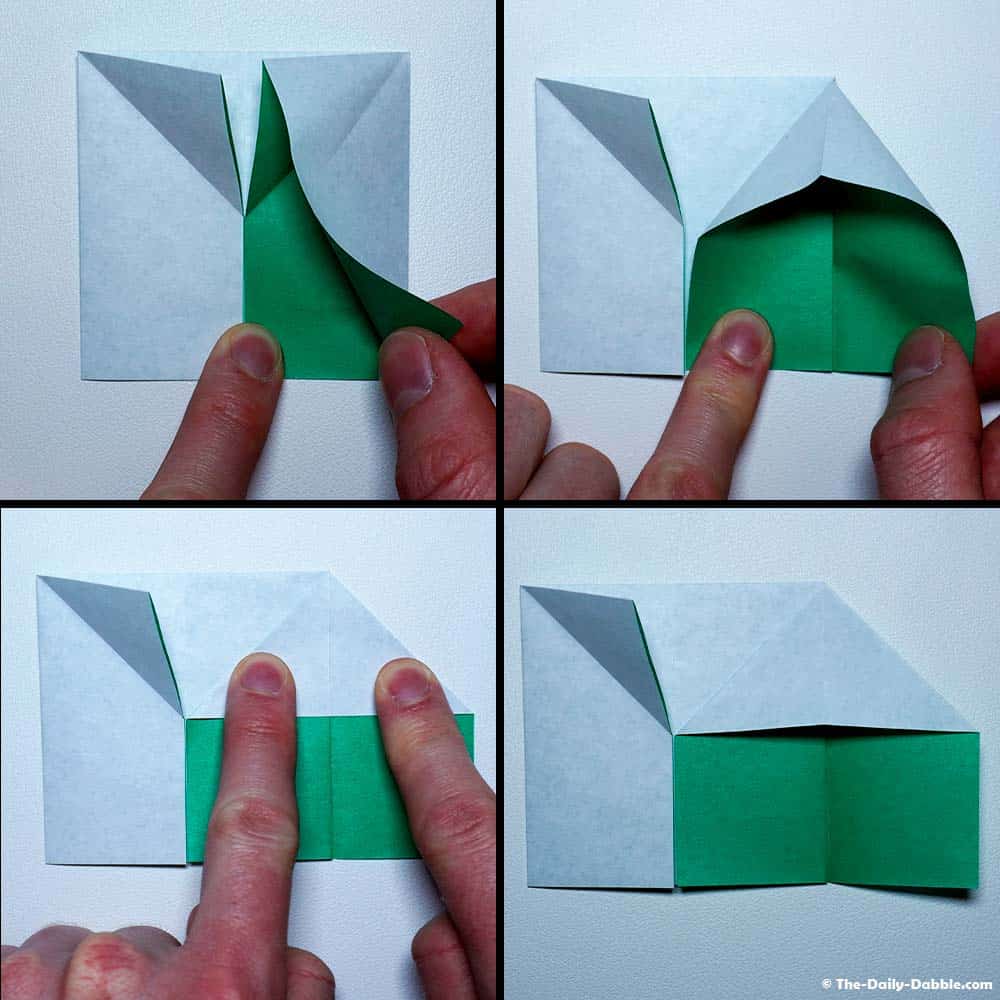
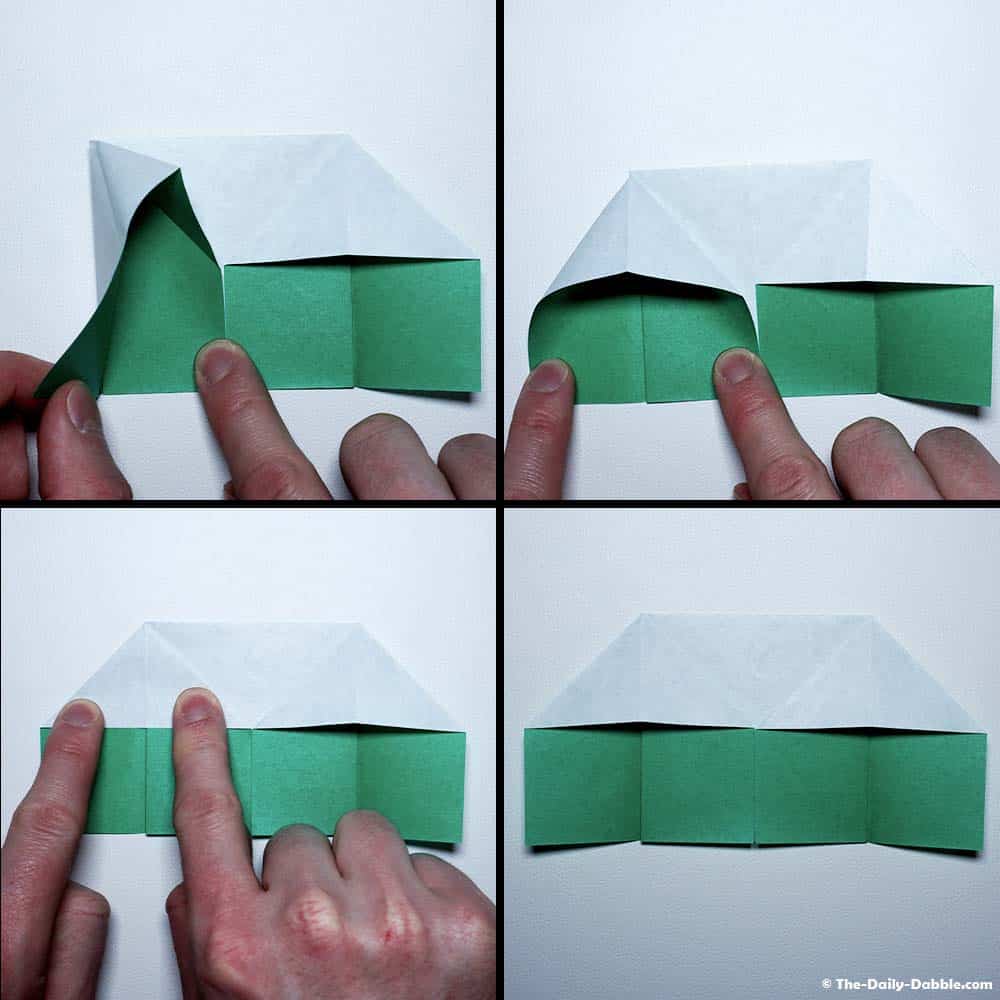
Easy House
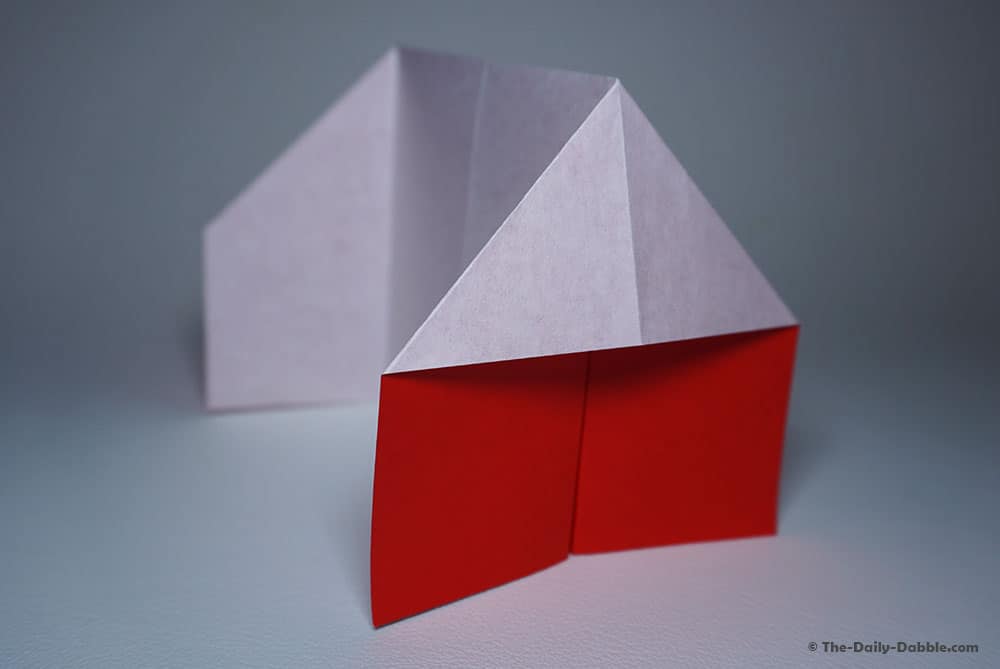
You can easily turn your organ base into a cool little house with two additional folds. Check out our easy origami house guide here.
Closing Thoughts
Origami bases are a fun and easy way to memorize all your favorite folds.
If you would like to learn how to fold more origami bases, check out our beginner’s guide to origami base folds. Or, if you’re looking for some cool things to fold, check out our growing collection of origami designs here.
Happy folding!