
These step-by-step instructions will show you exactly how to make an origami star.
This star has a good amount of folds but is still a beginner-level origami idea.
If you want to fold a star that is easier and has fewer steps, check out our other easy paper star guide.
Let’s get folding!
For this tutorial, we will use just one sheet of square origami paper.
If you need square paper, no worries, here’s how to easily cut regular paper into a square.
1. Fold the square in half from point to point
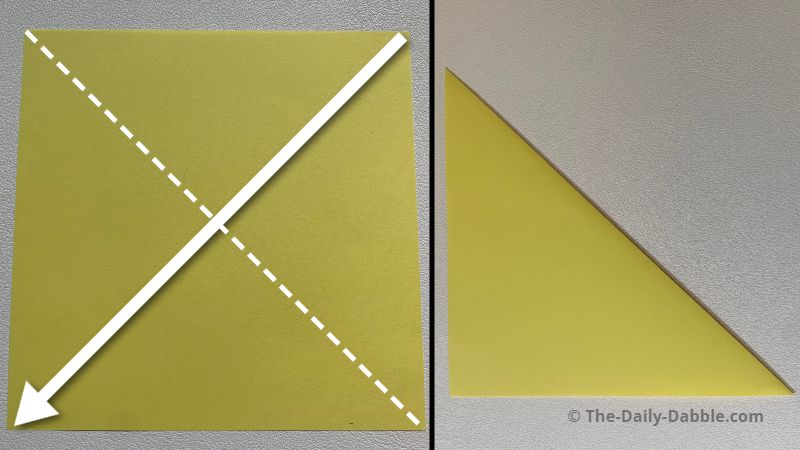
Simply use the points and edges to fold the paper directly in half diagonally.
Unfold the paper once you have run your finger along the edge of the fold and made a nice crease line.
2. Fold the paper in half again from the other points
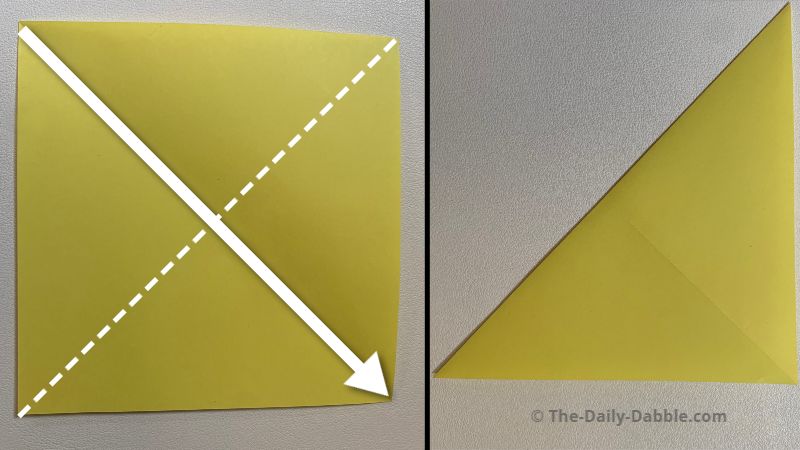
Crease the paper in half again from the other points diagonally.
Once again we will unfold the paper after completing this fold.
3. Fold the paper in half normally
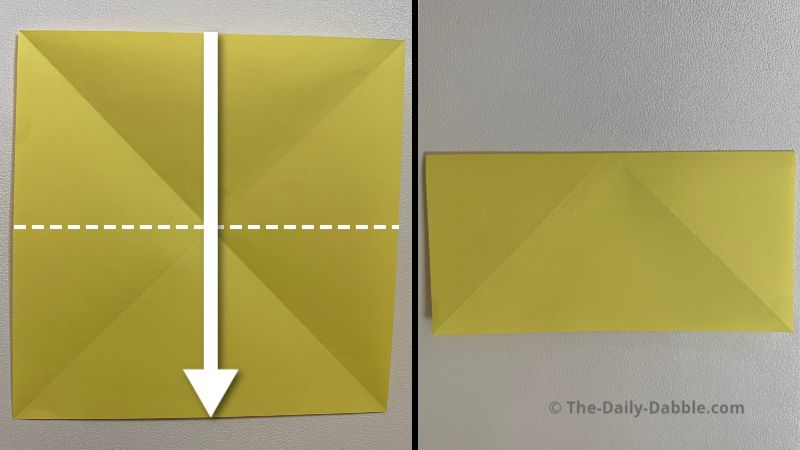
Now you can fold the paper directly in half the normal way from edge to edge.
Unfold the paper again before moving to the next step.
4. Fold it in half one more time the opposite way
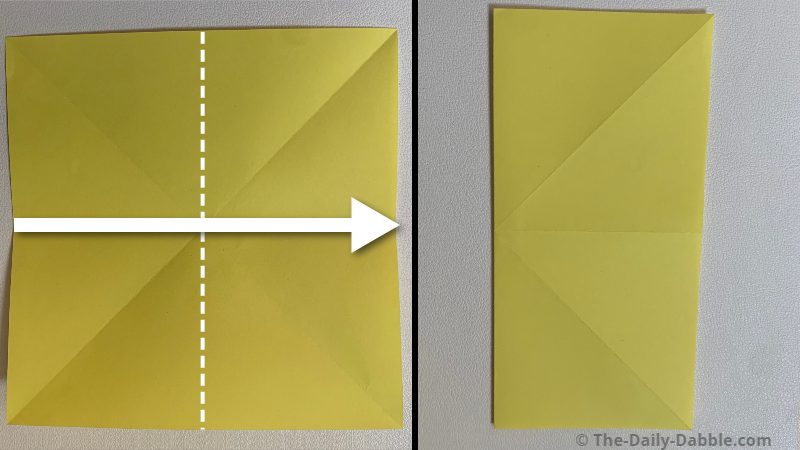
Fold this paper in half from the opposite edges as the last step.
Once you are done, unfold it all the way flat again.
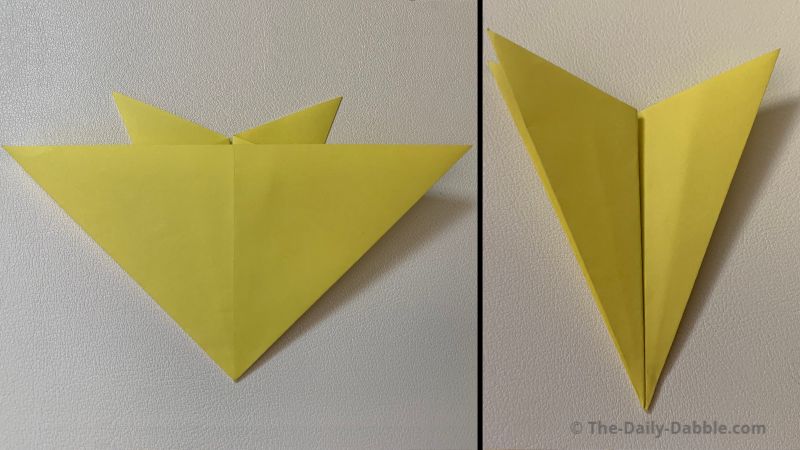
5. Push two outer edges inward to fold it flat into a triangle
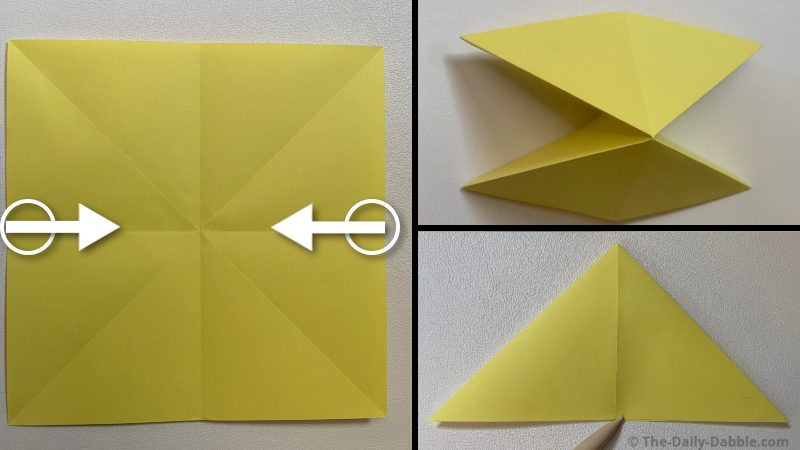
As you push two of the edges inward make sure the other sides go upward.
You can then the two triangular sides down onto each other.
Origami 101: Right now you have folded an origami waterbomb base which is one of the main origami base folds! Learn more about origami bases here.
6. Fold the upper right flap in half twice
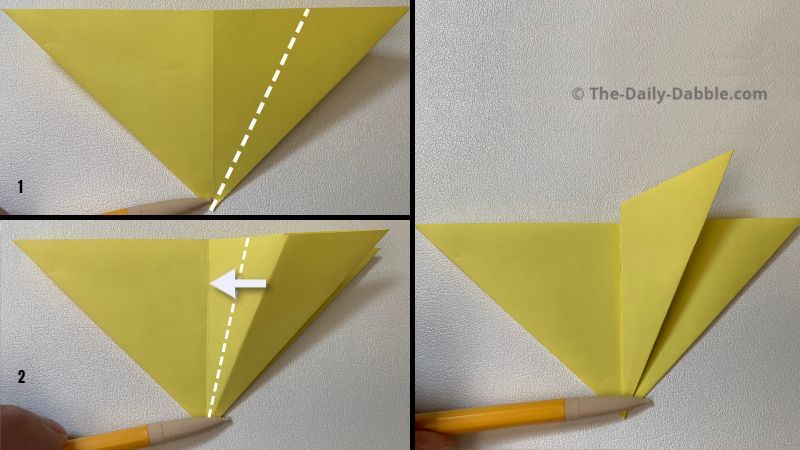
First, make a mountain fold directly in half with the crease going up.
Next, fold that crease you just made to the middle line of the triangle.
7. Bring the left flap to the right, then fold it in half
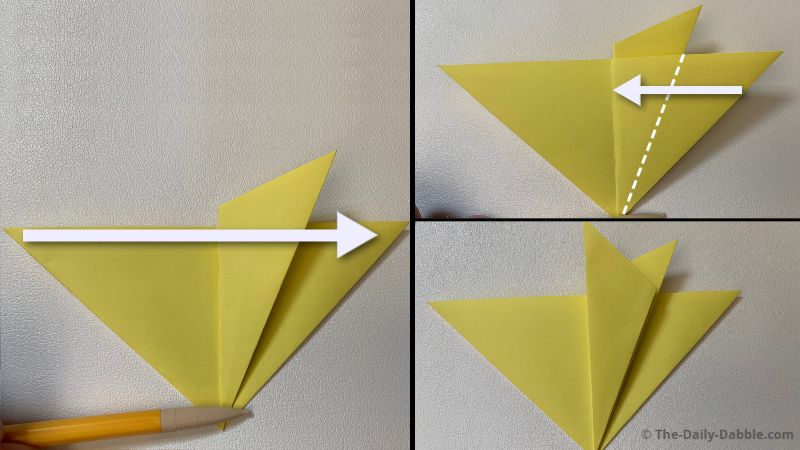
Move the left upper flap all the way to match the right point and then fold it in half back to the centerline.
8. Move the top flap back to the left and then fold in half
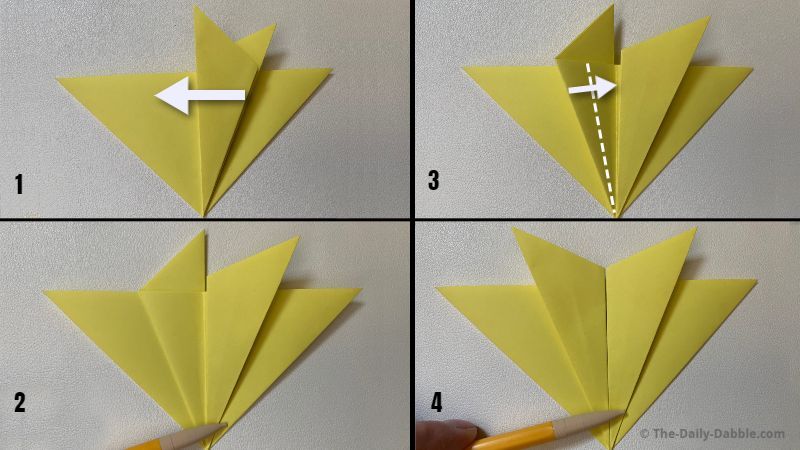
Move the uppermost flap back to the left and then fold the upper layer in half to meet the centerline.
You are basically mirroring the folds that we did with the right side.
9. Flip over and repeat steps 6-8 on the backside
After completing step 8, just flip it over and repeat the same folds again using steps 6-8.
Once you are finished with those steps, everything will be the same on both sides and you can move to the final step.
10. Fold the up flaps down evenly to finish the star
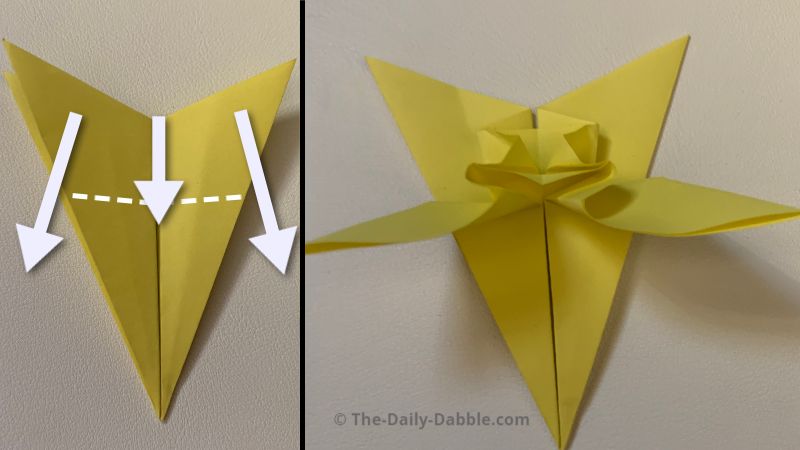
Grab the upper flaps on the double-pointed side and fold them down to make everything even.
Take your time with this step and don’t make the creases until it looks somewhat even to you.
Before you crease it down for good, you can look at it from the front side to make sure everything is symmetrical.
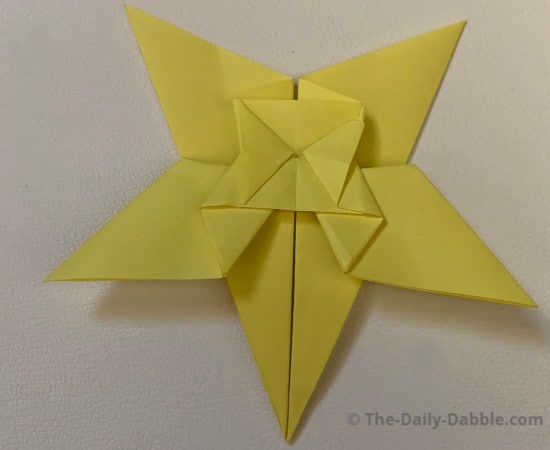
Now you have yourself a sweet origami star!

If you want another simple and fun origami project, you might like our traditional paper ninja star tutorial.
Happy Folding!