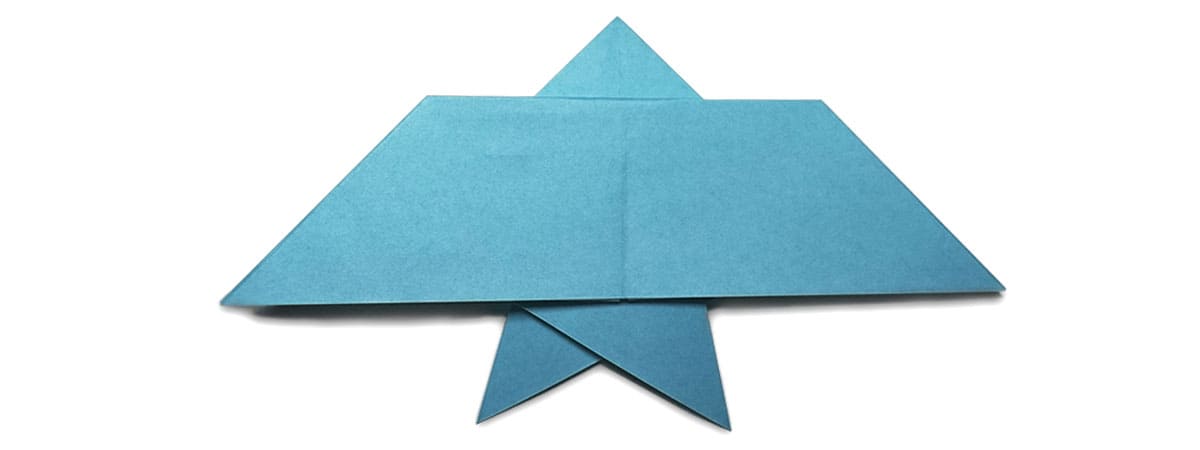
This origami guide will teach you how to fold an origami swallow step-by-step using a single piece of paper.
The basic swallow is a traditional design that is beginner-friendly and should take you 4-6 minutes to complete.
If you enjoy the guide, consider checking out our growing collection of other fun origami guides here.
Let’s get folding!
To make a paper swallow, you will need a single square piece of paper. You can use regular printer paper cut into a square; however, I recommend origami paper for better-looking folds, and that traditional origami feel!
In this tutorial, I’ll be using a >multi-color 6 x 6 sheet of origami paper, but you can use single-colored paper as well.
1. Flip the paper so the colored side is face-up
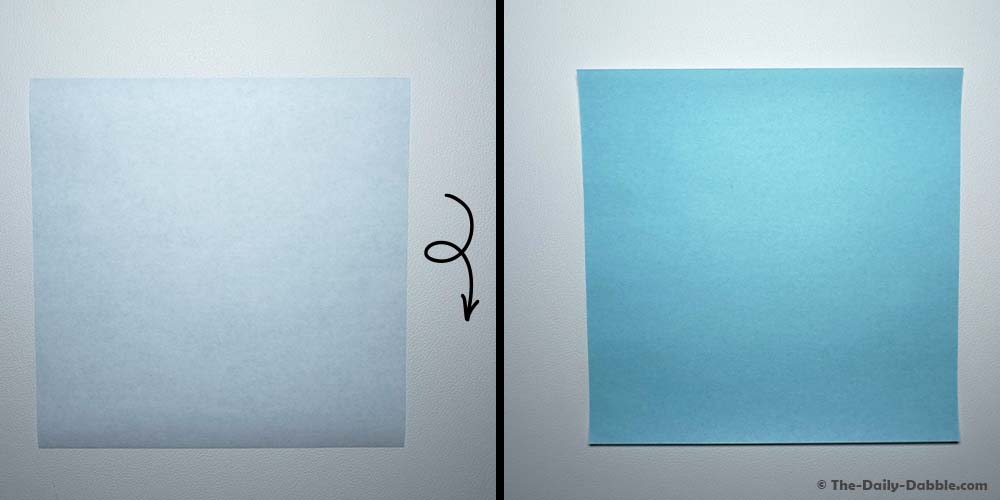
To begin this fold, flip the paper so that your desired bird color is facing up. If you are using a single-colored piece of paper, you can skip this step.
2. Fold the paper in half horizontally, then unfold
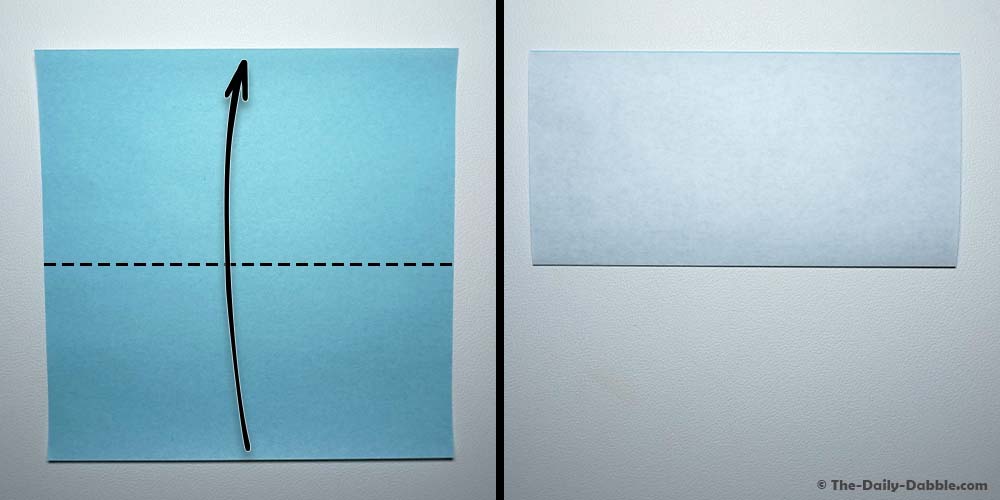
Fold the paper in half horizontally, bringing the bottom edge to the top edge. Crease well and unfold.
3. Fold the paper in half vertically, then unfold

Fold the paper in half vertically, bringing the left edge to the right edge. Crease well and unfold.
4. Flip the paper over and fold in half diagonally, then unfold
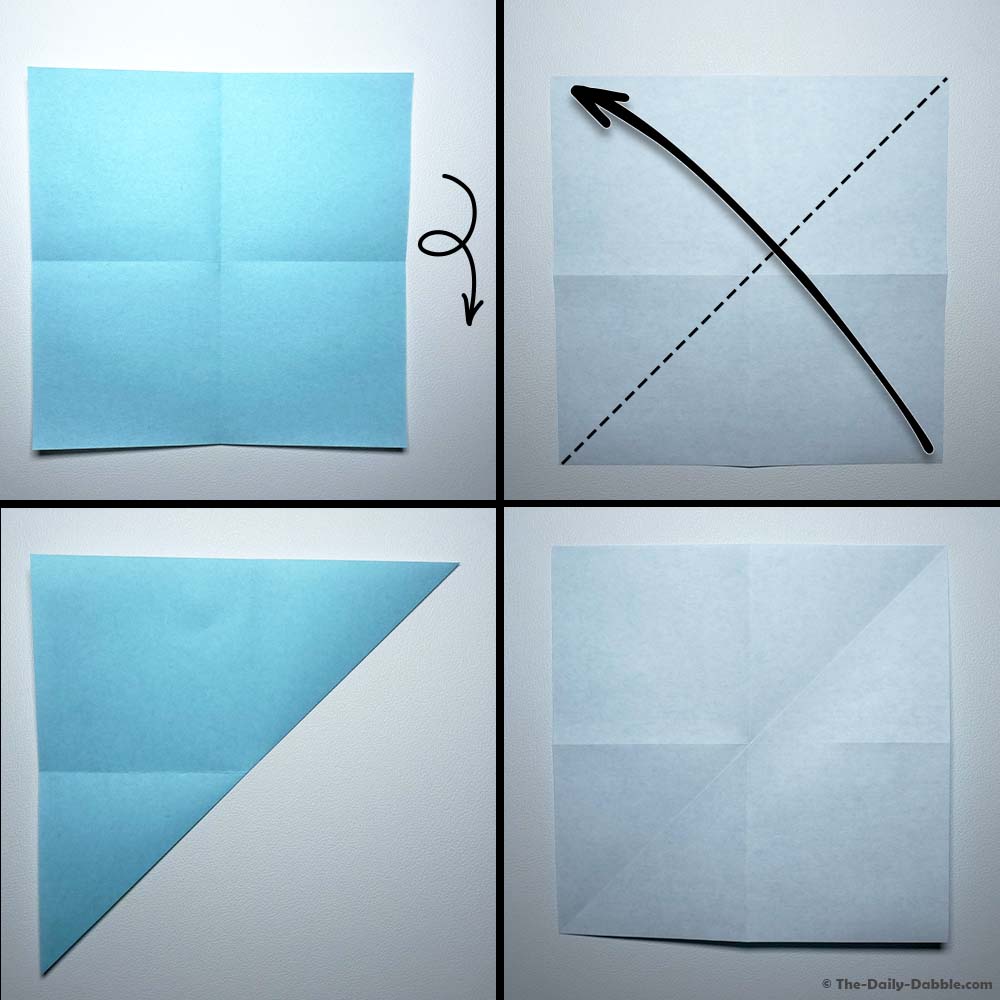
Next, flip the paper over so that the colored side is now facing up. Then fold it in half diagonally, bringing the bottom-right corner to the top-left corner. Crease well and unfold.
5. Fold in half diagonally in the opposite direction
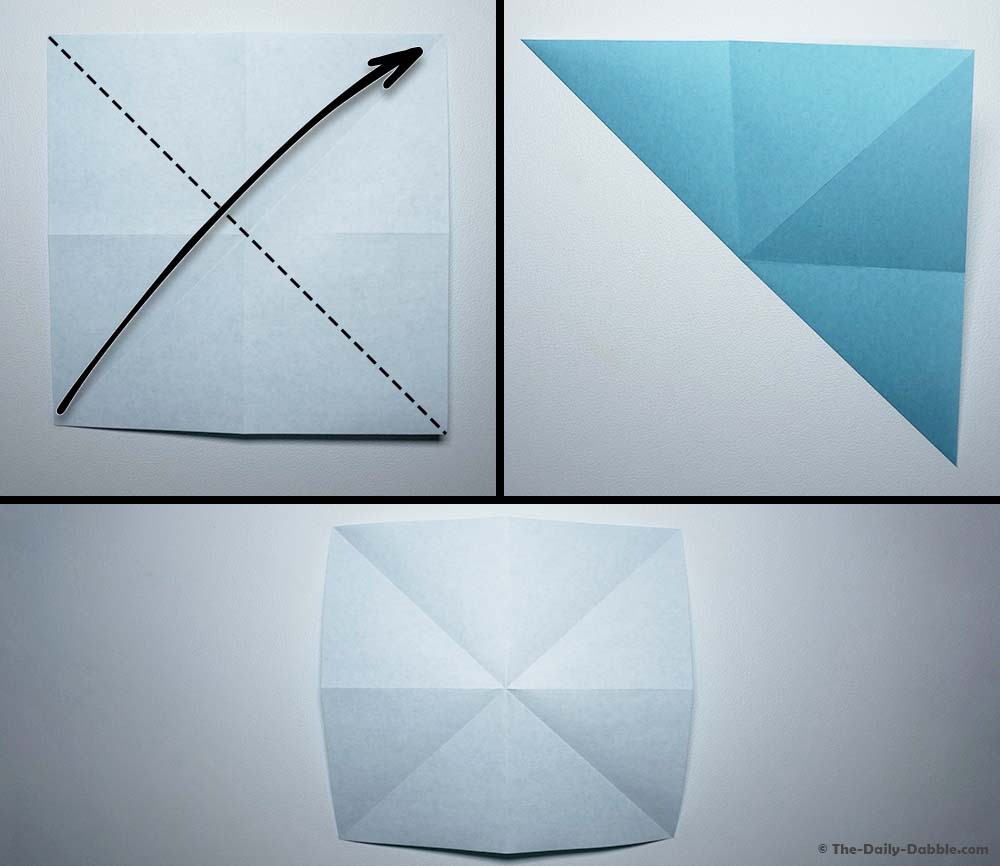
Fold the paper in half diagonally in the other direction, bringing the bottom-left corner to the top-right corner. Crease well and unfold.
6. Fold the edges into each other

Here comes the tricky part. Take the right and left edges of the paper and fold them to the bottom edge using the creases as guides. Then take the top edge and fold it down to meet the others. The end result will be a triangle.
Origami 101: At this point, you have folded what is called the waterbomb base. This base is a common starting point for many other designs and can be continued into things like the origami angelfish, among many others. There are other common bases and if you would like to learn more, check out our guide The 12 Origami Bases for Beginners!
7. Fold the edges slightly past the center, equally
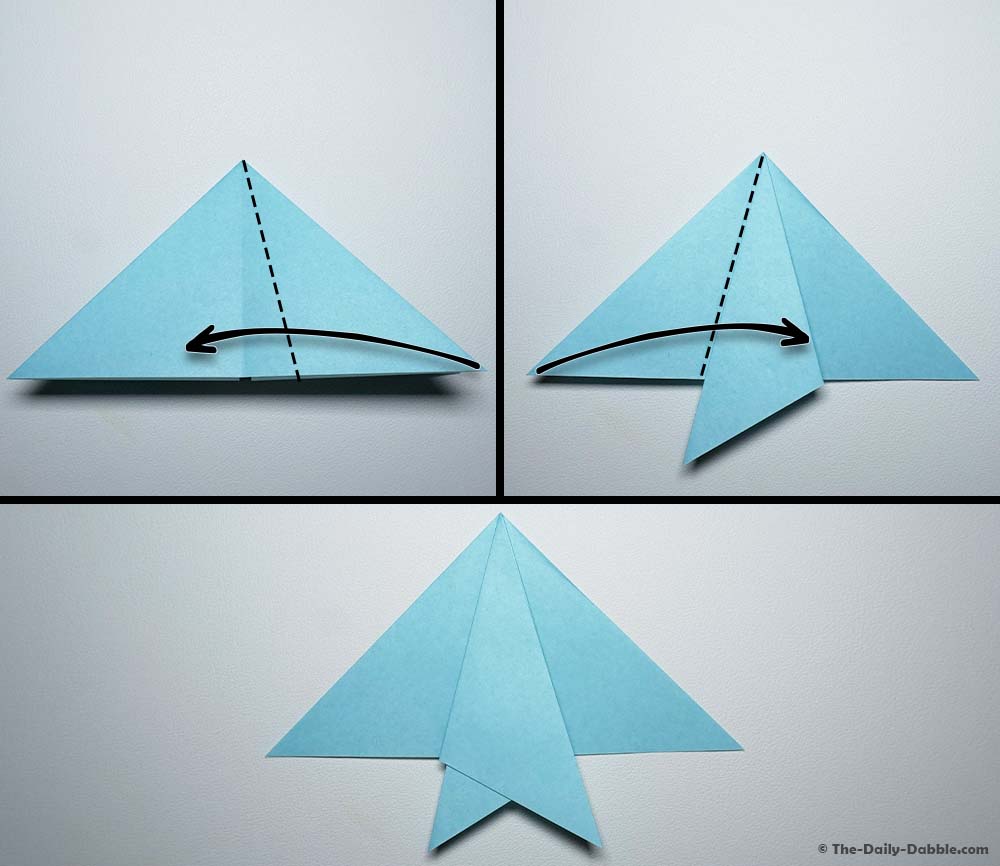
Next, we are going to create the swallow’s tail. Take the top layer of the left and right edges and fold them over one another, slightly past the centerline. Do your best to fold them over equally and make fine adjustments before flattening them down.
8. Fold the top corner down

Fold the top corner down to where the bottom edge of the paper would be without the tail and crease well.
9. Fold the top flap up

Take the flap you just folded down and fold it upward, past the top edge.
10. Flip the paper over
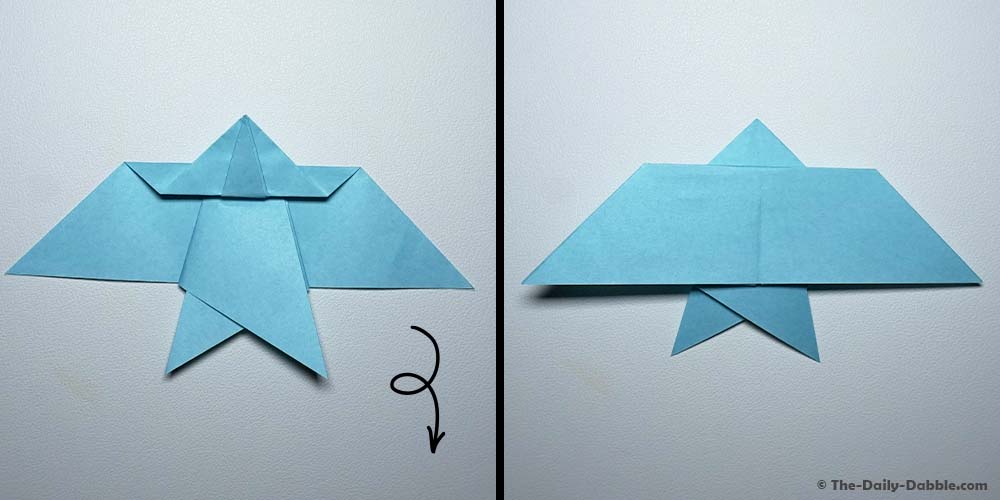
Flip the paper over so that the folds are facing down.
11. Fold in half
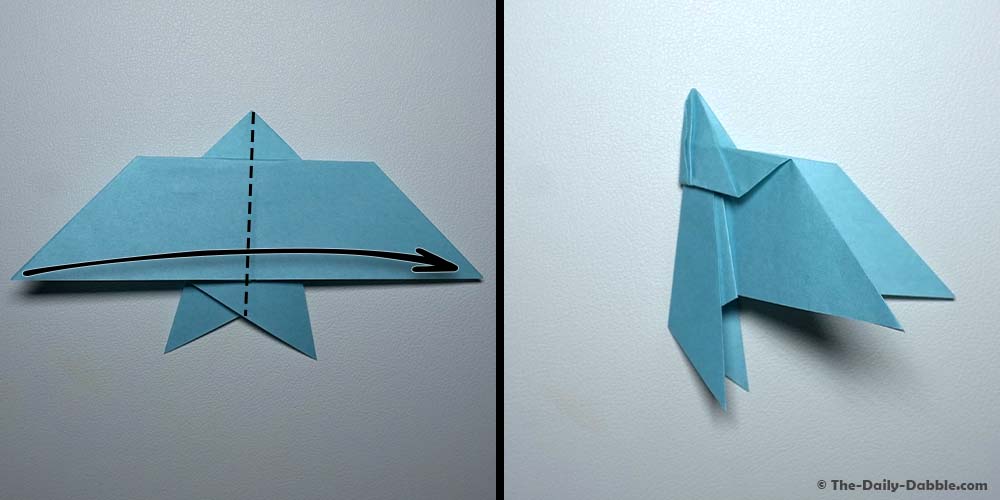
To finish up the swallow, fold the paper in half.
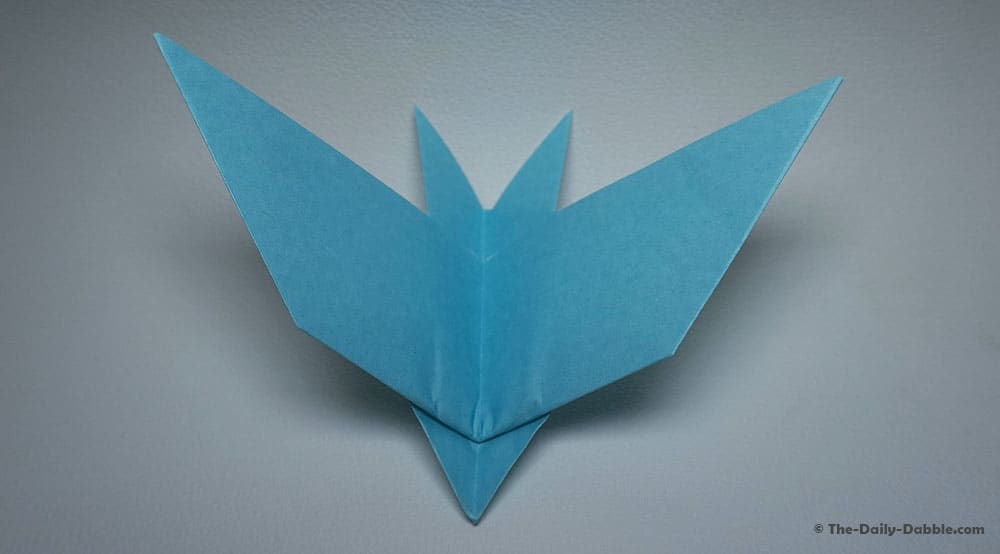
There you have it, and easy origami swallow!
If you enjoyed folding this tiny swallow, you might also enjoy folding many other birds. Lucky for you, we have an extensive collection of origami bird tutorials here.
Also, if you would like other origami tutorials, consider checking out our growing collection of origami designs for many different types of creatures like bugs, flowers, and much more!
Thanks for visiting, and happy folding!