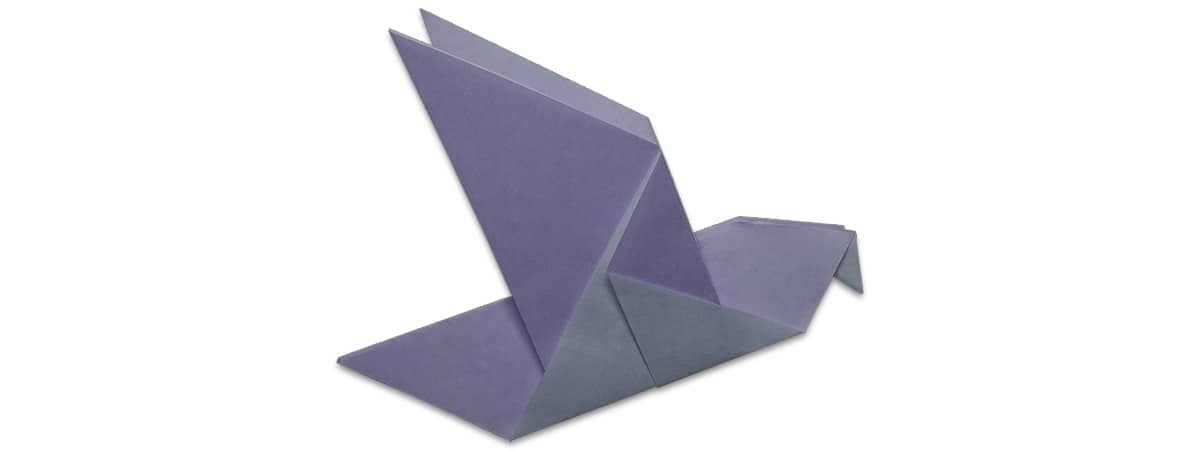
In this step-by-step origami guide, you will learn how to fold a traditional origami dove!
The dove symbolizes many things, including peace, purity, love, and hope.
This paper dove is beginner-friendly and takes about three to five minutes to complete!
When you are done be sure to visit our easy origami ideas for plenty more designs with instructions.
Let’s get folding!
To make an origami dove, you will need a single square piece of paper. You can use regular printer paper cut into a square; however, I recommend origami paper for the best-looking creases and that original origami aesthetic.
In this tutorial, I’ll be using a multi-color 6 x 6 sheet of origami paper, but you can use single-colored paper as well.
1. Start with the color side facing down
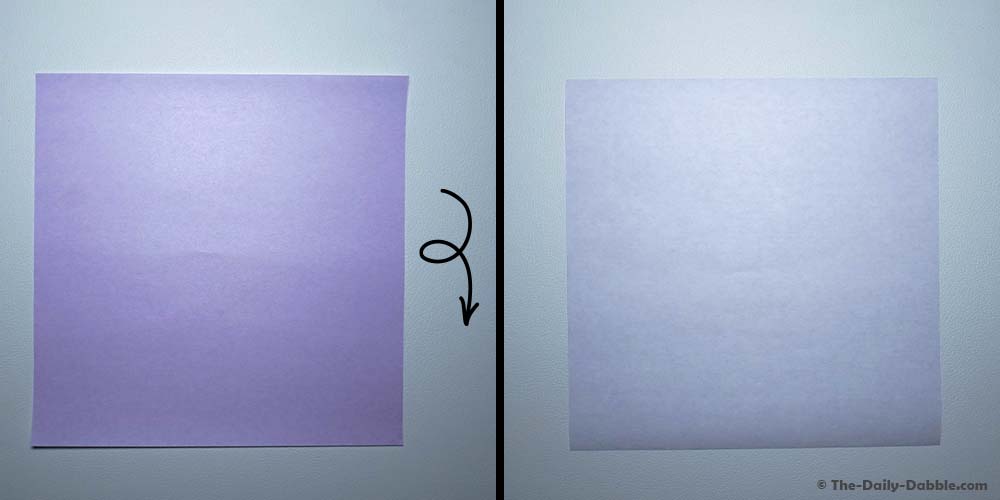
If you are using multi-color paper with different colors on each side, the color facing down will determine the primary color of your dove. I’ll be starting with the pink color facing down.
If you use a single-color sheet of paper, you can skip this step.
2. Fold in half diagonally
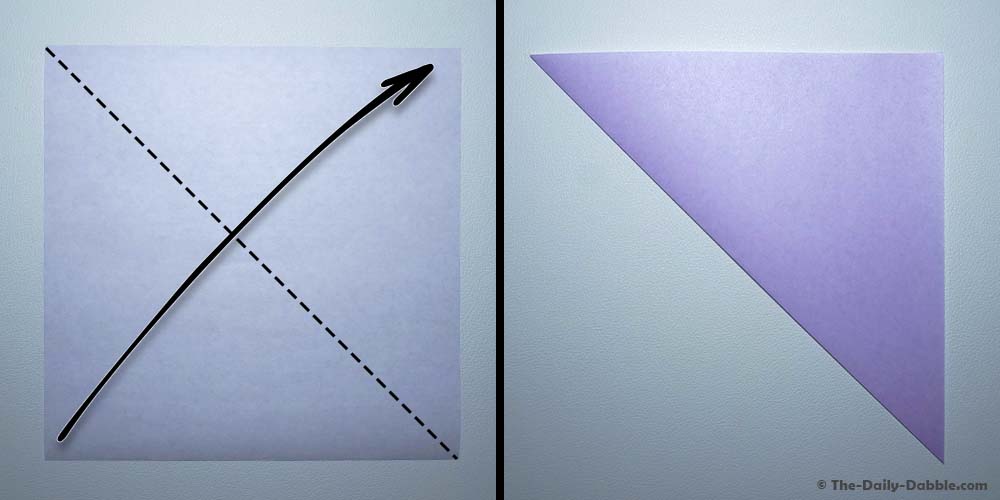
Fold the paper in half diagonally, bringing the bottom-left corner to the top-right corner.
3. Fold the long edge up
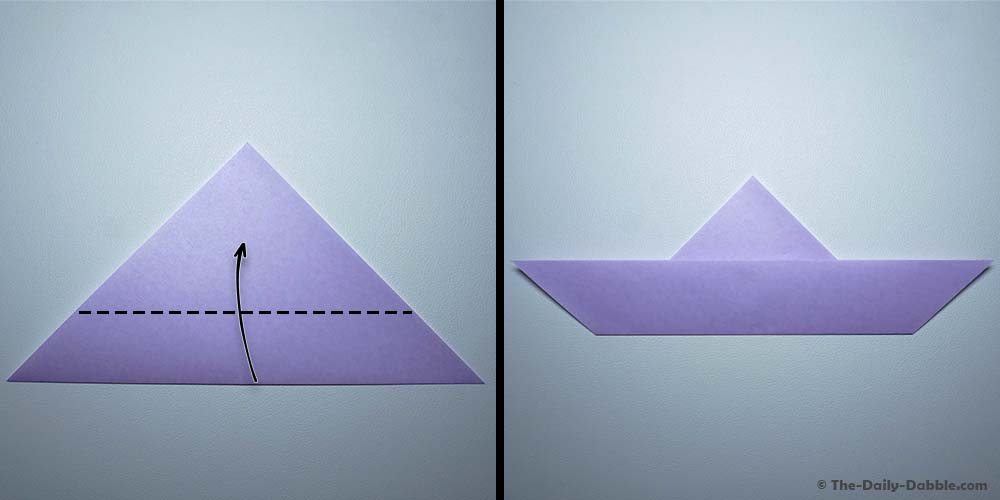
Rotate the paper so that the long side is nearest to you. Then fold the paper in half, bringing the long edge about two-thirds the way up.
4. Flip the paper over
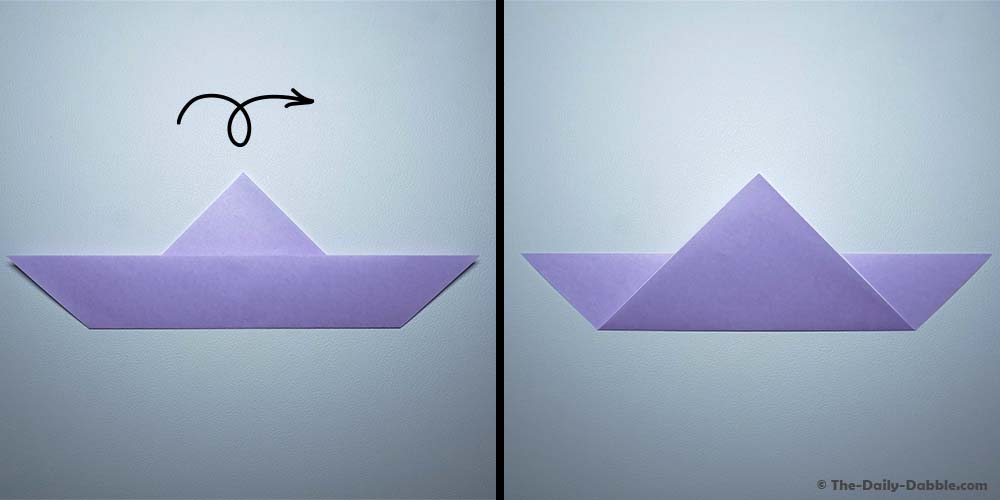
Flip the paper over so that your last fold is facing down.
5. Fold the top flap down
Grab the upper layer of the top corner. Fold and crease it about two-thirds the way down.
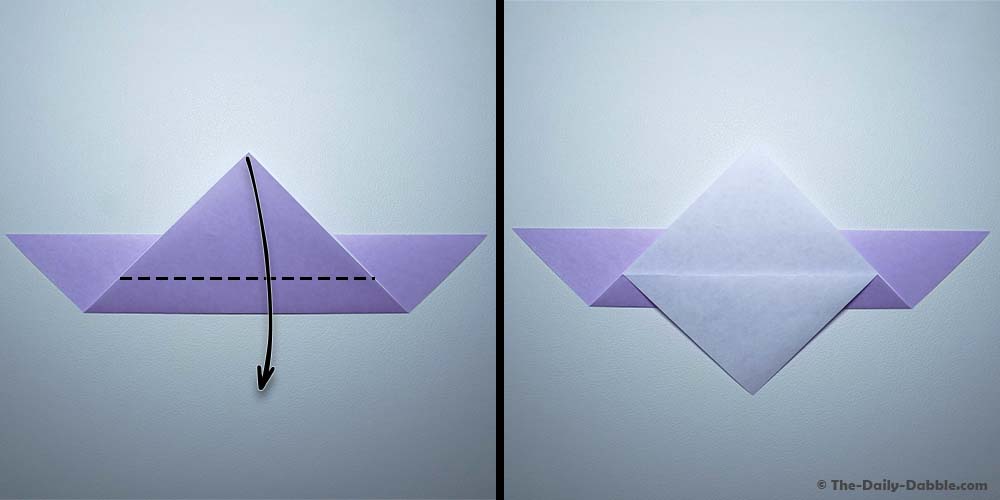
6. Fold the paper in half vertically

Next, fold the paper in half vertically, bringing the left edge over to the right and crease well.
7. Fold the upper section to the right
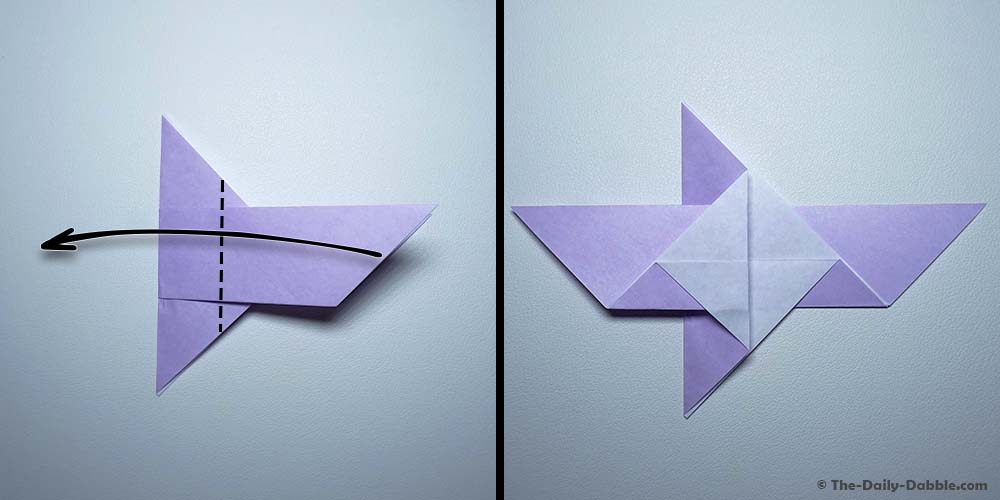
With the flaps pointing to the right, create the first wing by folding the upper flap to the left. You can adjust this fold to make the wings and body different sizes.
8. Flip the paper over and repeat
To finish the dove’s wings, flip the paper over, fold the other flap back, and align it with the first wing. Take a moment here to flatten everything down nicely.
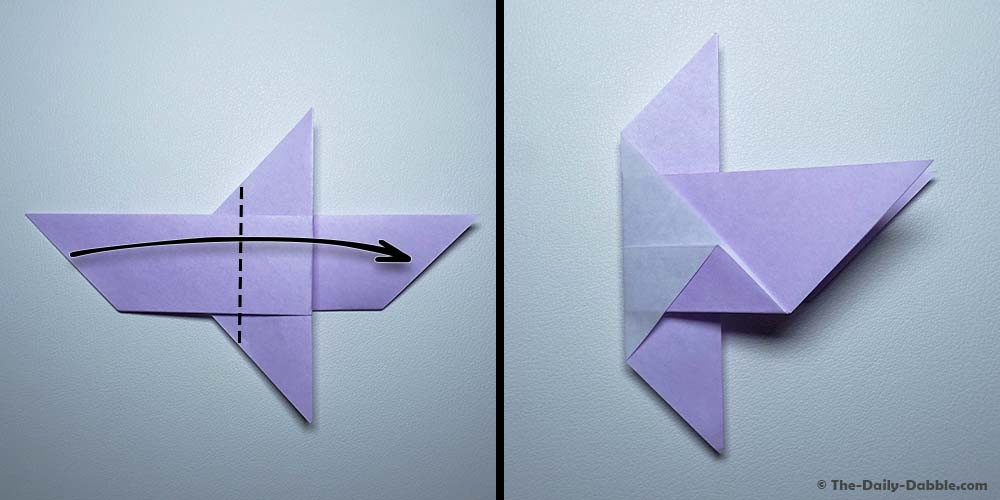
9. Crease and inside reverse fold the head
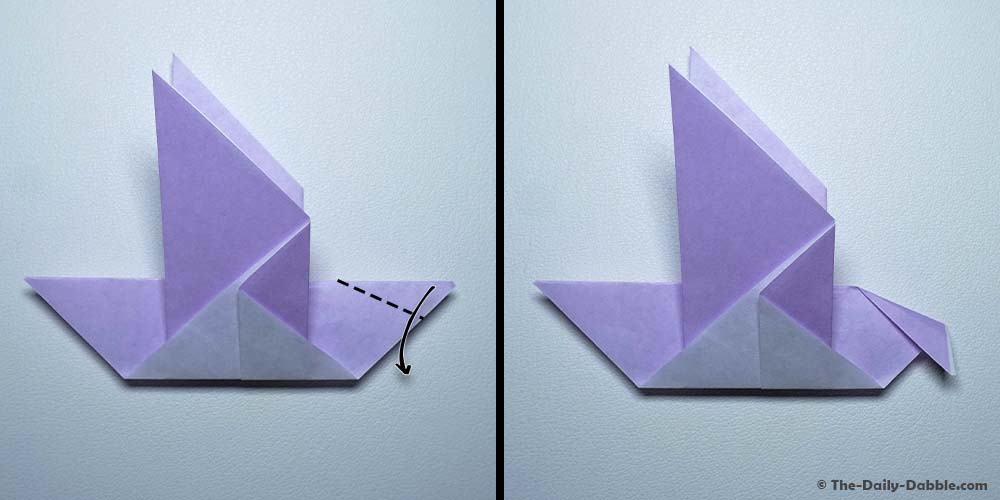
To finish up this origami bird, let’s create the head. With the wings pointing upwards, fold the right point downward. Crease it well and then unfold it.
10. Crease and inside reverse fold the head
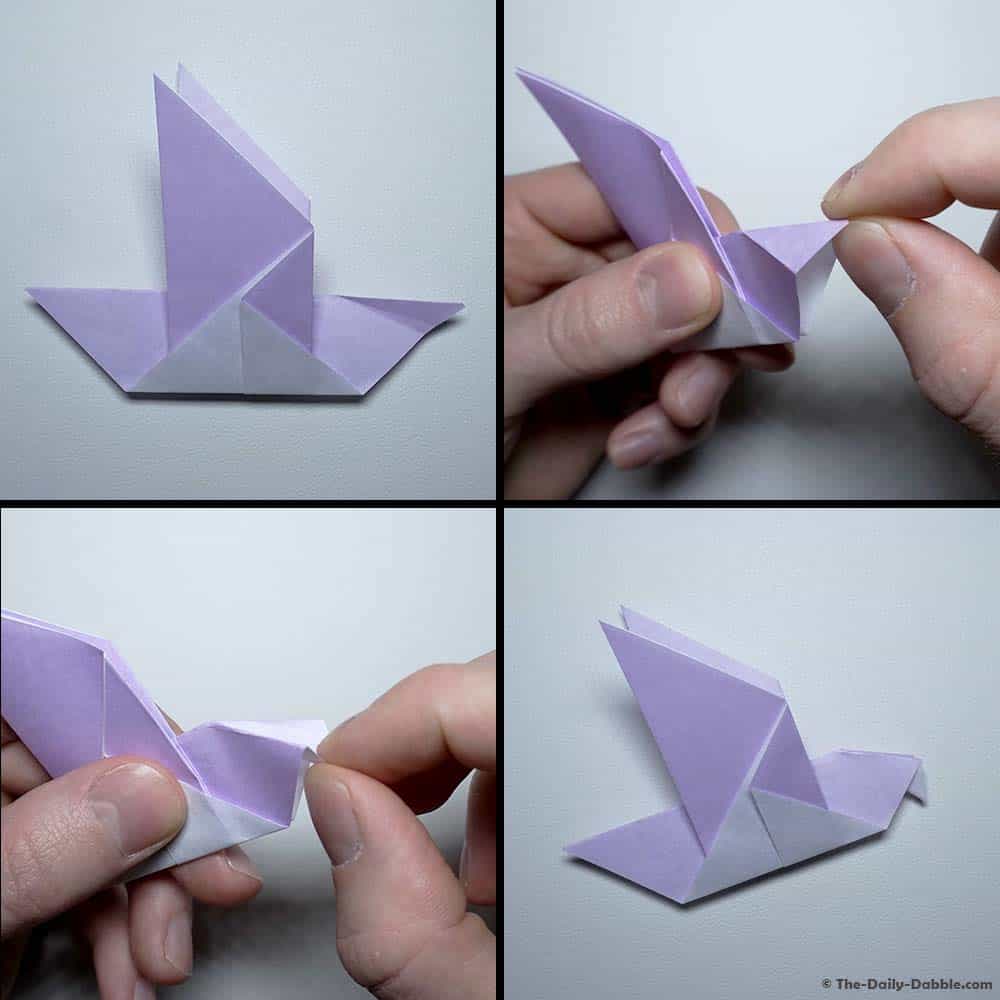
Next, inside reverse fold the head using the crease you just made as a guide.
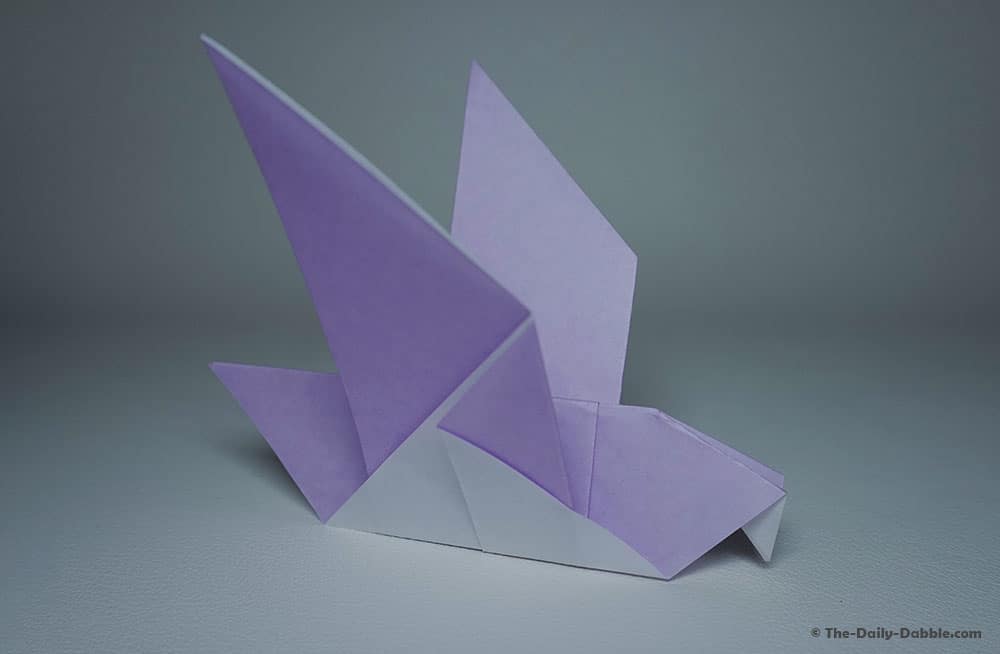
Take a moment here to flatten all of your creases down well, and there you have it, an easy origami dove!
If you enjoyed this little paper bird, consider checking out our collection of origami birds, and if you are looking for another fun bird to fold, you might enjoy the paper crane! It is said that if you fold 1000 cranes, you will be granted a wish!
Also, if you want to try your hand at some other types of origami designs, check out our massive collection of origami tutorials here.
Thanks for following along, and happy folding!