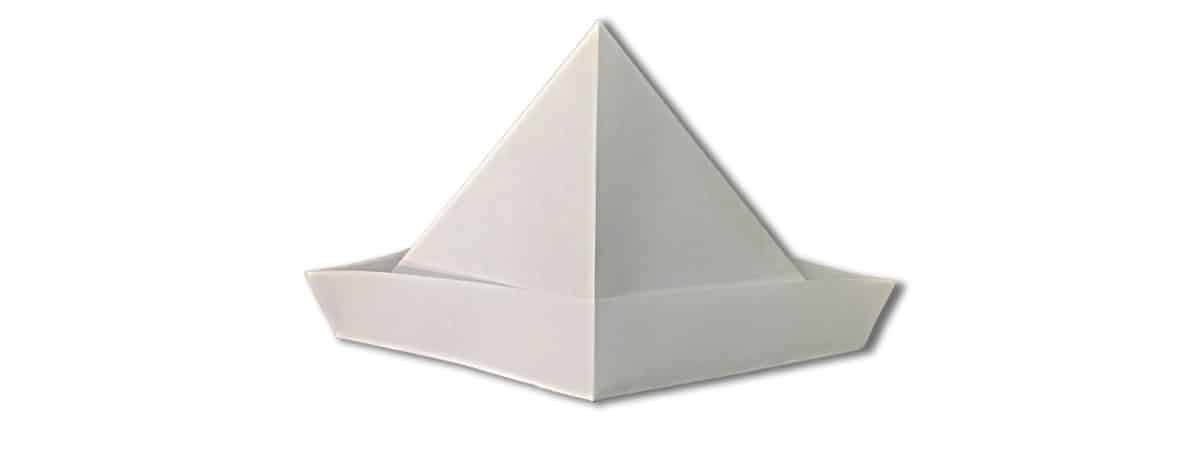
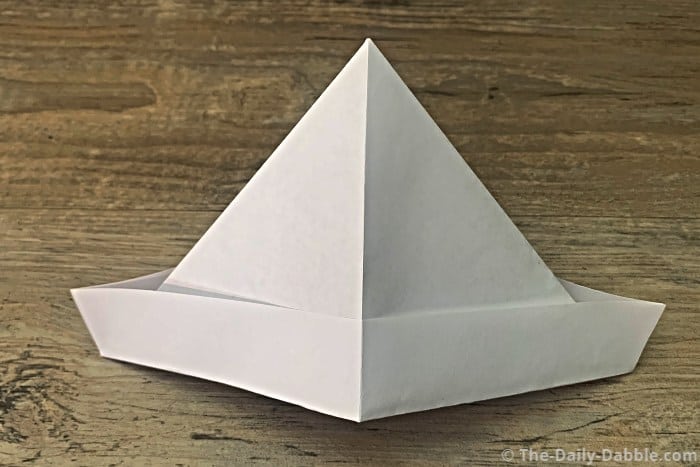
Look cap-tivating by making the traditional origami hat design.
This easy origami hat is a super quick fold for beginners and can be done within 3-5 minutes.
After you fold it you can draw on it, color it, or just wear it proudly to flaunt your creation.
Let’s get folding!
All you need for this tutorial is a regular 8.5 x 11 sheet of paper but rectangular origami paper will also work.
1. Fold the paper in half lengthwise
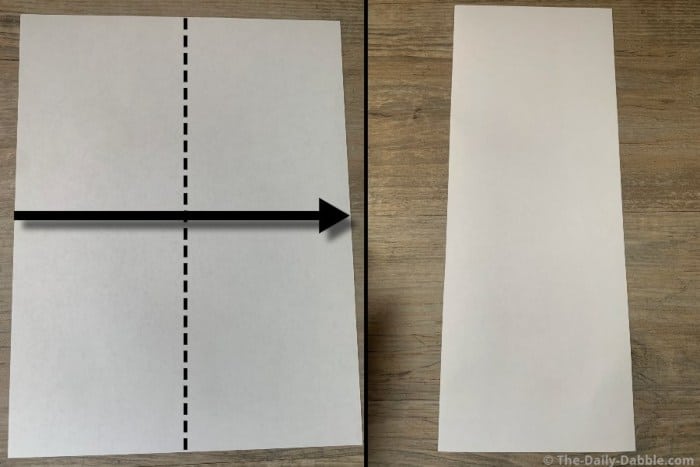
Fold the paper in half from the left to right edge.
After making the crease, unfold it for the next step
2. Fold the paper in half widthwise

Fold the origami paper in half from the bottom to the top edge.
Once you have creased the fold you are ready for the next step.
3. Fold the close-ended corners to the center crease
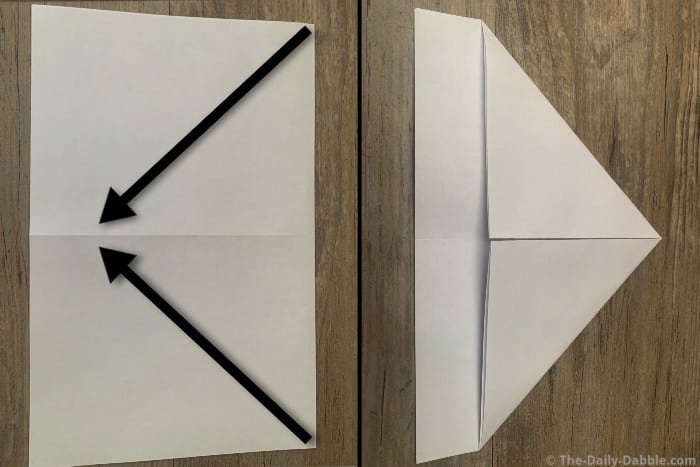
On the closed side of the paper, take the corners and fold them to the middle crease.
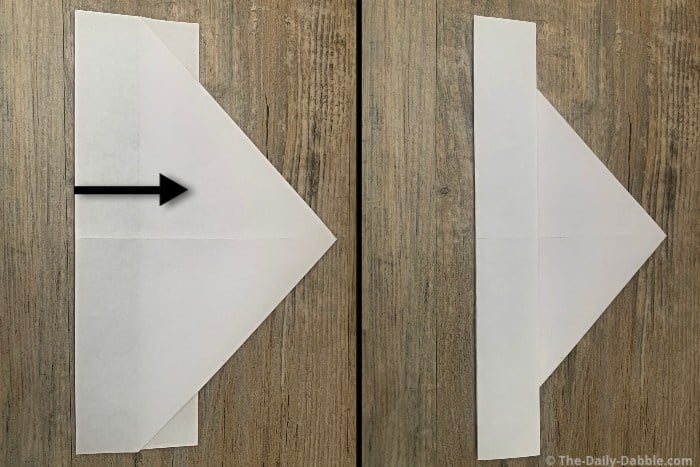
4. Fold up one flap towards the tip of the hat

Fold the first flap toward the tip of the cap as far as it will go and crease it.
Flip the hat over once you have completed this fold.
5. Fold the second flap towards the tip of the cap
Fold the remaining flap over, on its own side, up towards the top of the hat.
After you crease you can open and enjoy your new paper hat!
You can turn this hat into a traditional origami boat by starting on step 6 of the paper boat folding guide.
If you like simple designs like this, check out more easy origami ideas that are quick to fold and great for kids.
Happy Folding!